Luxe style on a shoestring budget — because a beautiful home shouldn’t cost a fortune.
Let’s be honest: scrolling through Pinterest can make you fall in love with homes that look like they cost more than your car. Marble trays, brass accents, textured vases, layered lighting… it all looks so effortless — and so expensive.
Here’s the secret designers don’t always share: “expensive-looking” is mostly about finish, scale, and styling — not price. A $1.25 glass vase with the right paint technique can pass for a $60 boutique piece. A cheap frame, styled correctly, can look like gallery art.
Below are 15 dollar store decor hacks that genuinely look high-end, with supply lists, step-by-step instructions, and styling tips so your finished pieces read “designer,” not “DIY.”
Before You Start: The 5 Rules of Making Cheap Look Luxe
Keep these in mind for every project:
- Stick to a tight color palette. Neutrals (cream, beige, warm white, black) plus one metal (gold, brass, or matte black) instantly look cohesive and intentional.
- Go matte or textured. Shiny plastic screams “cheap.” Matte, chalky, stone-like, and textured finishes read as handmade and expensive.
- Go bigger, or group in odd numbers. One tiny item looks lost. Three items of varying heights look curated.
- Hide the evidence. Remove stickers, sand seams, and cover visible plastic. Details matter.
- Add something real. Pair DIY pieces with a real plant, a stack of books, or natural wood to ground the look.
Your Basic Dollar Store Toolkit
| Supply | Why You Need It | Shop |
|---|---|---|
| Hot glue gun + glue sticks | Assembly for nearly every project | Shop on Amazon |
| Acrylic paint (cream, black, beige) | Base colors for faux finishes | Shop on Amazon |
| Baking soda | Mix into paint for a stone/pottery texture | Shop on Amazon |
| Gold or brass spray paint | Metallic accents (*often better from a craft or hardware store) | Shop on Amazon |
| Foam brushes | Smooth, streak-free application | Shop on Amazon |
| Jute twine | Instant natural, boho texture | Shop on Amazon |
| Sandpaper | Distressing and smoothing | Shop on Amazon |
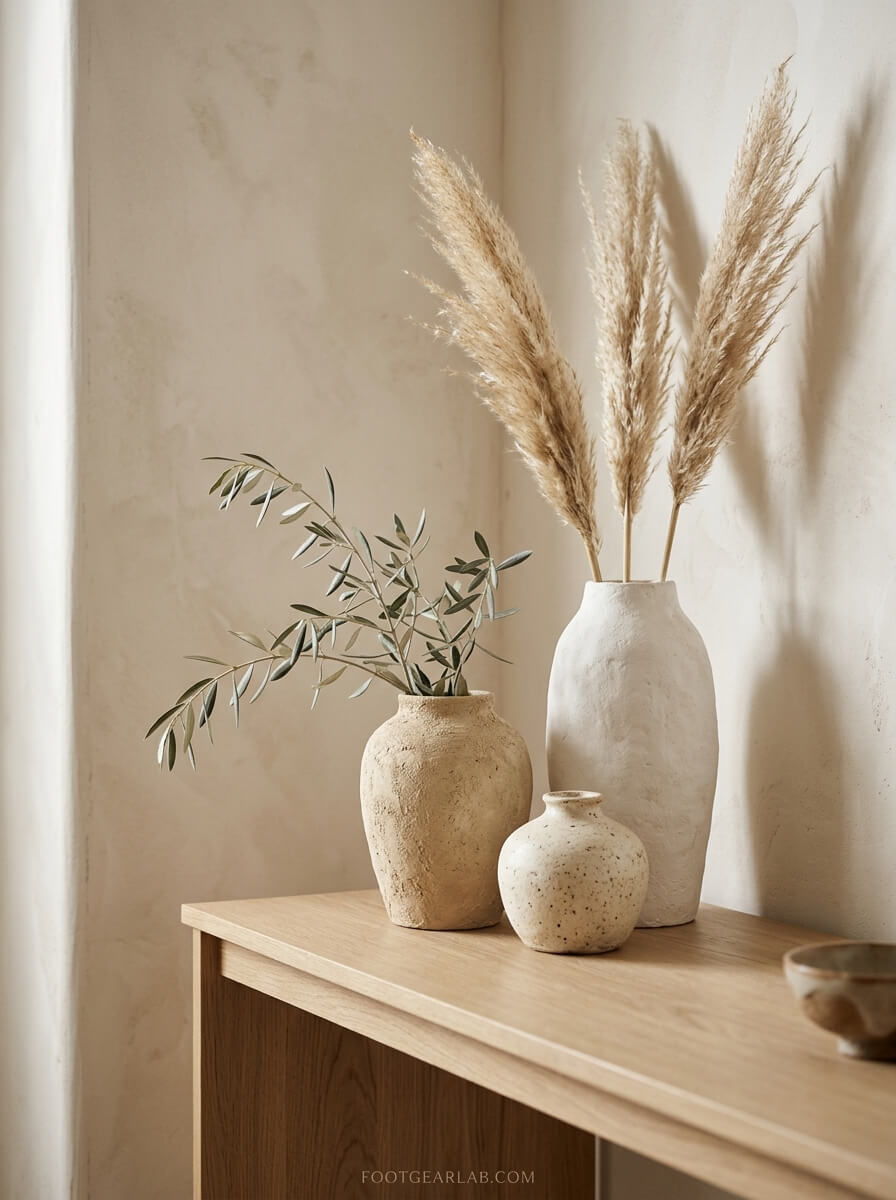
1. Faux Pottery Vases (The Viral Baking Soda Trick)
The look: Handmade ceramic vases from high-end home stores — think $40–$80 each.
You’ll need: Glass vases or jars, acrylic paint, baking soda, a foam brush.
How to do it:
- Mix roughly 1 part baking soda to 2 parts acrylic paint until it’s thick like yogurt.
- Dab (don’t brush) the mixture onto a clean glass vase in uneven layers.
- Let dry, then add a second coat for a chunkier texture.
- Optional: lightly sand raised spots or dry-brush a slightly darker shade for an aged look.
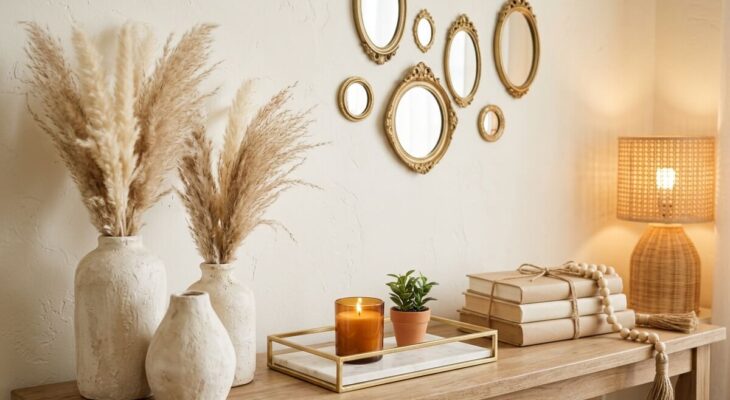
Styling tip: Display in a group of three different heights with dried pampas grass, eucalyptus, or a single olive branch.
2. “Marble” Serving Trays
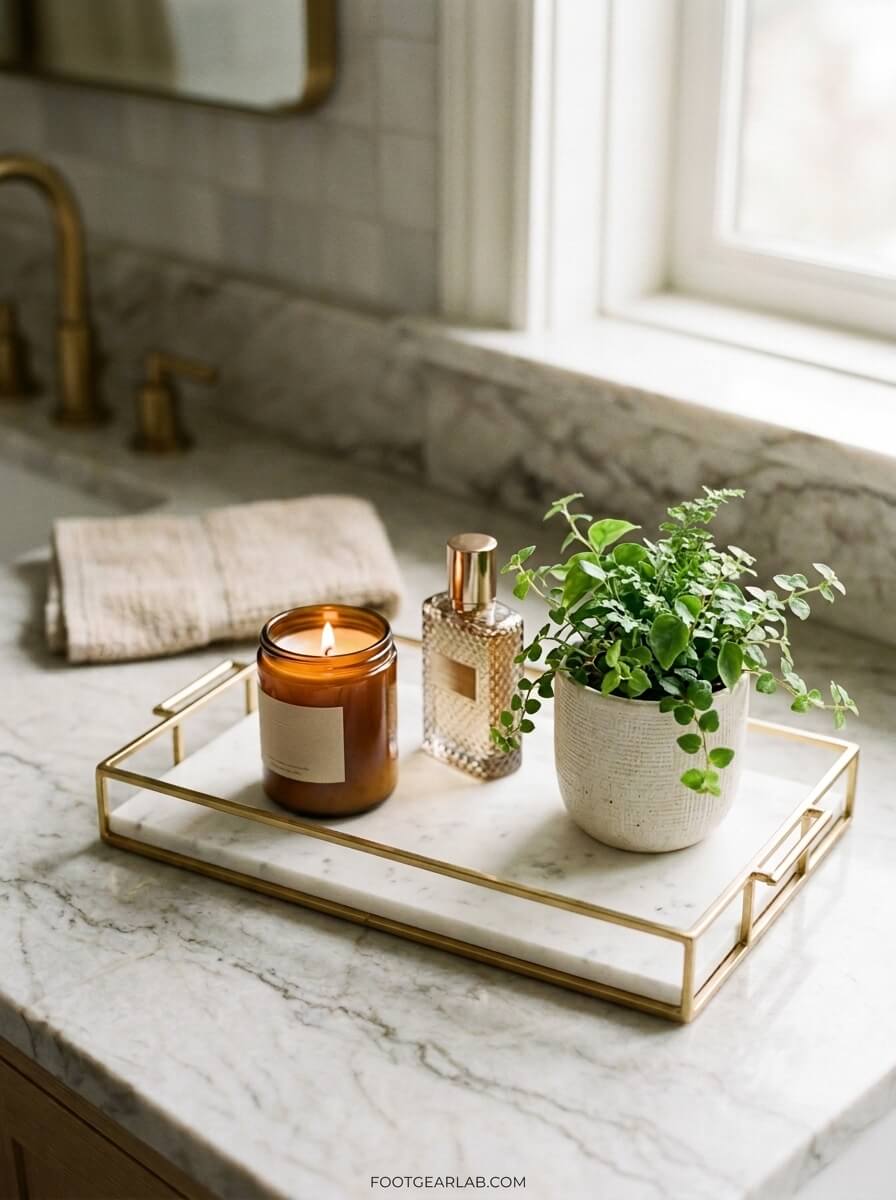
The look: Marble and gold vanity or coffee table trays.
You’ll need: A plastic or wooden tray, marble-print contact paper, gold paint or spray paint, cabinet handles (optional).
How to do it:
- Paint or spray the tray frame gold and let it dry fully.
- Measure and cut the marble contact paper to fit the base.
- Apply slowly, smoothing out bubbles with a credit card.
- Glue two small drawer pulls to the sides for handles — this detail makes it look custom.
Styling tip: Use it on your bathroom counter with a candle, a perfume bottle, and a small plant.
3. Gallery-Worthy Wall Art From Cheap Frames
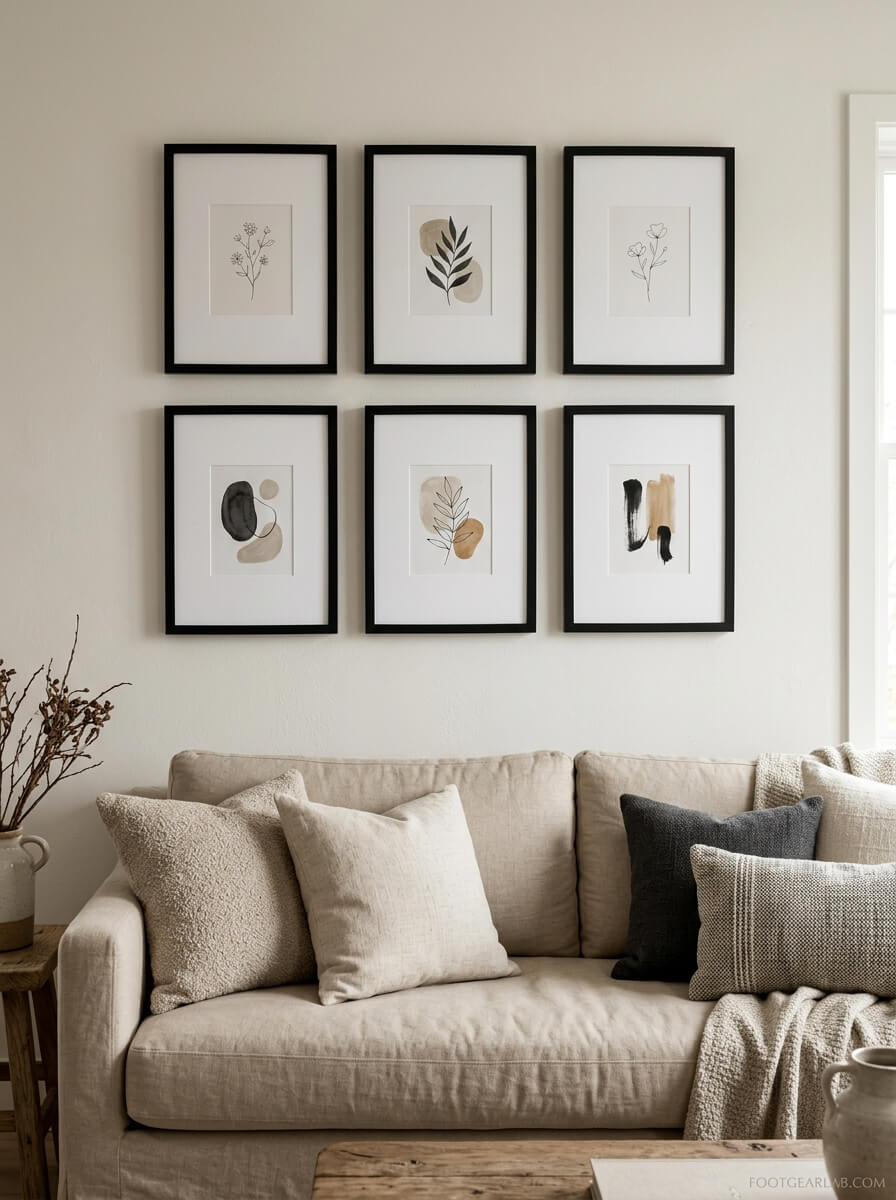
The look: A curated gallery wall with matted, framed art.
You’ll need: Dollar store frames, black or gold paint, free printable art (or pages from an old book/calendar), white cardstock.
How to do it:
- Paint all frames the same color for cohesion — matte black or gold works best.
- Cut white cardstock into a mat with a window smaller than the frame opening. A wide mat is the #1 trick for expensive-looking art.
- Print neutral art: line drawings, botanical prints, abstract shapes, or vintage landscapes.
- Hang with consistent spacing (2–3 inches apart).
Styling tip: Oversized mats + small art = instant gallery look.
4. Rope-Wrapped Planters and Baskets
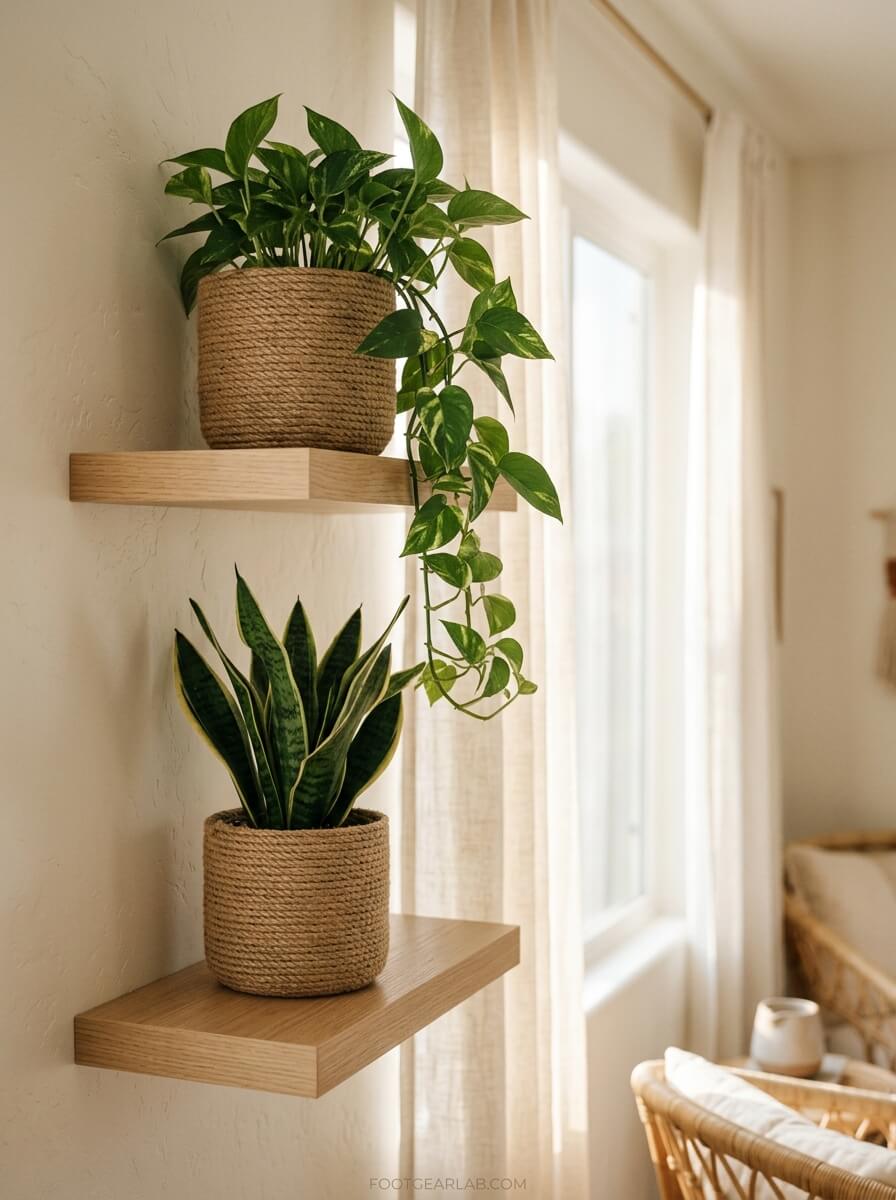
The look: Woven boho planters from home decor boutiques.
You’ll need: Plastic pots or containers, jute rope or twine, hot glue.
How to do it:
- Start at the bottom and add a line of hot glue.
- Wrap the rope tightly around, gluing every few inches.
- Keep rows snug with no gaps.
- Finish at the top by tucking the end inside.
Styling tip: Pair with faux or real greenery and place on floating shelves or a windowsill.
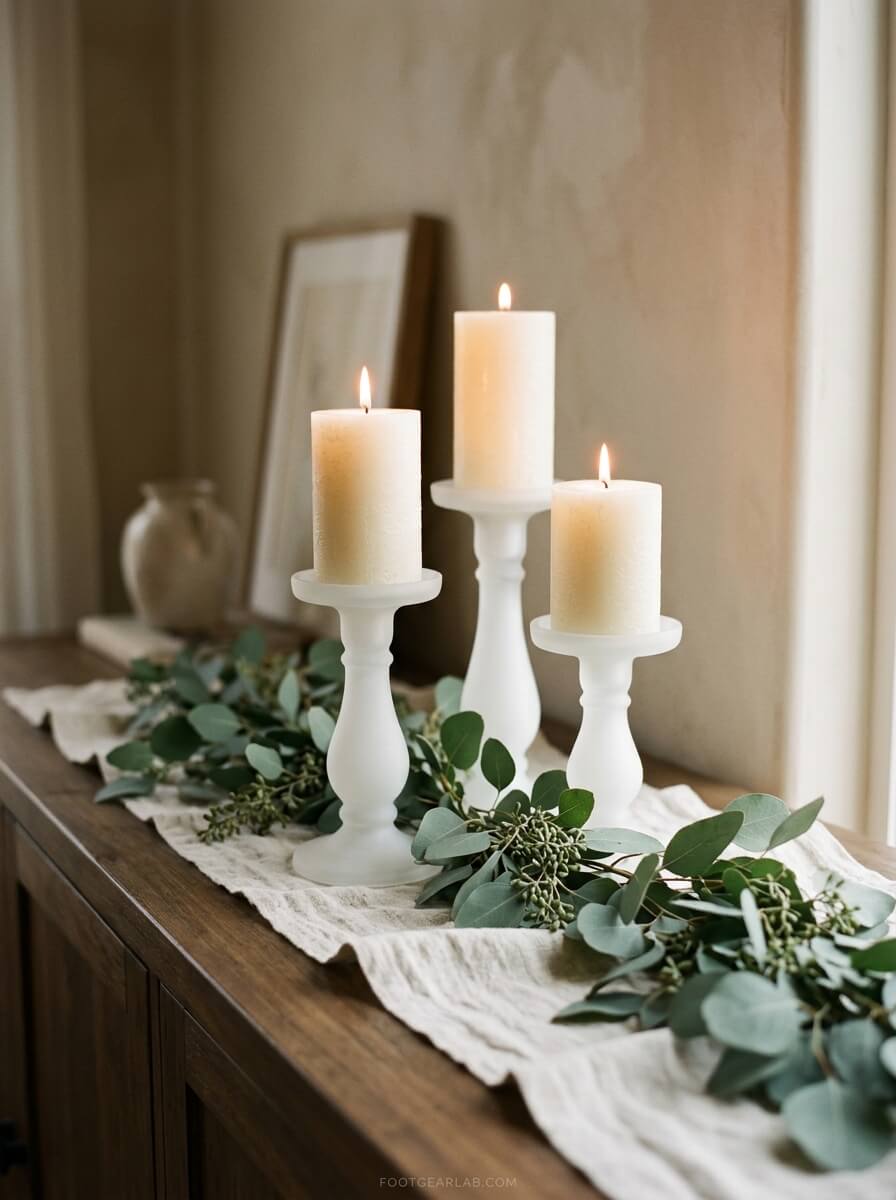
5. Luxe Candle Holders From Glass Dishes
The look: Pedestal candle holders and apothecary-style displays.
You’ll need: Glass candle holders, small glass plates or bowls, E6000 or strong glue, spray paint.
How to do it:
- Glue a glass bowl or plate on top of an upside-down candlestick to create a pedestal.
- Let it cure for 24 hours.
- Spray paint matte white, black, or gold — or leave clear for a crystal look.
Styling tip: Top with a pillar candle, a stack of macarons, or a small bowl of decorative orbs.
6. Faux Brass Mirror
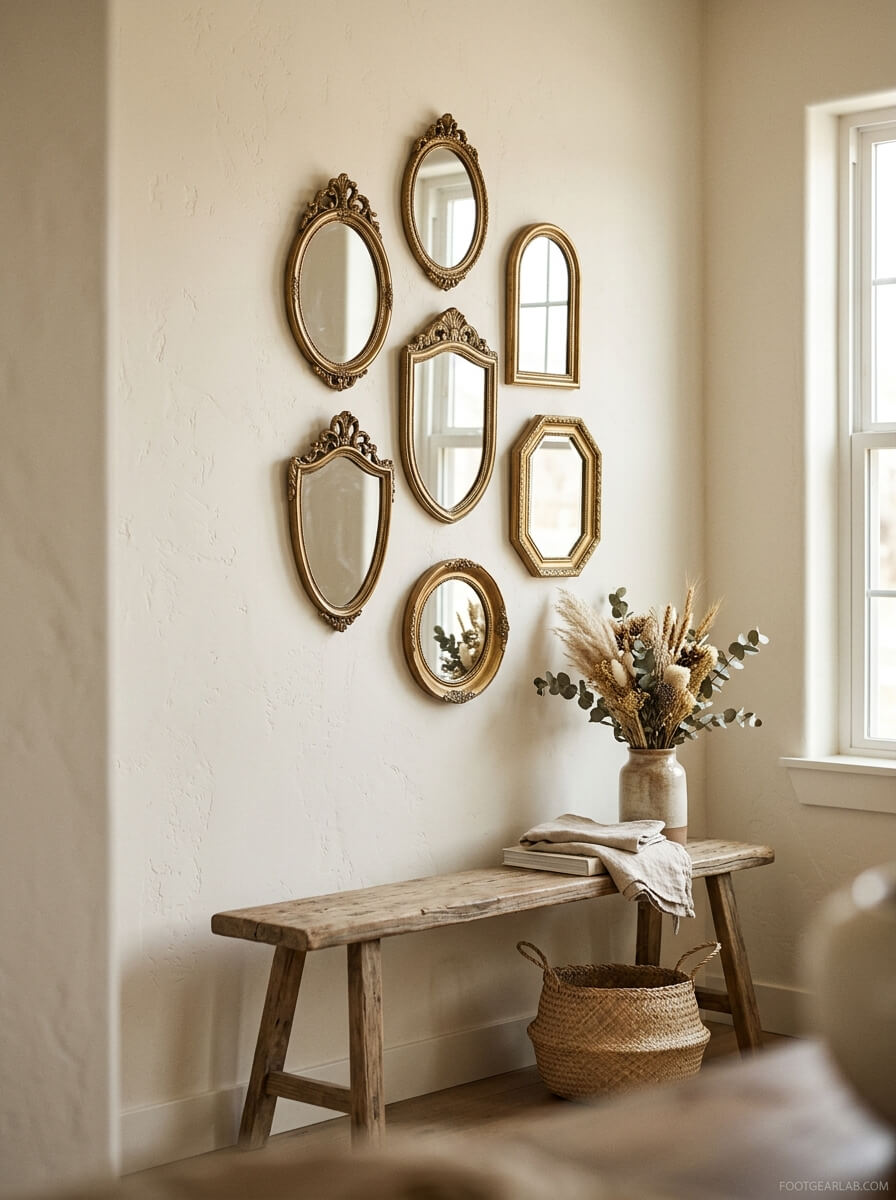
The look: Vintage brass or ornate gold mirrors that sell for $100+.
You’ll need: A small mirror, wooden shapes or plastic picture frame, gold paint, rub-n-buff (optional upgrade).
How to do it:
- Glue decorative wooden pieces, beads, or a frame around the mirror’s edges.
- Paint everything gold, then rub on a darker brown wax or paint for depth.
- Group several small mirrors together for a dramatic statement wall.
Styling tip: A cluster of 5–7 small gold mirrors looks like an expensive designer installation.
7. Elegant Bathroom Storage Jars
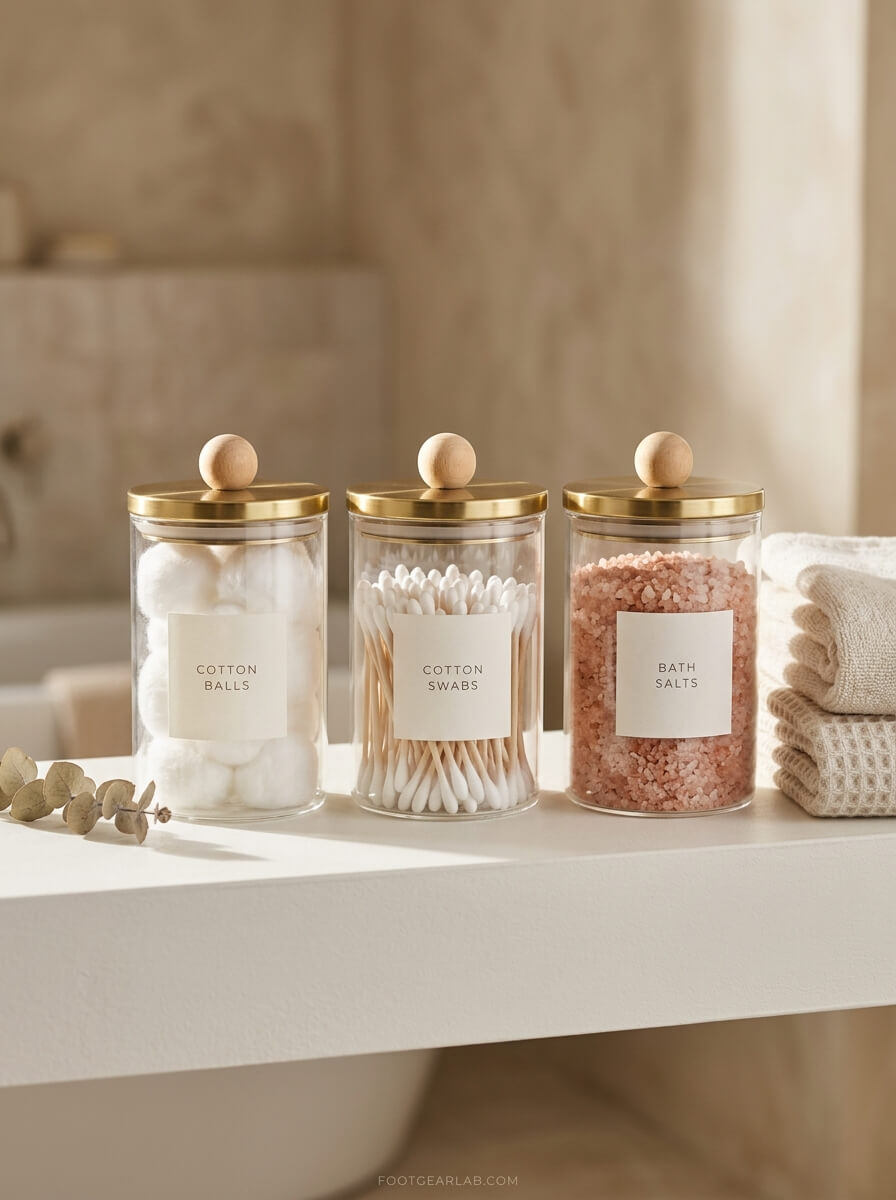
The look: Apothecary jars from luxury spas.
You’ll need: Glass jars with lids, wooden knobs (or the round wooden balls in the craft aisle), gold paint, labels.
How to do it:
- Glue a wooden knob onto each lid.
- Paint the lid and knob gold, black, or white.
- Add minimalist labels: “cotton,” “Q-tips,” “bath salts.”
Styling tip: Uniformity is the secret. Matching jars in a row look like a styled spa.
8. Statement Wall Sconces (No Wiring Needed)
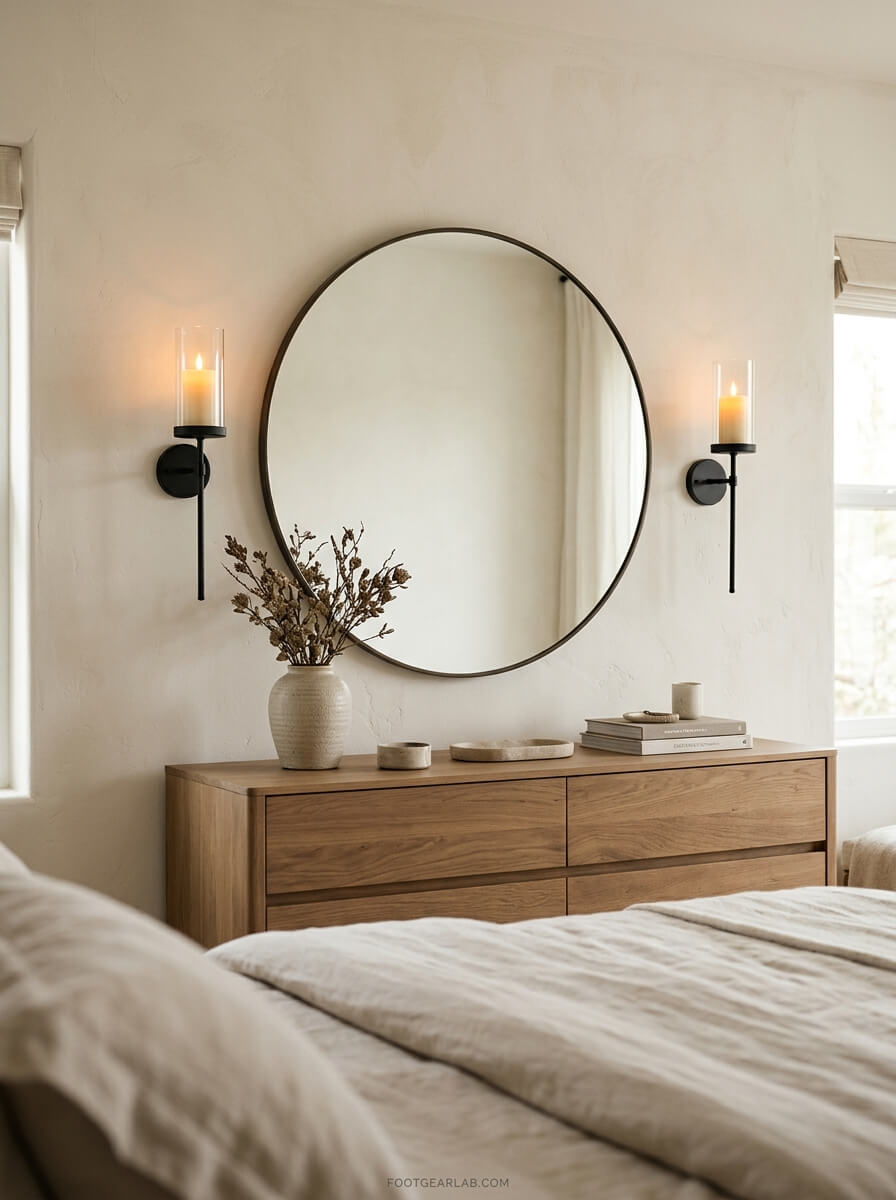
The look: Designer wall lighting.
You’ll need: Plastic candle holders or plant brackets, battery-operated puck lights or flameless candles, spray paint, Command strips.
How to do it:
- Spray paint the holders matte black or brass.
- Insert a remote-control flameless candle or puck light.
- Mount on either side of a mirror, bed, or artwork.
Styling tip: Symmetry makes it look professionally installed.
Safety note: Use only battery-operated lights for wall-mounted DIY pieces — never real flames near walls or fabric.
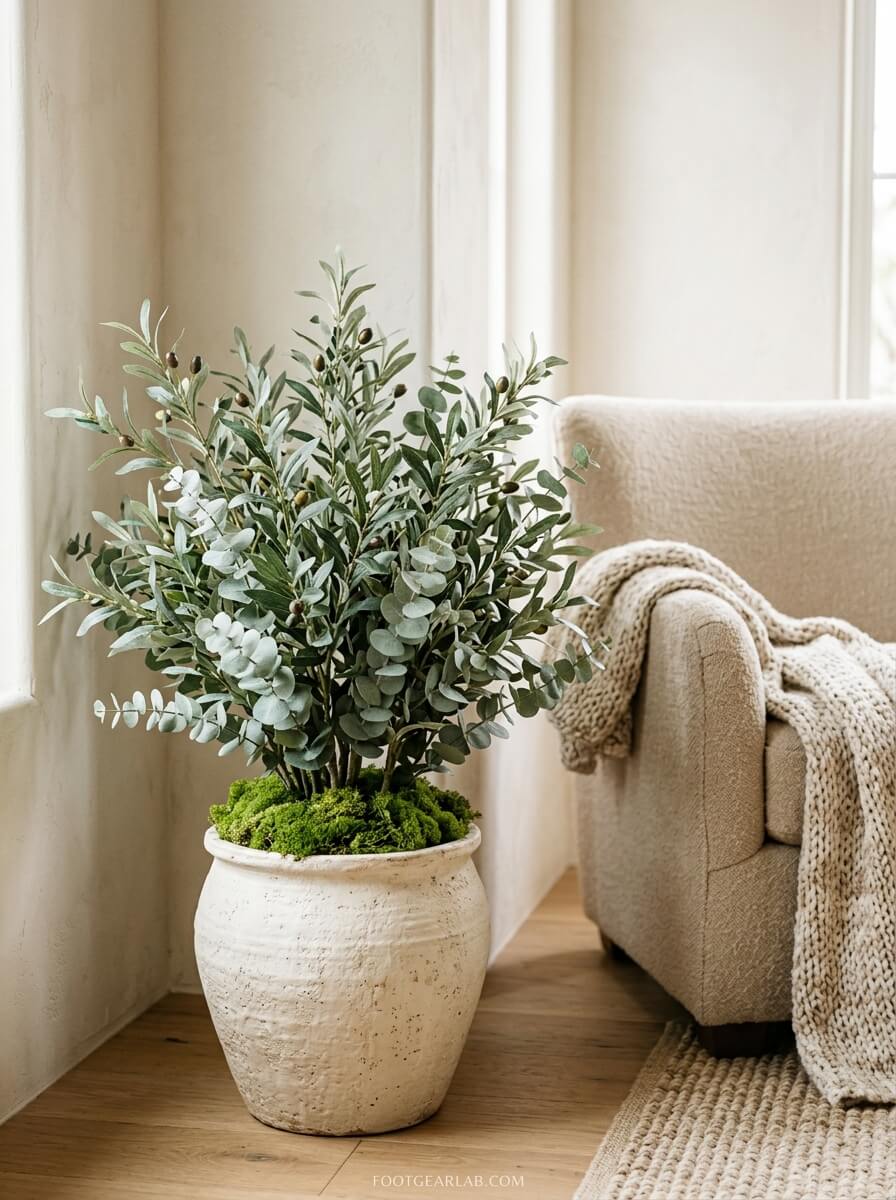
9. Faux Plant Upgrade
The look: Lush, real-looking greenery in designer planters.
You’ll need: Several faux stems, a nicer pot (or your Hack #1 or #4 pot), floral foam, real moss or soil topper.
How to do it:
- Combine 3–5 stems into one pot instead of using a single sad stem.
- Bend leaves outward in different directions — real plants aren’t symmetrical.
- Cover the foam with real dried moss or a layer of small pebbles.
Styling tip: Stick to realistic varieties: eucalyptus, olive, fiddle leaf fig, and pothos look most believable.
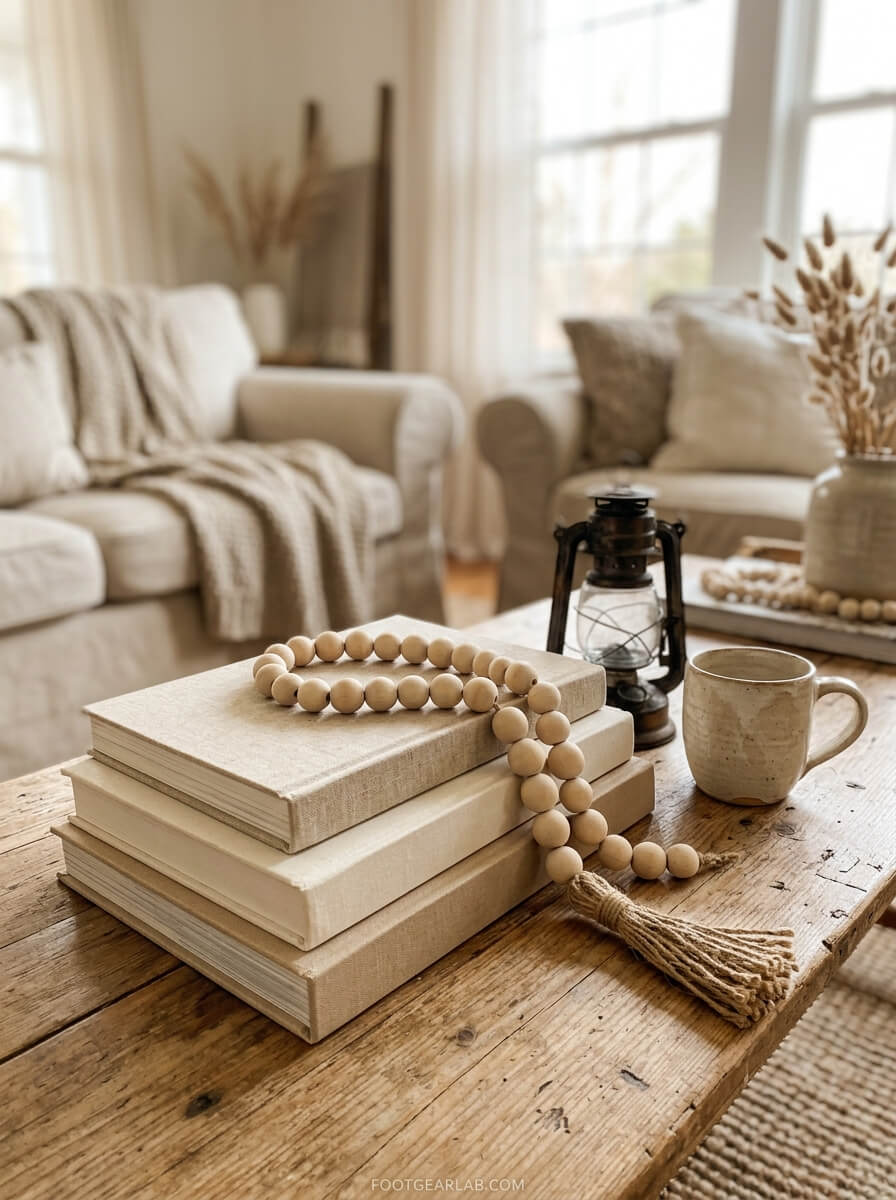
10. Textured Decorative Beads (Wood Garland)
The look: Farmhouse wood bead garlands that cost $25–$40.
You’ll need: Wooden craft beads, jute twine, a tassel (or make one from twine).
How to do it:
- String beads onto twine, mixing sizes for interest.
- Tie off the ends with a tassel or a simple knot.
- Optional: stain beads with diluted brown paint or coffee for a warm finish.
Styling tip: Drape over a stack of books, a lantern, or across a coffee table tray.
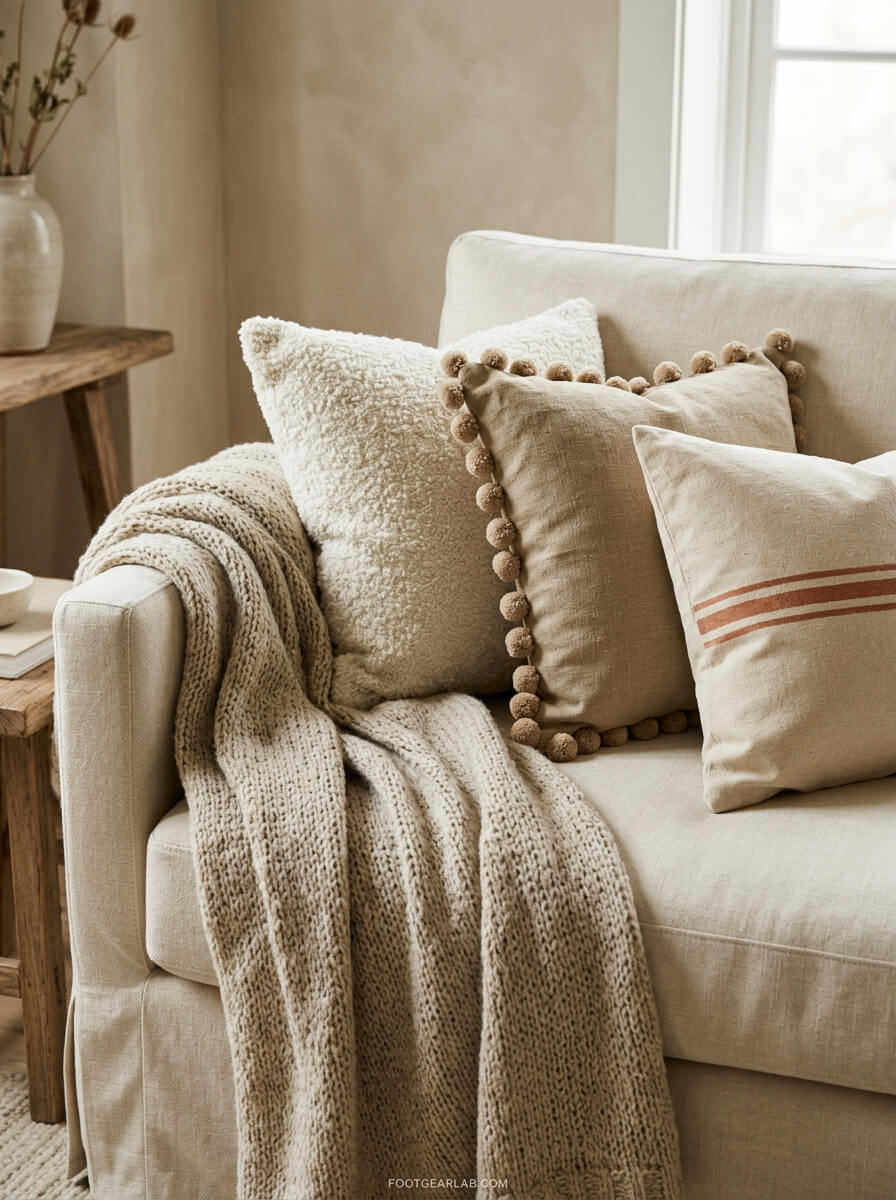
11. Fancy Throw Pillow Refresh
The look: Boutique pillows with trims and tassels.
You’ll need: Plain pillow covers, pom-pom or tassel trim, fabric glue, fabric paint or iron-on designs.
How to do it:
- Glue trim around the edges using fabric glue (no sewing needed).
- Or stencil a simple design — stripes, a single line drawing, or a monogram.
Styling tip: Mix textures — a smooth pillow, a fuzzy one, and one with trim looks layered and luxurious.
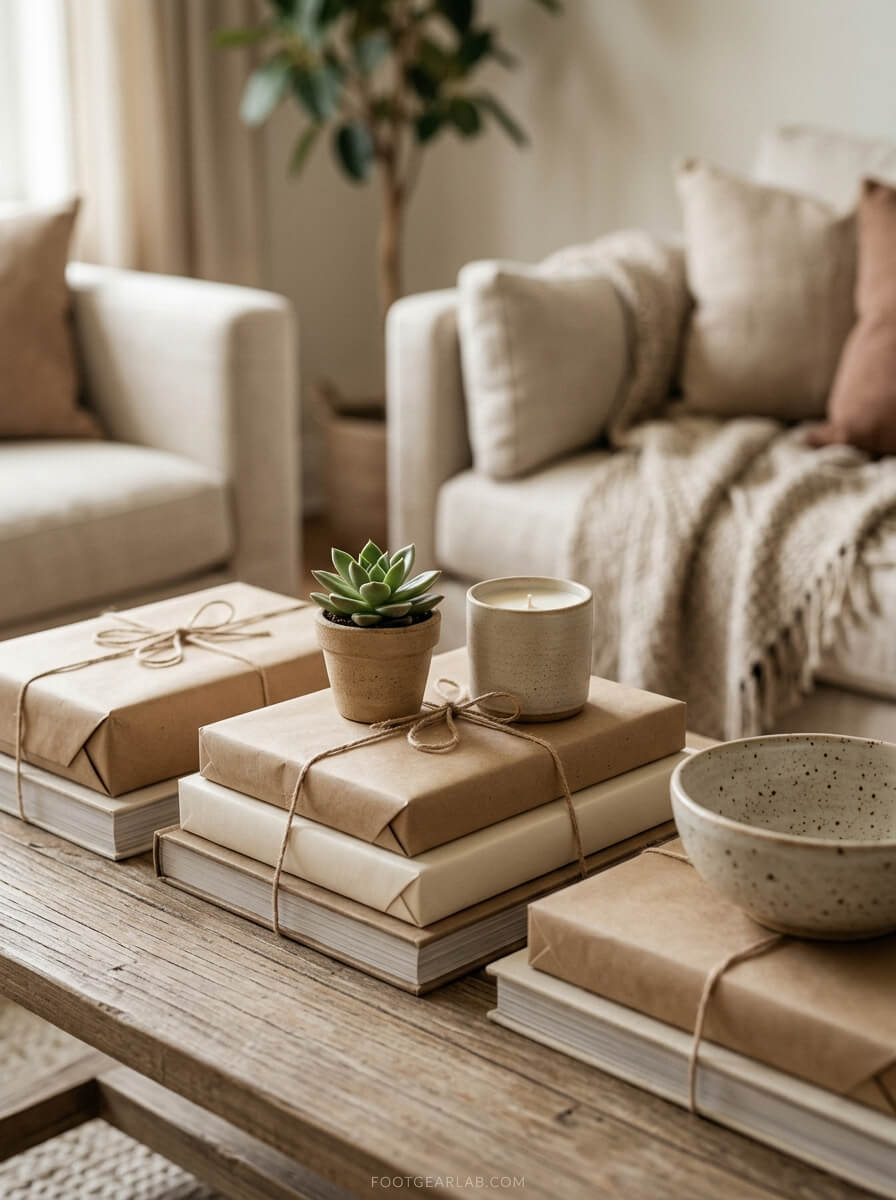
12. Elevated Book Stacks
The look: Coordinated designer coffee table books.
You’ll need: Old or cheap books, kraft paper or neutral cardstock, ribbon or twine.
How to do it:
- Wrap books in neutral paper (white, beige, kraft) like a gift — or simply remove colorful dust jackets.
- Tie a stack of three with twine.
- Top with a small plant, candle, or decorative object.
Styling tip: Books are a designer’s best trick for adding height to a vignette.
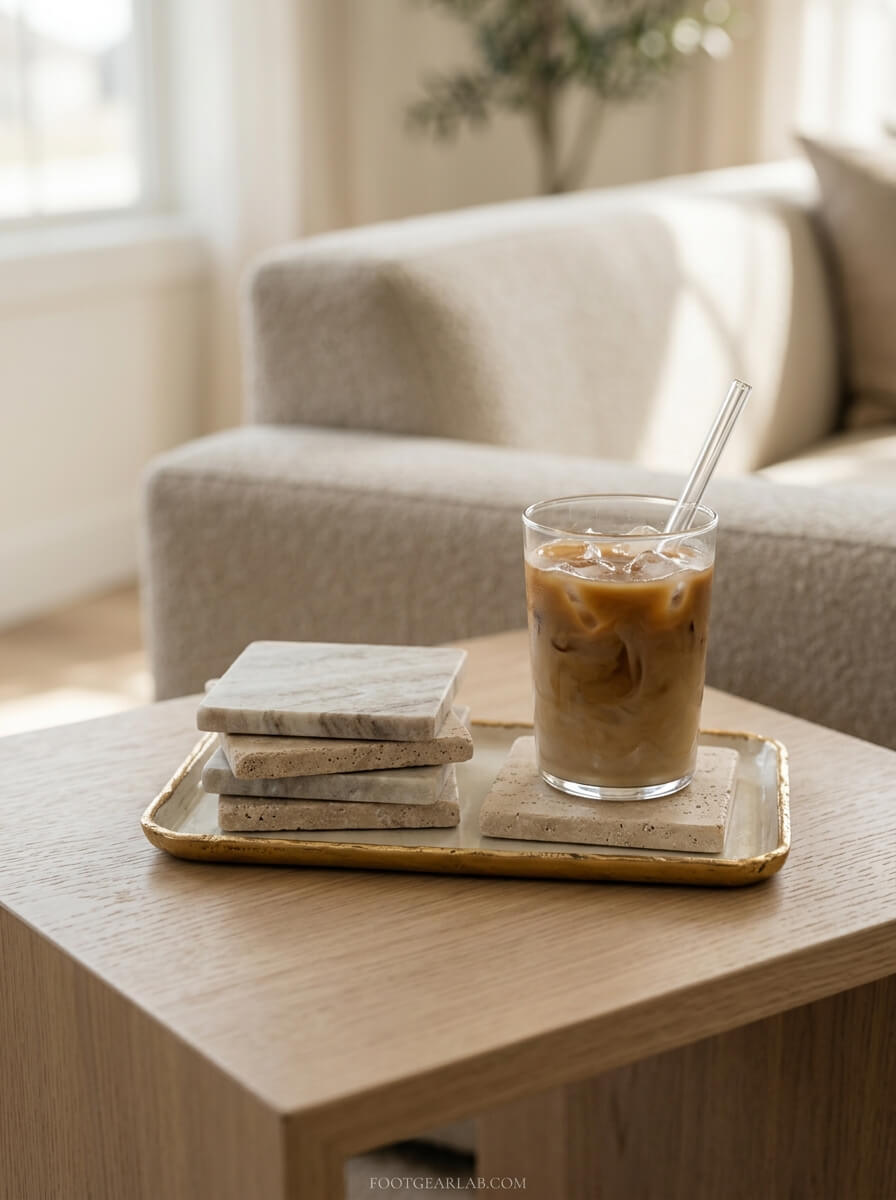
13. Faux Stone Coasters
The look: Marble or travertine coasters from luxury home brands.
You’ll need: Ceramic tiles (hardware store, under $1 each) or dollar store coasters, marble contact paper or textured paint, cork or felt pads.
How to do it:
- Cover the tile with marble contact paper or dab on the baking soda paint mixture (from Hack #1) in beige for a travertine look.
- Seal with a clear waterproof sealant.
- Add felt pads to the bottom to protect your furniture.
Styling tip: Stack them on a small tray with a gold edge for a gift-worthy display.
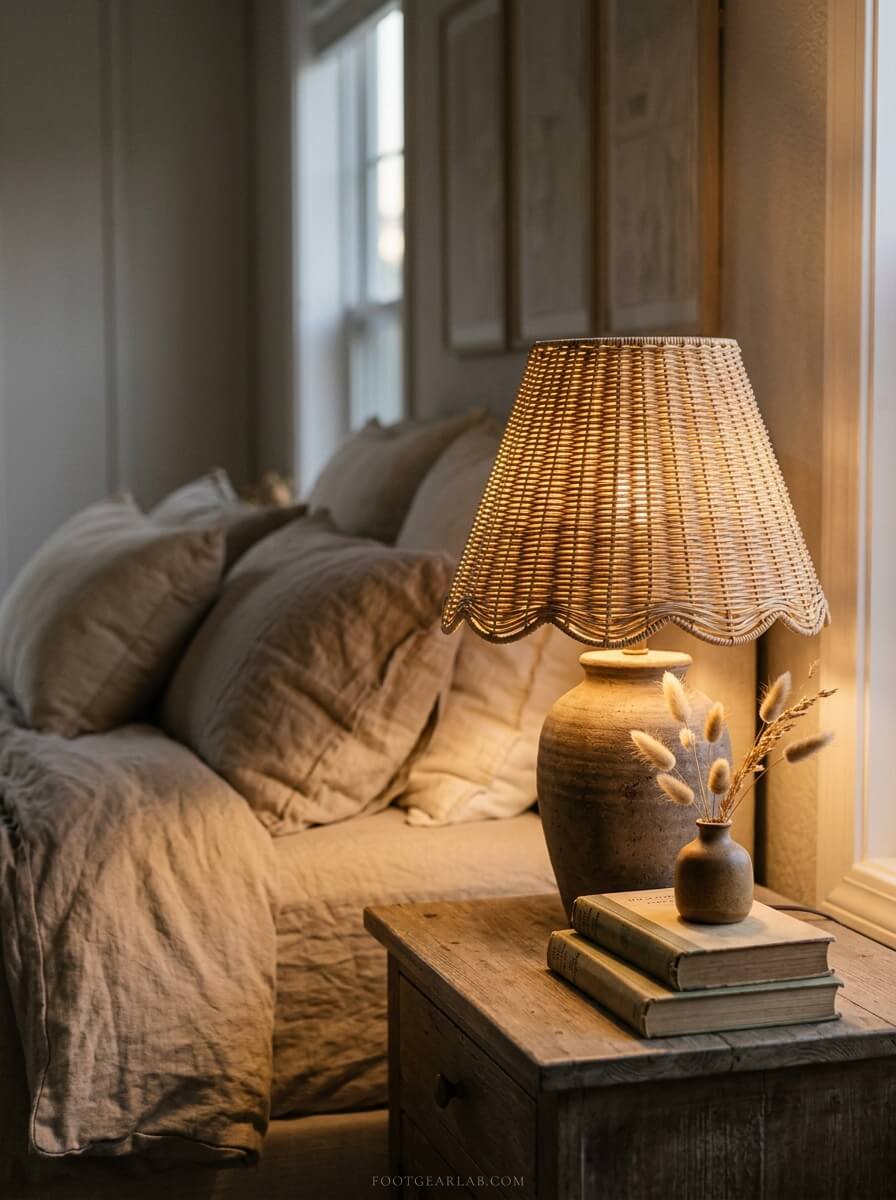
14. Designer-Look Lamp Shade
The look: Pleated, scalloped, or rattan lampshades trending everywhere.
You’ll need: A plain lampshade, ribbon, trim, jute rope, or woven placemats.
How to do it:
- For rattan: Cut woven placemats to fit and glue them around the shade.
- For a scalloped edge: Glue scalloped trim along the bottom.
- For texture: Wrap jute rope tightly around the entire shade.
Styling tip: Use warm-toned LED bulbs (2700K) — warm light instantly looks more expensive than harsh white light.
Safety note: Use LED bulbs only, as they stay cool. Keep glue and fabric away from hot bulbs.
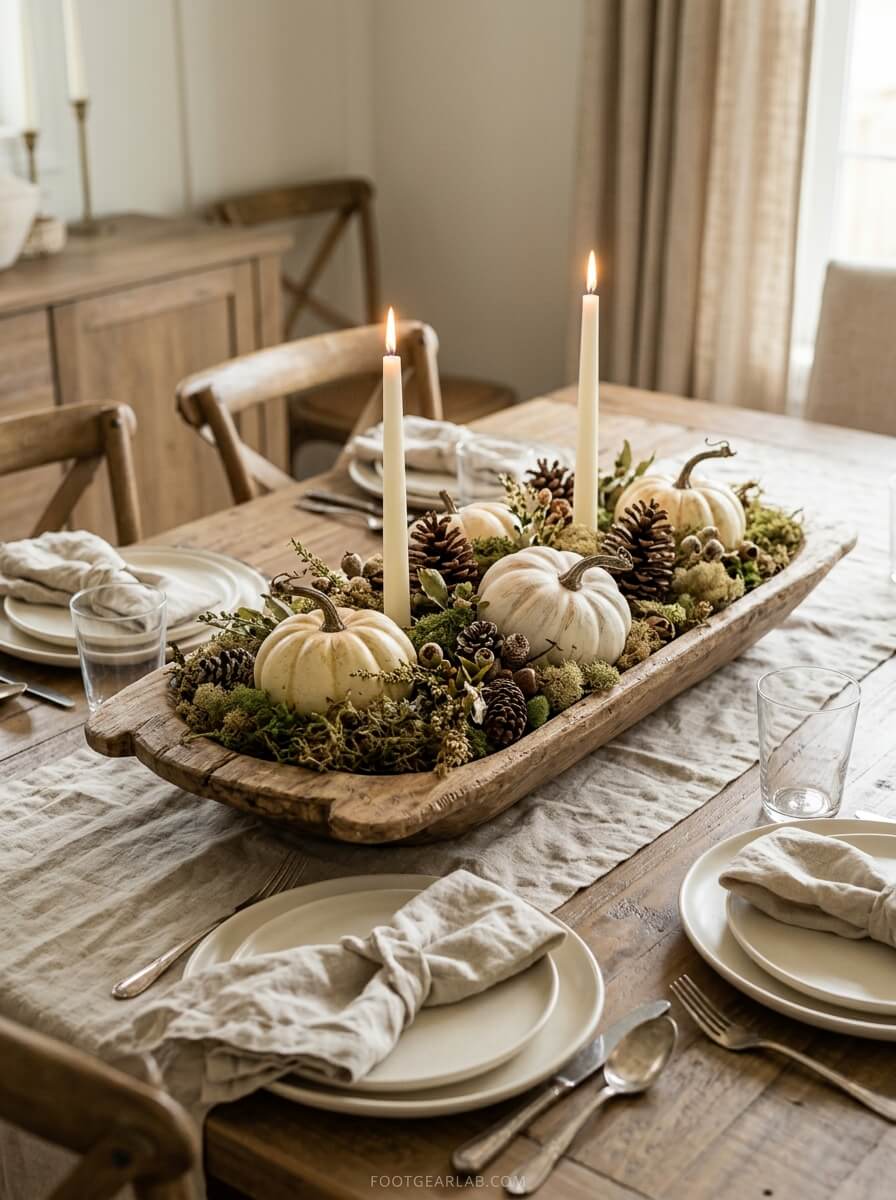
15. Seasonal Centerpiece Bowl
The look: A styled dining table centerpiece you’d see in a magazine.
You’ll need: A large bowl or wooden dough bowl (or a tray), filler items like faux fruit, pinecones, moss, or decorative orbs, candles.
How to do it:
- Spray paint faux fruit or orbs in one muted tone (cream, sage, or terracotta).
- Fill the bowl with a base layer of moss.
- Arrange the items in loose clusters, with one or two candles for height.
- Swap fillers by season: pinecones in fall, ornaments in winter, lemons in summer.
Styling tip: Keep it low enough that people can see each other across the table.
Quick Comparison: Dollar Store DIY vs. Store-Bought
| Item | Store-Bought Price | DIY Cost (Approx.) |
|---|---|---|
| Textured pottery vase | $40–$80 | $3–$5 |
| Marble & gold tray | $35–$60 | $4–$6 |
| Framed gallery art (set of 4) | $80–$200 | $6–$10 |
| Woven planter | $25–$45 | $3–$5 |
| Brass mirror cluster | $100+ | $10–$15 |
| Apothecary jar set | $40–$70 | $5–$8 |
| Wood bead garland | $25–$40 | $3–$5 |
| Rattan lampshade | $50–$90 | $5–$10 |
Prices are general estimates and vary by store and region.
Common Mistakes That Make DIY Look Cheap
- Using glossy paint. Always choose matte or satin finishes.
- Too many colors. Limit yourself to two or three per room.
- Visible glue strings. Clean them off with a hairdryer — they melt away.
- Skipping the second coat. Streaks are the fastest giveaway.
- Displaying everything at once. Rotate pieces seasonally; negative space looks expensive.
- Mismatched metals. Choose one metal finish per room and stay consistent.
Final Thoughts
An expensive-looking home isn’t about how much you spend — it’s about intention. Choose a cohesive palette, favor texture over shine, style in groups, and take your time on the finishing details. With a few dollars and an afternoon, you can create a space that feels personal, polished, and completely Pinterest-worthy.