14. Toe Stand Pose
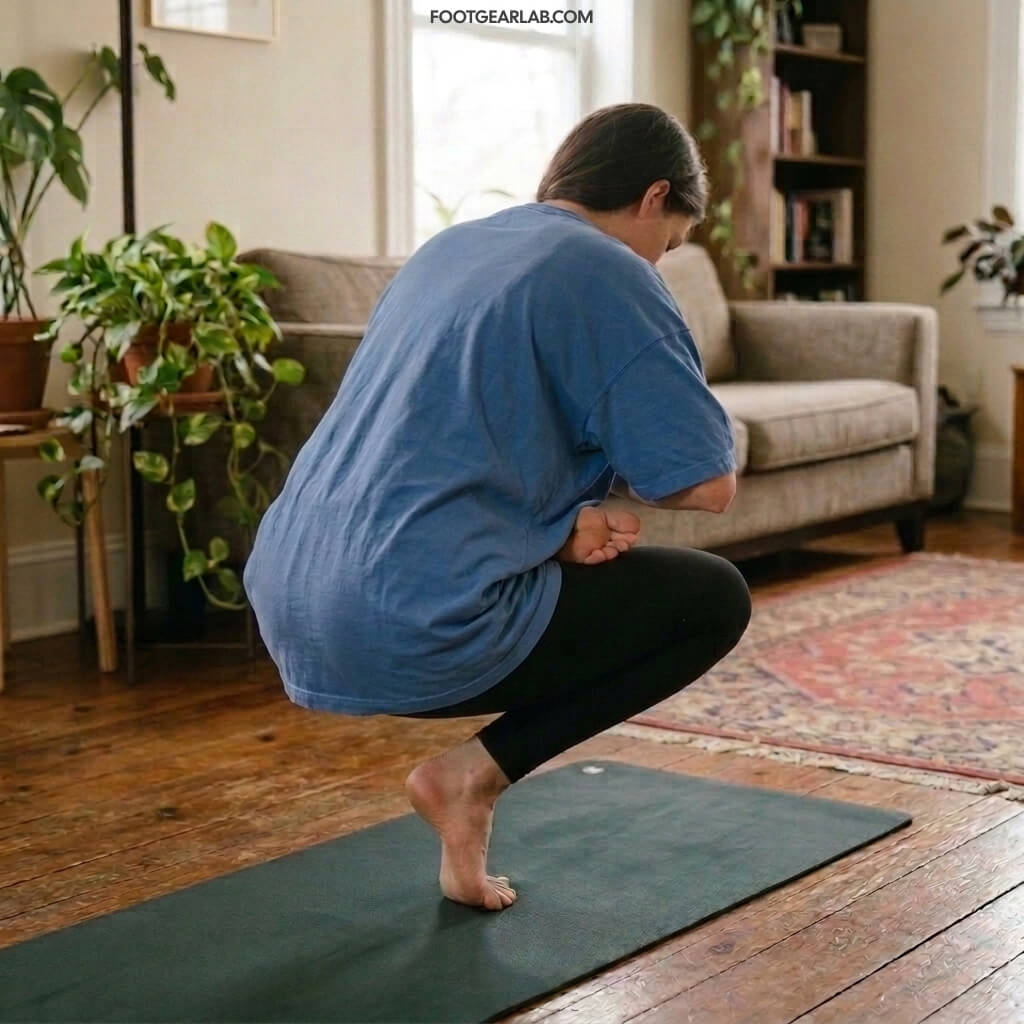
The Toe Stand Pose (Padangusthasana) is an advanced balance drill that strengthens the intrinsic foot muscles, improves ankle stability, and builds intense concentration. For individuals with flat feet (pes planus), this exercise actively engages the arch muscles to support the body’s weight on a reduced base, dramatically enhancing lower-extremity balance and foot control.
Step-by-Step Instructions
-
Starting Position: Stand tall with your feet together, arms resting naturally at your sides.
-
Lift and Place Foot: Shift your weight onto your left foot. Gently bend your right knee, lift your right leg, and place the side of your right foot high onto your left upper thigh (similar to Half-Lotus pose). Bring your hands to your chest in prayer position.
-
Lower to the Floor: Keeping your left leg straight, hinge forward at the hips and lower your hands until your fingertips rest on the floor in front of you for support.
-
Rise onto the Toe & Squat: Slowly bend your left knee, lowering your hips down until you are squatting on your left heel. Shift your weight onto the ball of your left foot so your heel rises off the ground.
-
Find Your Balance: Once stable, slowly lift your hands off the floor and bring your palms back together in front of your chest, balancing entirely on the ball and toes of your left foot. Hold for 5 to 10 seconds.
-
Release: Place your fingertips back on the floor, push through your left leg to straighten it back up, and gently release your right foot to the ground. Switch sides and repeat.
Key Form & Safety Tips
-
Use Modifications (Crucial): This is an advanced yoga pose. If full balance is too difficult, practice performing a simple double-leg or single-leg squat on your toes while holding onto a chair or wall for balance.
-
Keep the Ankle Aligned: Avoid letting your supporting ankle wobble or collapse inward. Keep your weight centered over the ball of the foot and the base of the big toe.
-
Protect Your Knees: If you experience any knee strain or joint sharp pain while bending down, stop immediately and modify to a less intense arch-strengthening exercise like single-leg stands or short-foot holds.
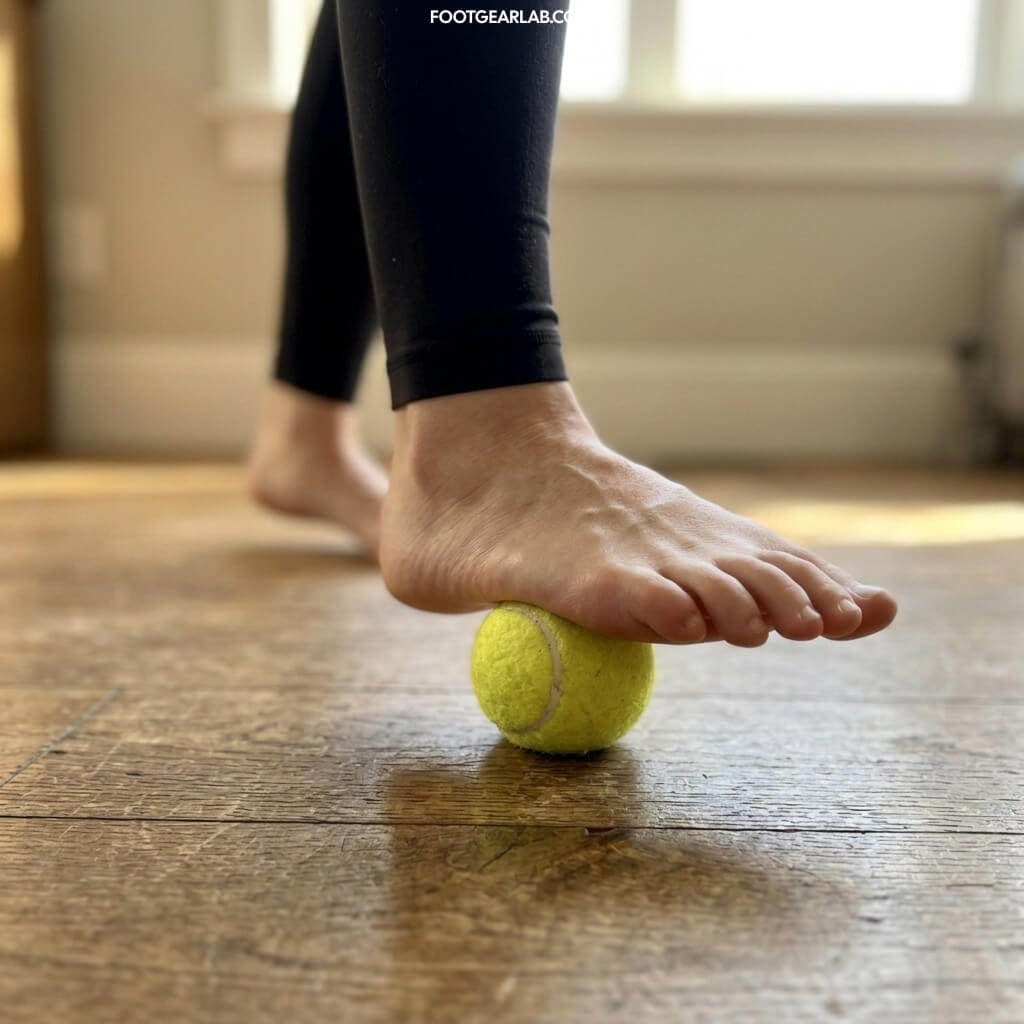
15. Tennis Ball Foot Massage
Rolling a tennis ball under your foot provides a gentle myofascial release, helping to loosen tight connective tissue and ease soreness across the sole. For individuals with flat feet (pes planus), this simple self-massage reduces tension along the plantar fascia, soothes fatigued arches, and promotes healthy blood flow after prolonged standing or exercise.
Step-by-Step Instructions
-
Starting Position: Sit comfortably upright in a chair with your feet flat on the floor. Place a tennis ball on the ground in front of you.
-
Position Your Foot: Place the arch or sole of your bare (or socked) foot directly on top of the tennis ball.
-
Roll Smoothly: Gently roll the ball back and forth along the bottom of your foot, moving from your heel all the way to the ball of your foot and base of your toes.
-
Target Sore Areas: Pause over tight or tender spots along the arch and hold gentle downward pressure for 10 to 15 seconds to help release muscle tightness.
-
Duration: Roll each foot for 2 to 3 minutes, then switch to the opposite foot.
-
Frequency: Perform 1 to 2 times daily, or as needed after long periods of standing or walking.
Key Form & Safety Tips
-
Adjust Pressure Wisely: Because a tennis ball is softer than a golf ball or frozen bottle, it offers a gentle, beginner-friendly massage. Press down as much as feels comfortable, but never force deep pressure.
-
Avoid Pain: You should feel a mild, satisfying release of tension, never sharp or throbbing pain. If you feel sudden discomfort, lighten your pressure or stop immediately.
-
Keep Posture Relaxed: Maintain a tall, comfortable posture in your chair so your lower back stays relaxed while working on your foot.
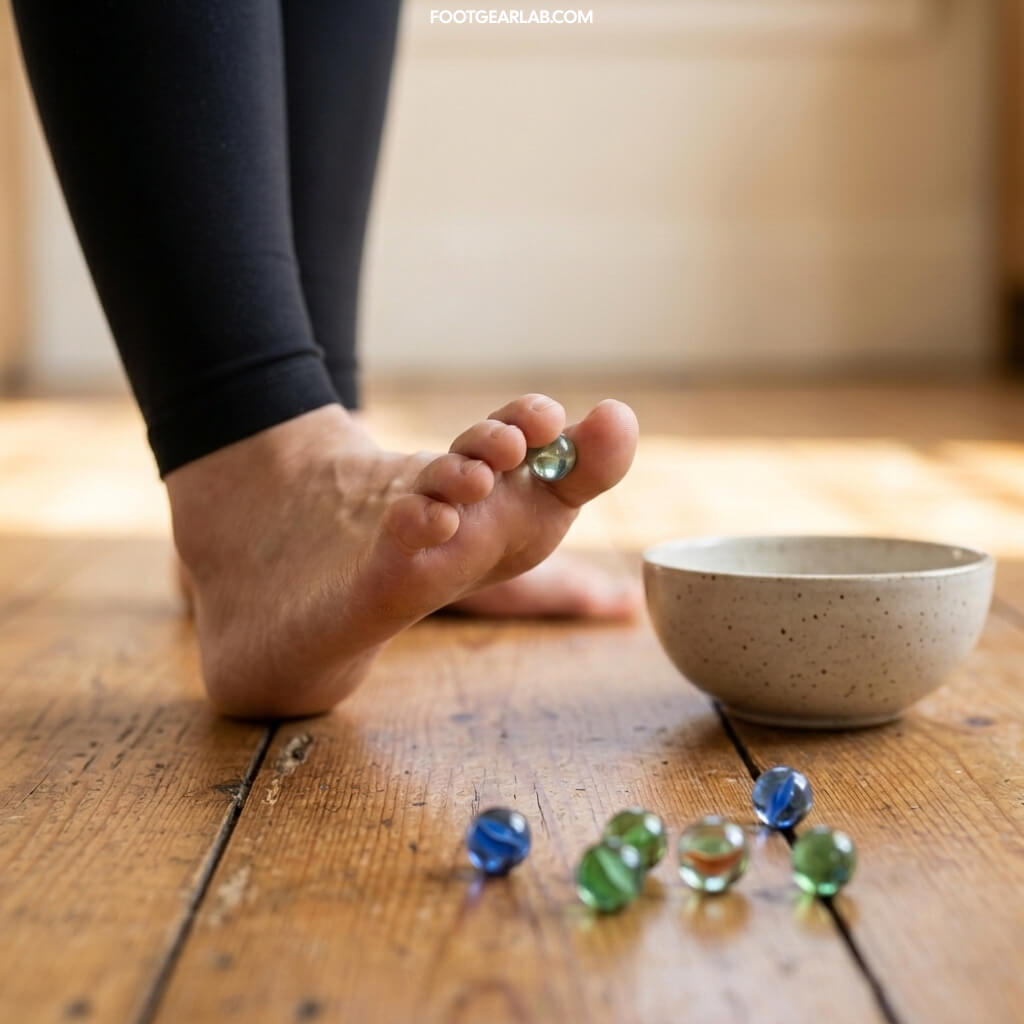
16. Pick Up Marbles
Picking up marbles with your toes is a fun, functional exercise that builds fine motor control and strengthens the small muscles underneath the foot. For individuals with flat feet (pes planus), this exercise directly targets the intrinsic arch muscles, improving foot dexterity, toe strength, and dynamic arch support.
Step-by-Step Instructions
-
Setup: Sit comfortably in a chair with your feet flat on the floor. Place 10 to 20 small marbles on the floor in front of you next to a small bowl or container.
-
Grasp a Marble: Barefoot, reach forward with your toes, spread them slightly, and curl them around a single marble to grip it securely.
-
Lift and Transfer: Lift your foot off the floor while holding the marble, move your foot over the bowl, and release your toes to drop the marble inside.
-
Repeat: Pick up all the marbles one by one until the floor is clear.
-
Switch Feet: Empty the bowl back onto the floor and repeat the process using your opposite foot.
-
Frequency: Complete 1 to 2 sets per foot, once daily.
Key Form & Safety Tips
-
Isolate Foot Movement: Keep the movement controlled by using your foot and ankle muscles rather than swinging your whole leg from the hip.
-
Manage Cramping: Gripping small objects engages underused arch muscles. If your foot begins to cramp, pause, stretch your toes upward, and massage the sole before continuing.
-
Progress the Challenge: Once picking up marbles becomes easy, try placing the bowl slightly farther away or using slightly larger/heavier objects like golf balls or pencil grips.
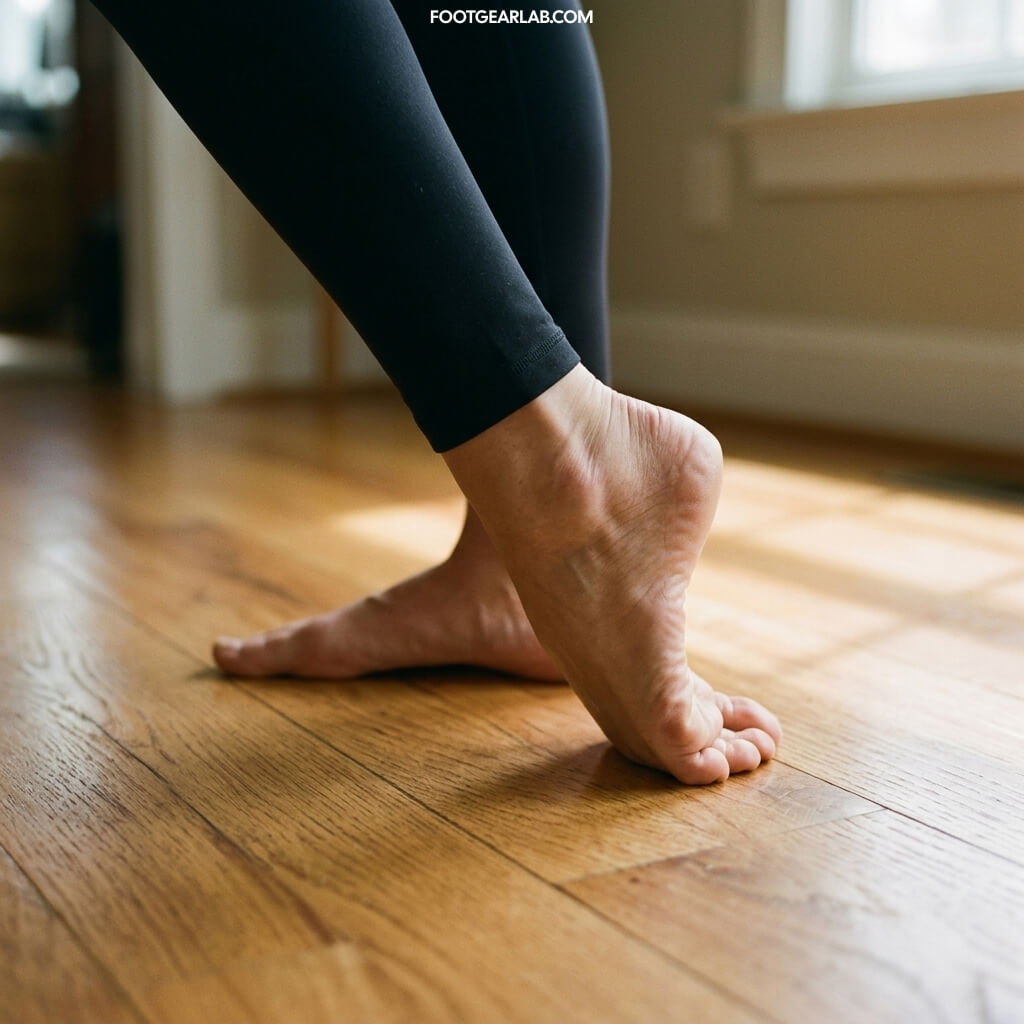
17. Toe Extensors Stretch
Stretching the muscles along the top of your foot (the toe extensors) balances lower leg flexibility and releases tension in the front of the ankle. For individuals with flat feet (pes planus), stretching tight extensor tendons helps improve top-of-foot mobility, balances the arch-building muscles underneath, and prevents anterior ankle stiffness.
Step-by-Step Instructions
-
Starting Position: Stand tall near a wall, counter, or chair, placing one hand on it for support and stability.
-
Step Back & Curl Toes: Step your right foot slightly behind you. Gently curl your toes backward so the tops (fronts) of your toes and the top of your foot rest against the floor, with your heel lifted upward.
-
Apply Light Pressure: Gently press forward through your ankle to increase the stretch across the top of your foot and the front of your shin.
-
Hold the Stretch: Maintain this position for 20 to 30 seconds while breathing steadily. You should feel a smooth stretch along the top of your foot. (Release immediately if you feel a cramp starting in your arch).
-
Switch Sides: Return your right foot to the starting position and repeat the stretch with your left foot.
-
Frequency: Perform 2 to 3 repetitions per foot, 1 to 2 times daily.
Key Form & Safety Tips
-
Do Not Force Cramps: Avoid holding the stretch until an arch cramp develops. A mild, comfortable stretch on top of the foot is effective—forcing a cramp causes unnecessary muscle fatigue and strain in flat feet.
-
Control the Weight: Keep most of your body weight on your front leg and use your hand support so you don’t crush your back toes into the ground.
-
Keep Heels Upright: Keep your back heel pointing straight up toward the ceiling rather than flopping outward or inward to ensure an even stretch across all toe extensors.
18. Toe Raises
Toe raises strengthen the lower leg muscles and ankle stabilizers while improving circulation and foot control. For individuals with flat feet (pes planus), performing single-leg or alternating heel raises helps train the ankles to stay upright, reduces inward rolling (overpronation), and builds dynamic arch support.
Step-by-Step Instructions
-
Starting Position: Stand tall with your feet slightly apart, placing a hand against a wall, counter, or sturdy chair for balance and support.
-
Shift and Lift: Shift your weight onto one foot while lifting the opposite foot slightly off the floor. Push down through the ball of your working foot and slowly raise your heel as high as possible.
-
Hold Briefly: Pause at the top of the movement for 1 to 2 seconds to maximize calf and ankle engagement.
-
Lower with Control: Slowly lower your heel back down flat to the floor in a smooth, controlled motion.
-
Switch Sides: Complete 10 to 12 repetitions on one leg, then switch and repeat with the opposite foot.
-
Frequency: Perform 2 to 3 sets per leg, daily.
Key Form & Safety Tips
-
Prevent Overpronation: A common tendency with flat feet is letting the ankle roll inward as you rise onto your toes. Keep your ankle tracking straight forward, pressing evenly through the base of your big and second toes.
-
Avoid Momentum: Do not bounce or rush the movement. Controlled lifting and lowering are essential for building true ankle stability and arch protection.
-
Use Support for Form: Always keep a light touch on a wall or handrail if needed. Proper alignment takes precedence over unassisted balance when conditioning flat feet.
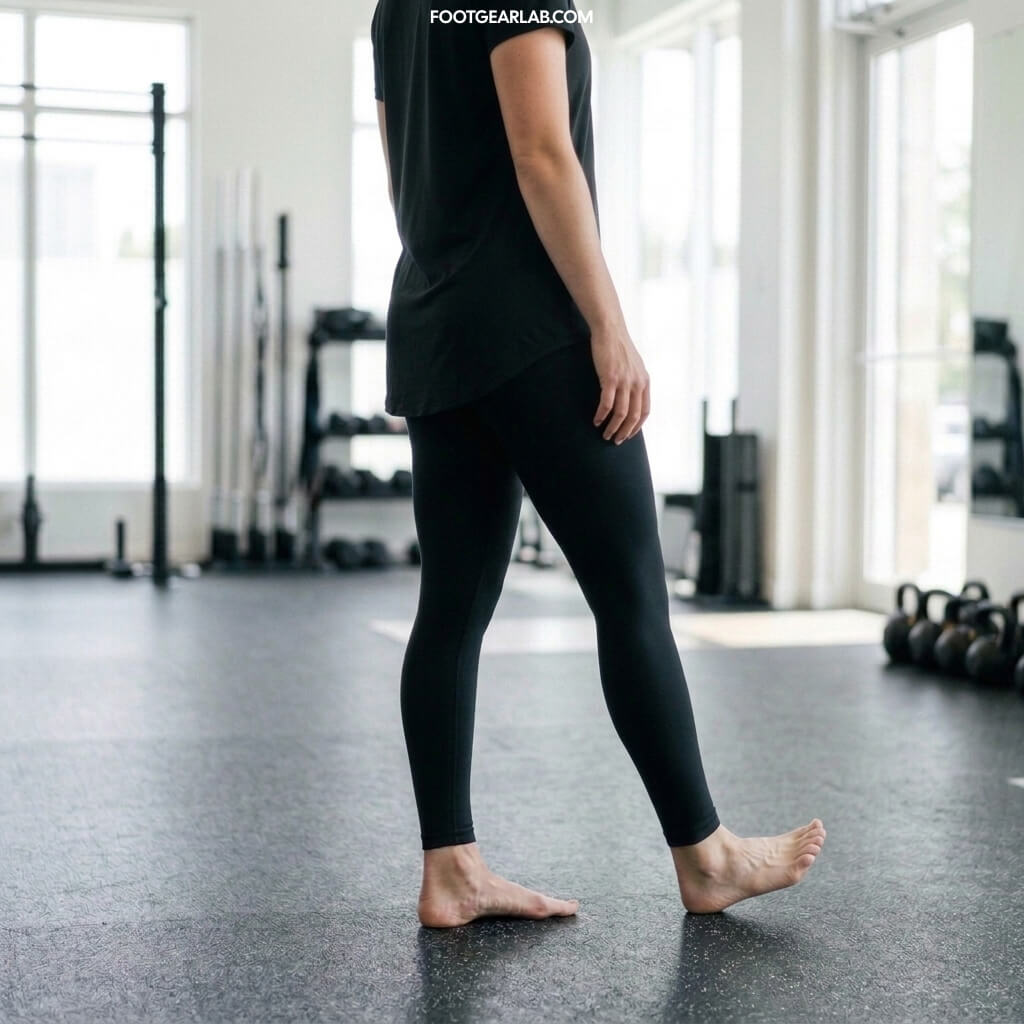
19. Toe Running
Forefoot running—landing primarily on the balls of the feet with heels elevated—alters lower-limb biomechanics during movement. For individuals with flat feet (pes planus), practicing controlled forefoot running drills can encourage engagement of the calves and intrinsic foot muscles, though it requires a careful, gradual approach to prevent overloading the Achilles tendon and lower leg.
Step-by-Step Instructions
-
Warm-Up First: Always begin with a thorough warm-up, including calf stretches and foot mobilizations, before attempting any forefoot running or jogging drills.
-
Posture & Alignment: Stand tall with a slight forward lean originating from your ankles (not your waist), keeping your core engaged and your gaze forward.
-
Forefoot Strike: Jog or run forward while landing on the balls of your feet and forefoot, keeping your heels slightly elevated and preventing a heavy, flat-footed heel-strike.
-
Short, Light Strides: Keep your steps short, quick, and light (“bouncy”), landing each foot directly beneath your center of gravity to minimize jarring impact.
-
Duration: Start with very brief intervals—such as 30 to 60 seconds of light forefoot jogging on a smooth, flat surface—before returning to your standard walking or running pace.
Key Form & Safety Tips
-
Progress Very Gradually: Forefoot running places significantly higher demands on your calves, Achilles tendons, and foot arches. Introduce these movements in small increments to allow your flat feet time to adapt safely.
-
Avoid Over-Tensing: While your forefoot remains active, ensure you are not aggressively clawing your toes into the ground. Keep your ankles springy, fluid, and controlled.
-
Listen to Your Body: If you experience sharp pain in your arches, calves, or heels, stop the drill immediately and revert to lower-impact stability exercises.
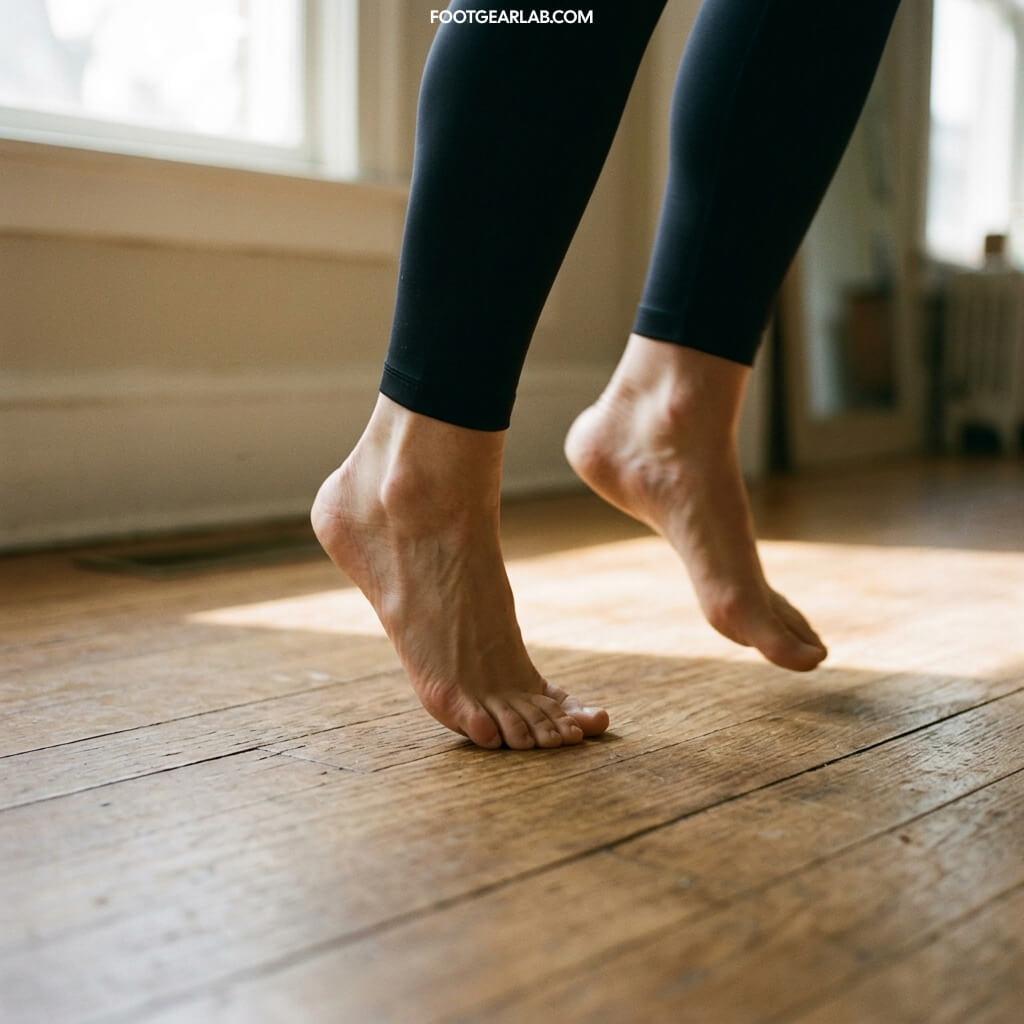
20. Walking Barefoot
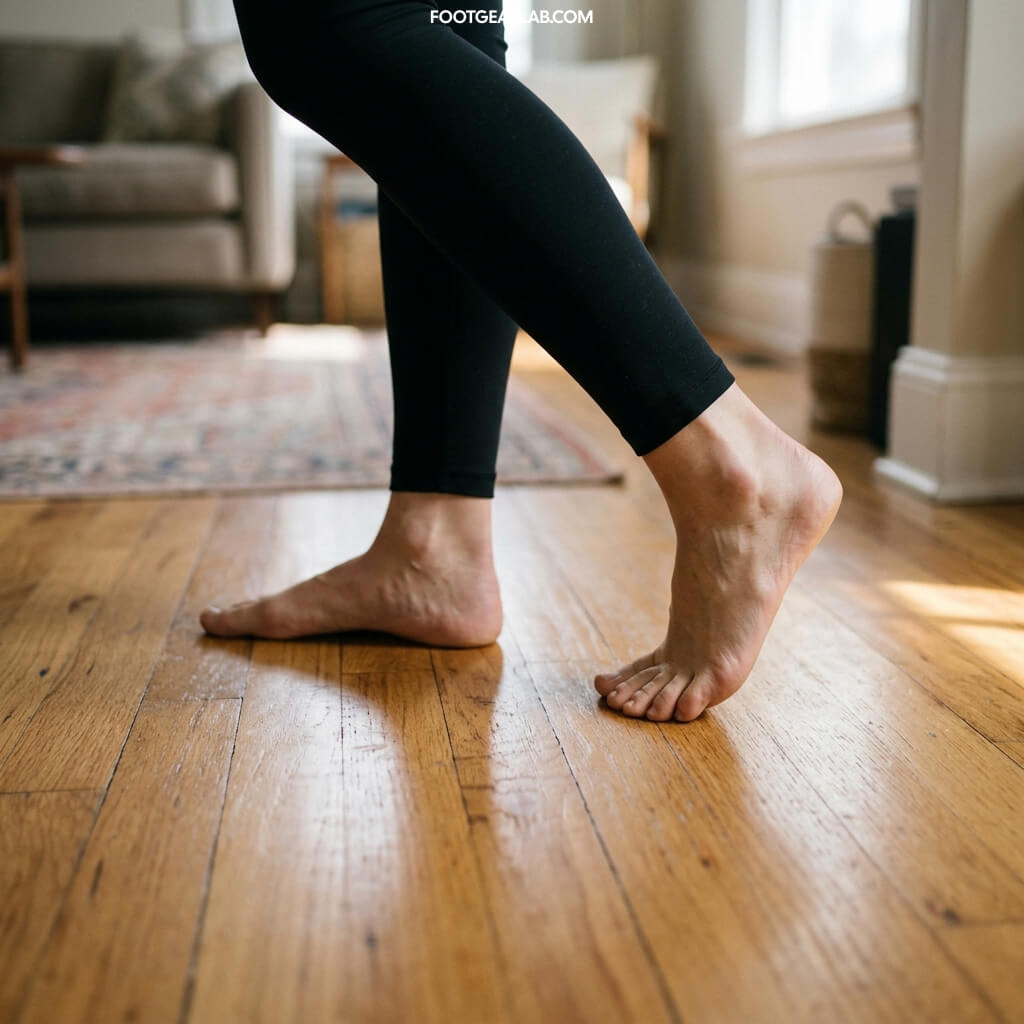
Walking barefoot encourages the natural movement of the foot, allowing the toes to spread and activating the deep intrinsic muscles of the sole. For individuals with flat feet (pes planus), gradual and controlled barefoot walking can help reawaken weakened arch muscles, improve sensory feedback from the ground, and restore natural biomechanics.
Step-by-Step Instructions
-
Choose the Right Surface: Start on forgiving, natural, or cushioned surfaces—such as smooth grass, clean sand, a thick carpet, or a soft exercise mat. Avoid starting on hard, unyielding surfaces like concrete or tile.
-
Focus on Stride and Posture: Walk tall with your shoulders relaxed. Step forward letting your foot roll naturally from heel-to-midfoot to push-off through the toes, focusing on light, quiet steps.
-
Engage the Arches: Actively think about spreading your toes as your forefoot strikes the ground, avoiding the tendency to collapse your inner ankle inward (overpronate).
-
Start with Short Intervals: Begin with 5 to 10 minutes of barefoot walking per day on soft surfaces, gradually allowing your feet and ankles to adapt to the lack of shoe support.
Key Form & Safety Tips
-
Progress Slowly: Years of wearing supportive footwear mean the small muscles in your feet need time to adapt. Transitioning to barefoot walking too quickly can cause overuse strain in the plantar fascia or calves.
-
Inspect the Surface: Always inspect your path for sharp objects, uneven ground, or hazards that could cause cuts or trips.
-
Listen to Discomfort: If you experience sharp pain in your arches, heels, or ankles, stop and rest. Gentle fatigue is normal, but sharp pain indicates your feet need more time to build strength through targeted exercises first.
Would you like me to compile all these exercises into a complete, structured daily routine or weekly schedule for flat feet?
Daily Flat Feet Conditioning Routine
Total Time: Approx. 15–20 minutes per day
Part 1: Morning Wake-Up & Release (5 Minutes)
Goal: Relieve overnight stiffness, loosen the plantar fascia, and prepare the feet for the day.
-
Can / Tennis Ball Roll: 1–2 minutes per foot. Roll your bare foot over a tennis ball, golf ball, or can to release tension across the arch. Pause on tender spots.
-
Plantar Fascia & Big Toe Stretch: 3 repetitions per foot (20–30 second holds). Gently pull back on your big toe or use a towel wrap to stretch the arch.
-
Toe Extensors Stretch: 2 repetitions per foot (20–30 second holds). Gently stretch the top of your foot and ankle to balance lower-leg flexibility.
Part 2: Midday Activation & Mobility (5 Minutes)
Goal: Reawaken dormant intrinsic arch muscles and improve toe dexterity.
-
Short Foot Exercise: 10 repetitions per foot (hold each for 5–10 seconds). Practice seated or standing to dome your arch without curling your toes.
-
Toe Spreads: 10–15 repetitions. Lift and separate your toes, anchor your big toe, and lower the rest.
-
Towel Toe Curls OR Marble Pickups: 3 full towel pulls or 1–2 sets of marble pickups per foot to build strength in the foot bed.
Part 3: Evening Strength & Stability (5–10 Minutes)
Goal: Build calf and ankle stability, reinforce arch control, and prevent overpronation.
-
Pointing the Toes / Alphabet: 10 repetitions per foot. Point and flex, or draw the alphabet in the air to unlock ankle mobility.
-
Stair Heel Raises (or Standard Heel Raises): 2 sets of 10–15 repetitions. Use a wall or handrail for balance, focusing on keeping your ankles tracking straight without rolling inward.
-
Single-Leg Stand: 2–3 sets per leg (30–60 second holds). Keep your standing ankle active and your inner arch lifted.
-
Toe Stand Pose (Advanced Option): Perform 1–2 careful repetitions per leg if you are comfortable with advanced balance work, or substitute with a gentle toe squat.
Weekly Integration Tips
-
Consistency over Intensity: Doing 10 minutes daily is far more effective than doing an hour once a week.
-
Barefoot Integration: Gradually incorporate 5–10 minutes of controlled barefoot walking on soft indoor surfaces (like carpets or rugs) to allow your newly strengthened muscles to adapt naturally.
-
Listen to Your Body: Mild muscle fatigue or a brief arch cramp when starting out is normal as unused muscles wake up. However, if you experience sharp or persistent pain, back off, rest, and reduce the intensity.
Consult a Podiatrist, Doctor or a Physical Therapist
A podiatrist is a medical professional with qualification to treat aching feet. A physical therapist is trained to help patients reduce pain and improve their mobility. If you have a wound or sore on your foot, especially if you’re diabetic, infections, discoloration, itching and pain on your feet can be heightened with exercises. Consult a podiatrist or a physical therapist for further medication.