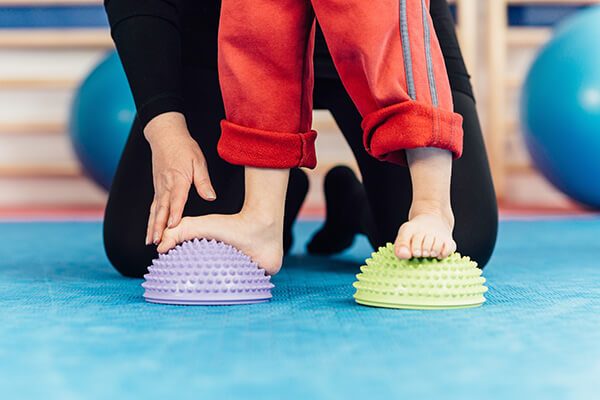
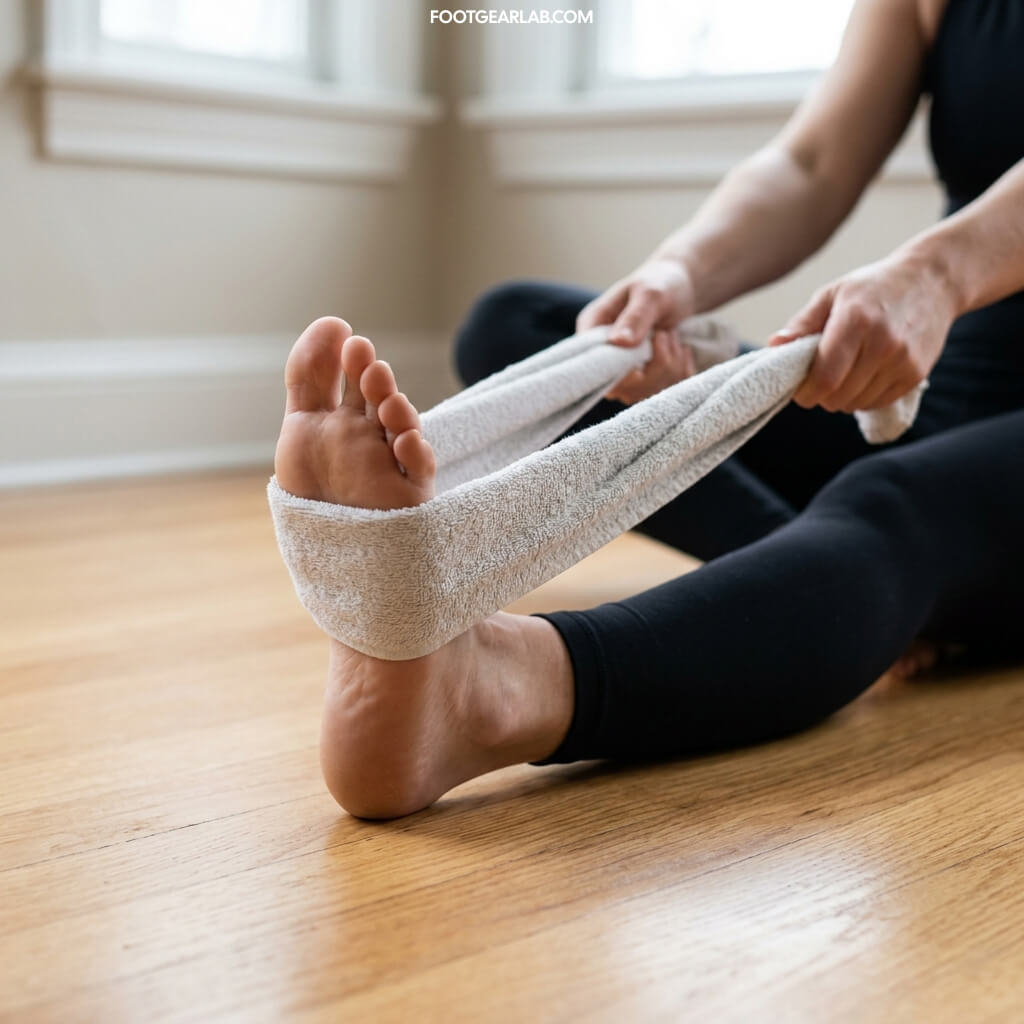
9. Towel Stretch
Stretching the calves and Achilles tendons with a towel relieves tension built up from prolonged standing or walking. For individuals with flat feet (pes planus), the towel stretch helps reduce tightness in the lower leg and foot, restoring flexibility to the arch and preventing heel strain.
Step-by-Step Instructions
-
Starting Position: Sit on a yoga mat or firm bed with your legs extended straight out in front of you and your back upright.
-
Position the Towel: Wrap a folded towel (or exercise strap) around the ball of one foot, holding an end of the towel firmly in each hand.
-
Pull and Stretch: Keeping your knee completely straight, gently pull the towel toward your torso so your toes and forefoot bend back toward your shin.
-
Hold the Position: Hold the stretch for 20 to 30 seconds while breathing steadily. You should feel a smooth stretch through your arch, heel, and calf muscle.
-
Switch Sides: Release the pull, relax the foot, and repeat with your opposite leg.
-
Frequency: Perform 3 repetitions per foot, 2 to 3 times per day (especially after long periods of standing or walking).
Key Form & Safety Tips
-
Keep the Knee Straight: Avoid bending the knee on the stretched leg. Keeping it locked straight ensures you are stretching both the upper calf and the Achilles connection that impacts foot alignment.
-
Maintain Back Posture: Sit up tall rather than hunching over your legs to avoid straining your lower back while pulling the towel.
-
Control the Tension: Pull gently and evenly with both hands. You should feel a satisfying, steady pull—never sharp or stabbing pain in the arch or back of the knee.
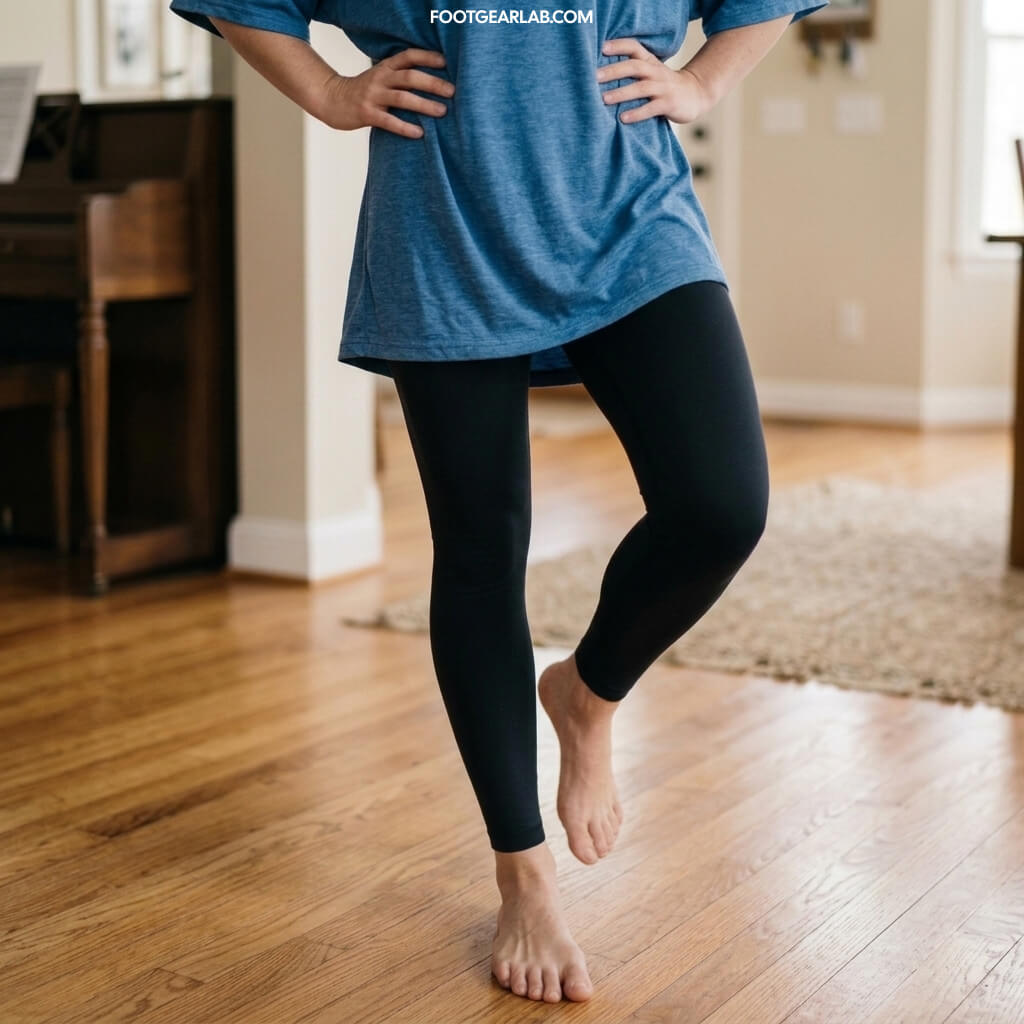
10. Single Leg Stand
The single-leg stand trains core and lower-extremity stability, forcing the deep muscles of the foot and ankle to actively stabilize the body. For individuals with flat feet (pes planus), this exercise builds endurance in the intrinsic arch muscles, improves ankle proprioception, and prevents the foot from collapsing inward under body weight.
Step-by-Step Instructions
-
Starting Position: Stand upright near a wall, counter, or sturdy chair for safety. Place your feet slightly apart with your toes pointing straight forward.
-
Engage and Align: Soften your knees slightly (a micro-bend) to keep your pelvis level and prevent your hips from shifting sideways.
-
Lift One Leg: Gently lift one foot a few inches off the floor while keeping your standing foot firmly planted. Distribute your weight evenly across the heel and the base of your big and little toes.
-
Maintain Balance: Keep your upper body upright and stable. Resist the urge to lean your torso to the side or let your standing ankle roll inward (overpronate).
-
Hold and Switch: Hold the position for 30 to 60 seconds, breathing steadily, then lower your foot and repeat on the opposite leg.
-
Frequency: Perform 2 to 3 sets per leg, daily.
Key Form & Safety Tips
-
Stabilize the Arch: Pay close attention to your standing foot. Keep your inner arch lifted and your ankle active rather than letting it cave inward toward the floor.
-
Use Support As Needed: Do not hesitate to lightly touch a fingertip to a nearby wall if you lose balance. Perfect form and ankle stability are more important than doing it completely unsupported right away.
-
Progress Gradually: Once you can comfortably hold a stable single-leg stance on flat ground, you can progress by closing your eyes or standing on an unstable surface like a folded towel or balance pad to further challenge your ankle stability.
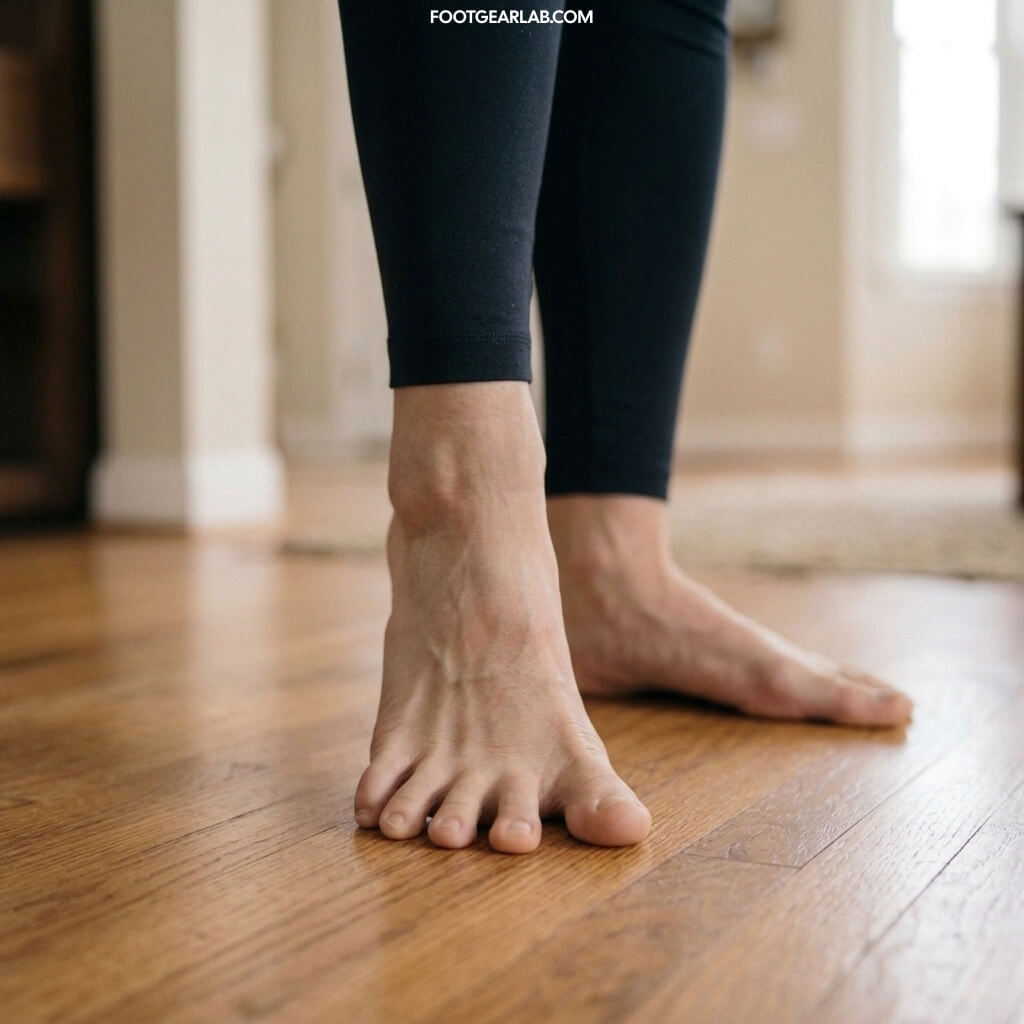
11. Toe Spreads
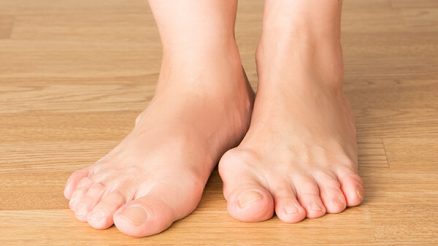
Toe spreads improve forefoot alignment, encourage independent movement of the digits, and create a wider, more stable base of support. For individuals with flat feet (pes planus), this exercise helps correct toe drift, relieves tension across the ball of the foot, and encourages proper weight distribution during standing and walking.
Step-by-Step Instructions
-
Starting Position: Sit comfortably in a chair with your feet flat on the floor, barefoot, and your knees bent at a 90-degree angle.
-
Lift and Separate: Lift all of your toes off the floor and actively spread them apart as wide as you possibly can.
-
Anchor the Big Toe: Press your big toe firmly down onto the ground while keeping your smaller toes elevated and separated.
-
Lower the Smaller Toes: Gently press your remaining smaller toes down to the floor one by one, keeping them spread wide to create a broad footprint.
-
Relax and Repeat: Hold the position for 3 to 5 seconds, relax your feet completely, and repeat for 10 to 15 repetitions.
-
Frequency: Perform this exercise 1 to 2 times daily.
Key Form & Safety Tips
-
Be Patient with Coordination: It is very common to struggle with spreading or independently moving your toes when first starting out. With consistent practice, neuromuscular control will improve.
-
Avoid Excessive Gripping: Focus on a flat, wide placement rather than aggressively clawing or curling your toes into the floor.
-
Keep Heels Grounded: Ensure your heels remain resting flat and steady on the ground throughout the entire exercise to isolate the movement to your forefoot and toes.
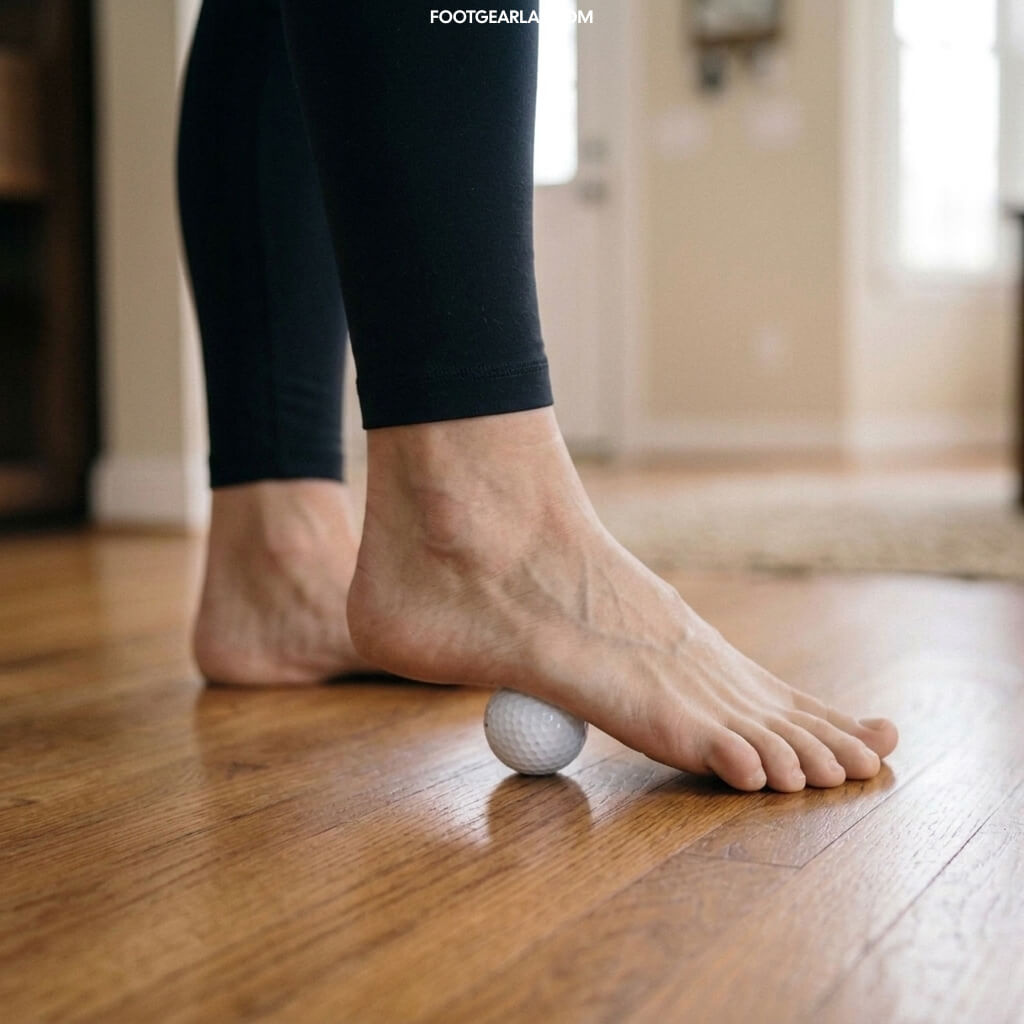
12. Can Roll or Golf Ball Stretch
Rolling the foot over a ball or can provides myofascial release, helping to loosen tight connective tissue and alleviate tension across the sole. For individuals with flat feet (pes planus), this exercise relieves chronic tightness in the plantar fascia, reduces arch and heel discomfort, and improves overall flexibility in the foot’s soft tissues.
Step-by-Step Instructions
-
Starting Position: Sit comfortably in a chair with your back straight and your feet flat on the floor. Place a golf ball, tennis ball, or a small soda can on the floor in front of you.
-
Position Your Foot: Rest the arch of your bare foot lightly on top of the ball or can.
-
Roll Back and Forth: Slowly roll the object back and forth along the bottom of your foot, moving from the base of your toes down to your heel.
-
Target Tender Spots: When you locate a particularly tight or tender area, pause and apply gentle, sustained downward pressure for 10 to 15 seconds before continuing the rolling motion.
-
Duration: Roll each foot for 1 to 2 minutes, then switch to the opposite foot.
-
Frequency: Perform this exercise 1 to 2 times daily, especially after long periods of standing or walking.
Key Form & Safety Tips
-
Regulate the Pressure: Control how much body weight you press down onto the ball. Start with light pressure and gradually increase it as your foot adapts.
-
Listen to Your Body: A mild, achy discomfort during release is normal on tight tissue, but you should never experience sharp or intense pain. If it hurts too sharply, ease up on the pressure immediately.
-
Choose Your Object Wisely: A tennis ball provides a softer, gentler massage, while a golf ball or frozen water bottle offers a deeper, more targeted release for stubborn tightness.
13. Pointing the Toes
Pointing and articulating the toes improves ankle mobility, engages the intrinsic foot muscles, and enhances neuromuscular control of the lower leg. For individuals with flat feet (pes planus), this exercise builds dynamic control through a full range of motion, helping to prevent stiffness and support better foot alignment.
Step-by-Step Instructions
-
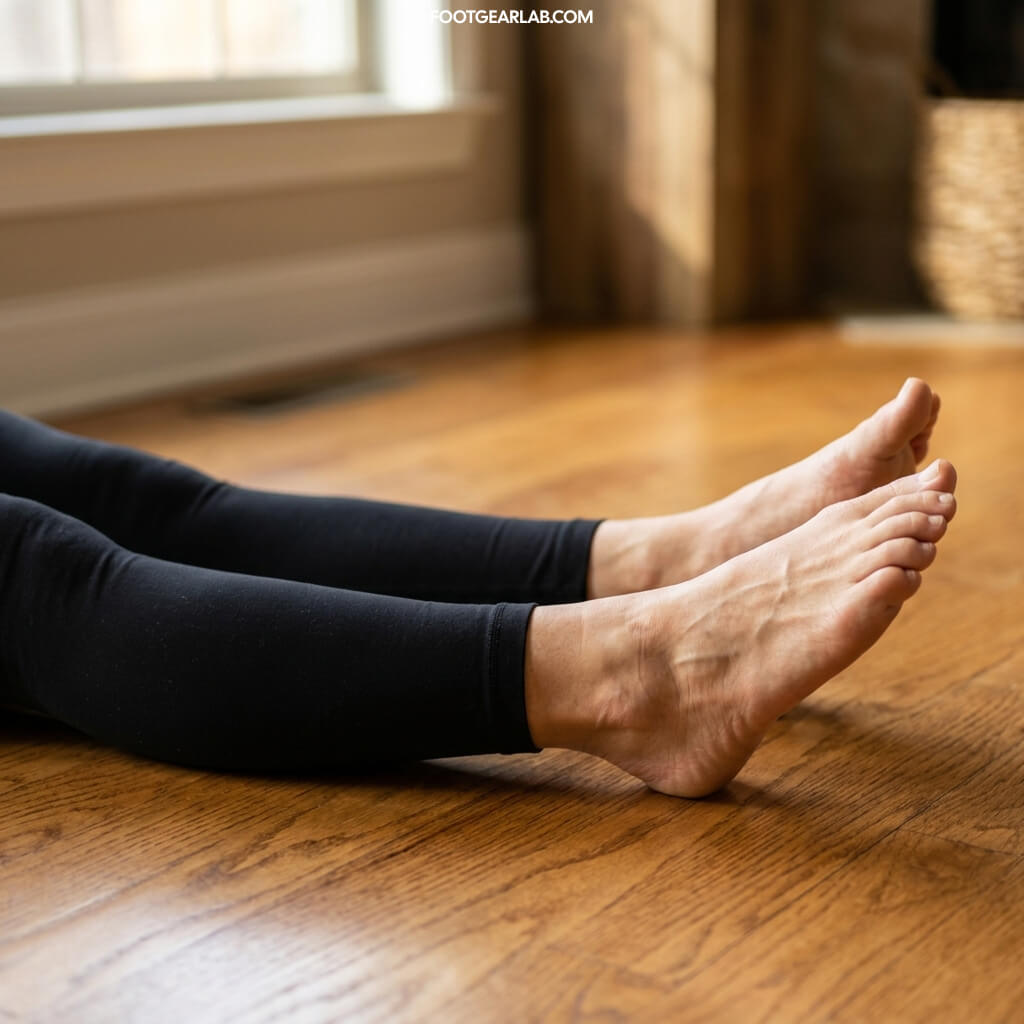
Starting Position: Sit comfortably on a chair, bed, or the floor with your legs extended straight out in front of you (or sitting with knees bent).
-
Point and Flex: Point your toes forward toward an object in the room as if trying to touch it with your big toe. Hold this pointed position for 10 seconds, feeling the stretch along the top of your foot and ankle.
-
Flex Back: Pull your toes and foot back toward your shin (flexing) to stretch your calf and Achilles tendon, holding for another 5 to 10 seconds.
-
Alternative Movement (Alphabet Circles): Alternatively, point your toes and slowly “draw” the letters of the alphabet in the air, or rotate your ankle in smooth, wide circles clockwise and counterclockwise.
-
Repetition: Perform this exercise 10 times per foot daily. You can do both feet together or one at a time.
Key Form & Safety Tips
-
Move Through Full Range: Focus on slow, deliberate movements rather than rushing. Maximizing the range of motion helps unlock stiffness in the ankle joint and midfoot.
-
Avoid Cramping: If your arch or foot begins to cramp during pointing or flexing, pause, relax your foot, and massage the area before resuming.
-
Keep Movements Smooth: Ensure the movement comes from your ankle and foot rather than twisting your entire leg or hip.