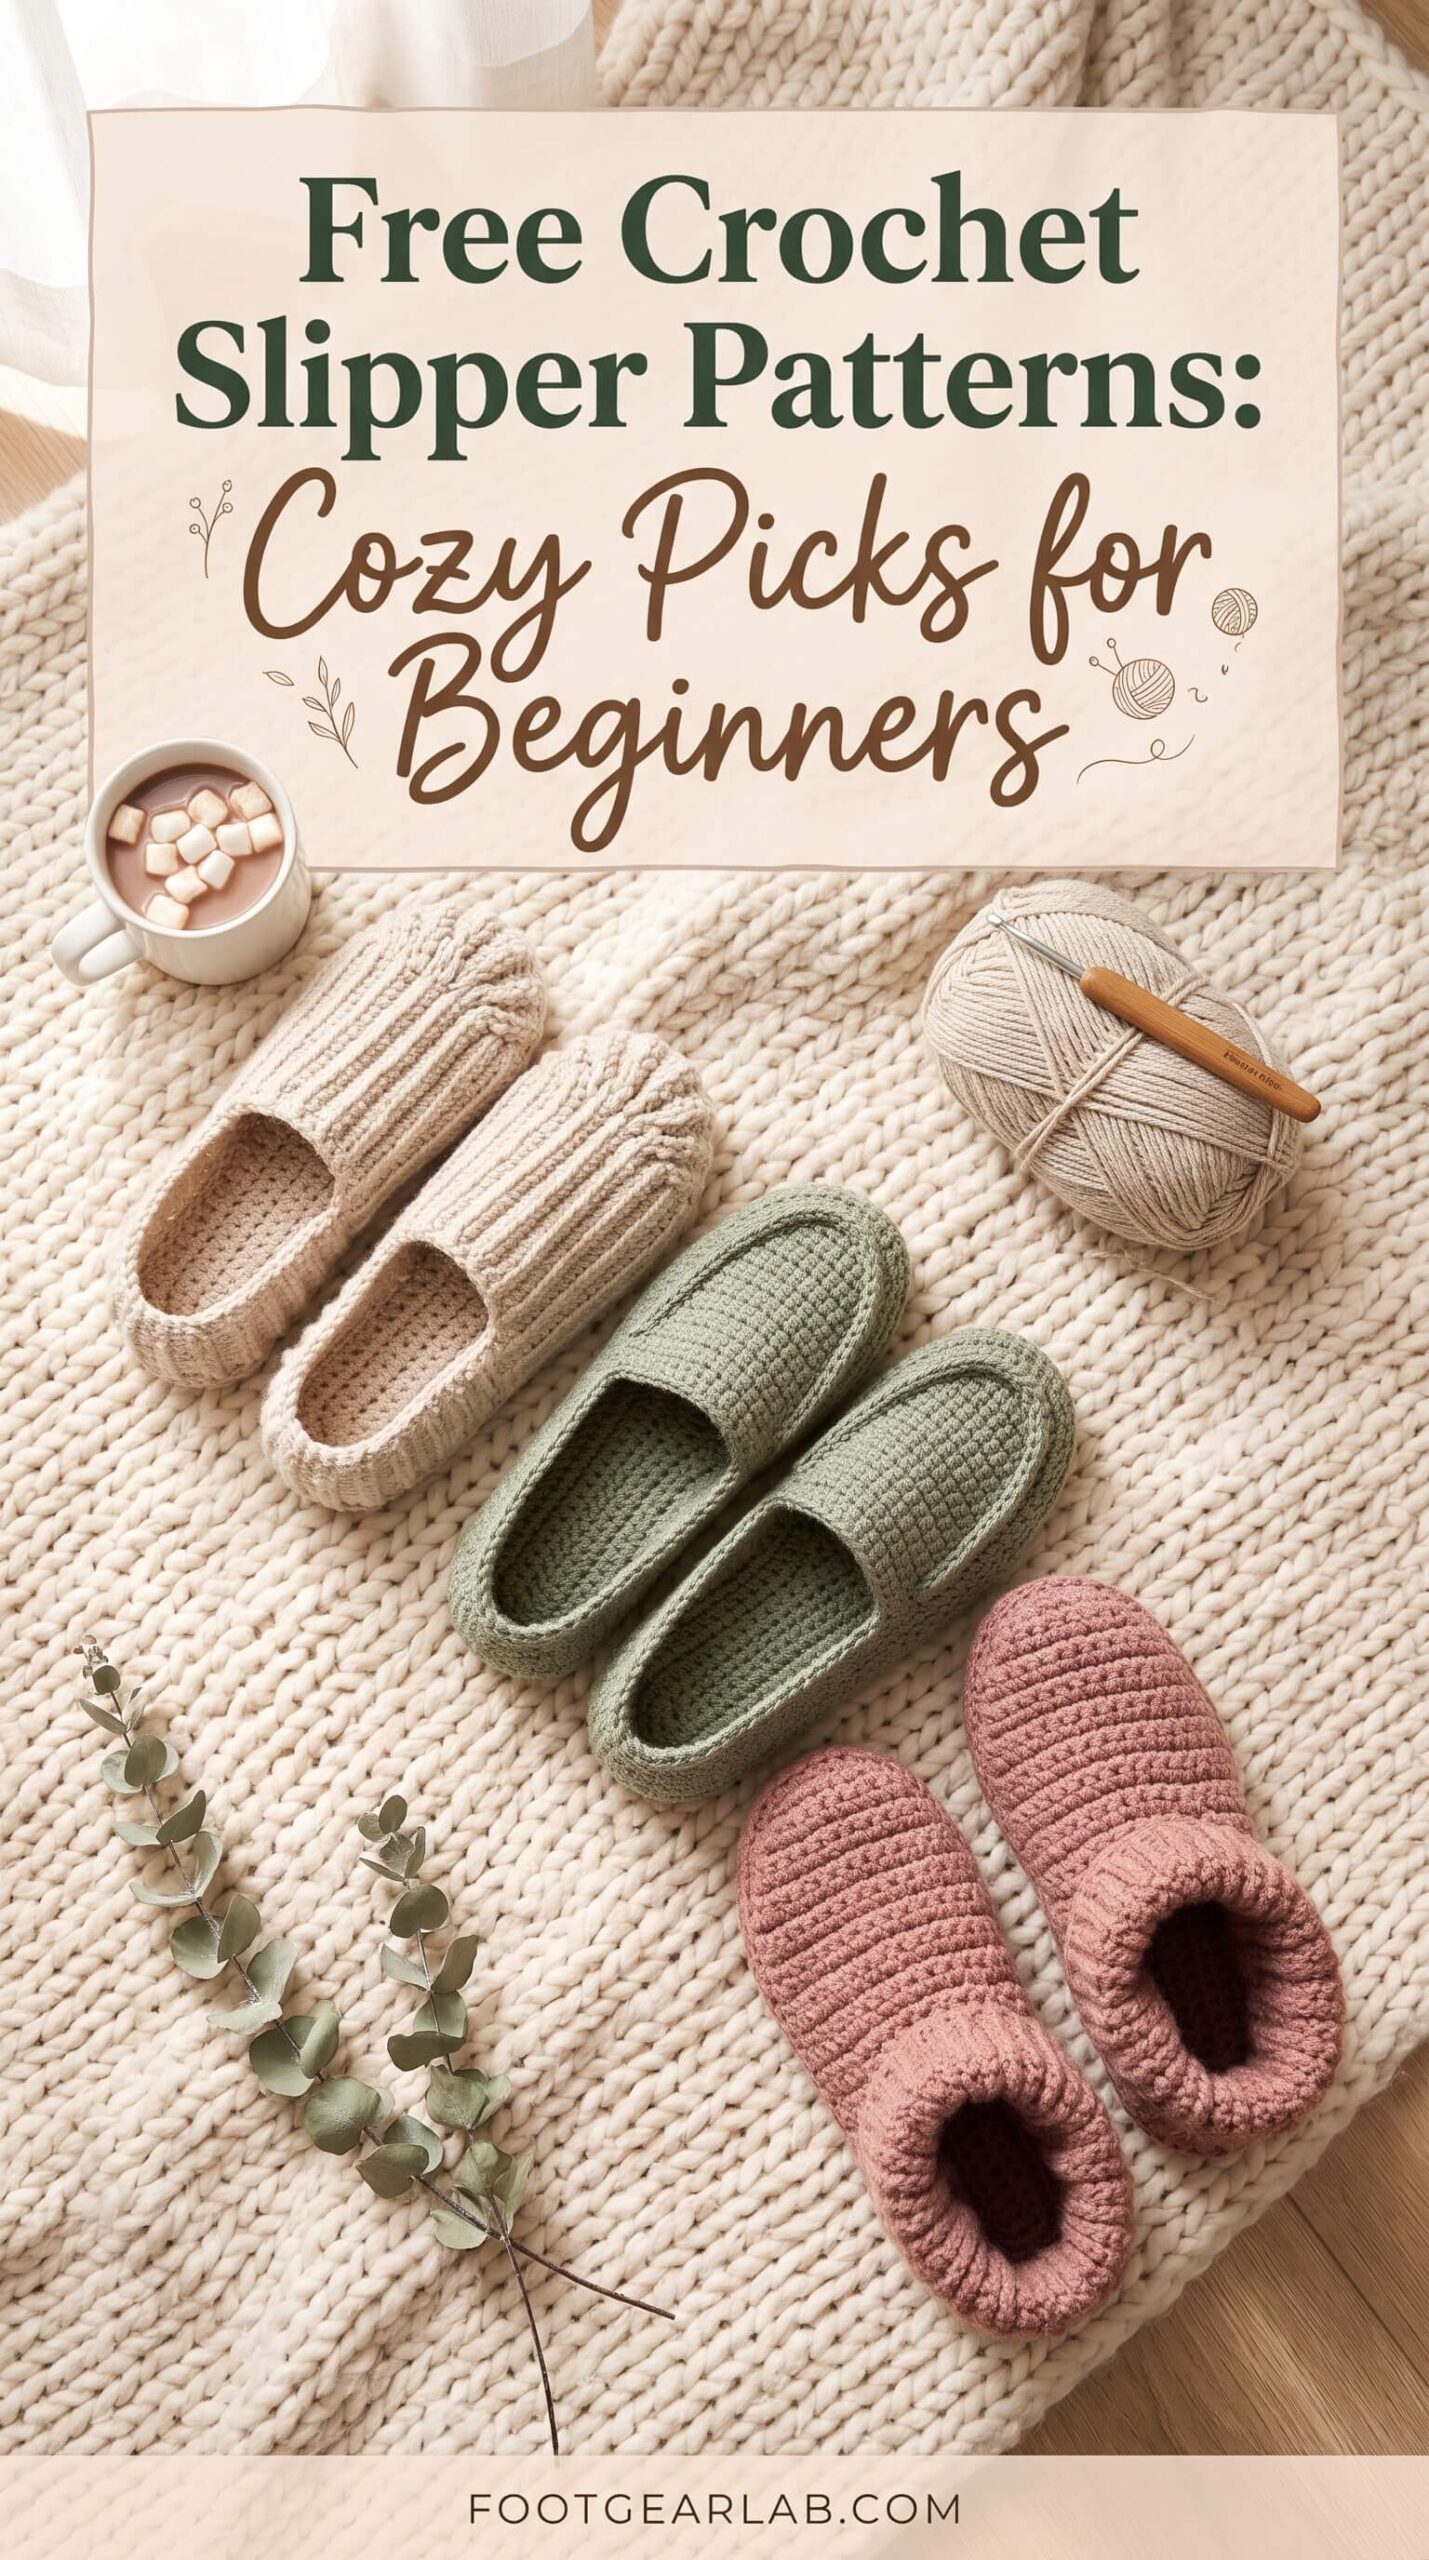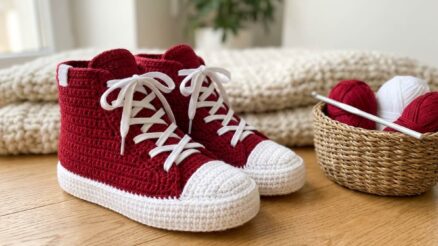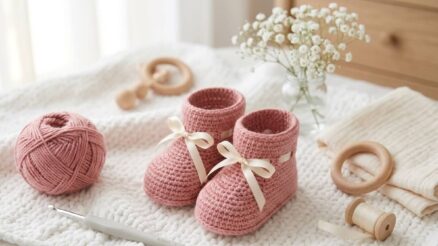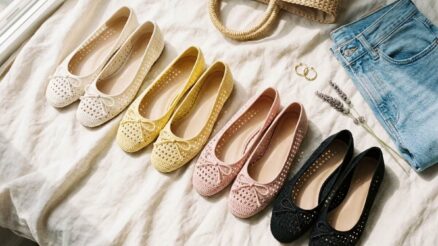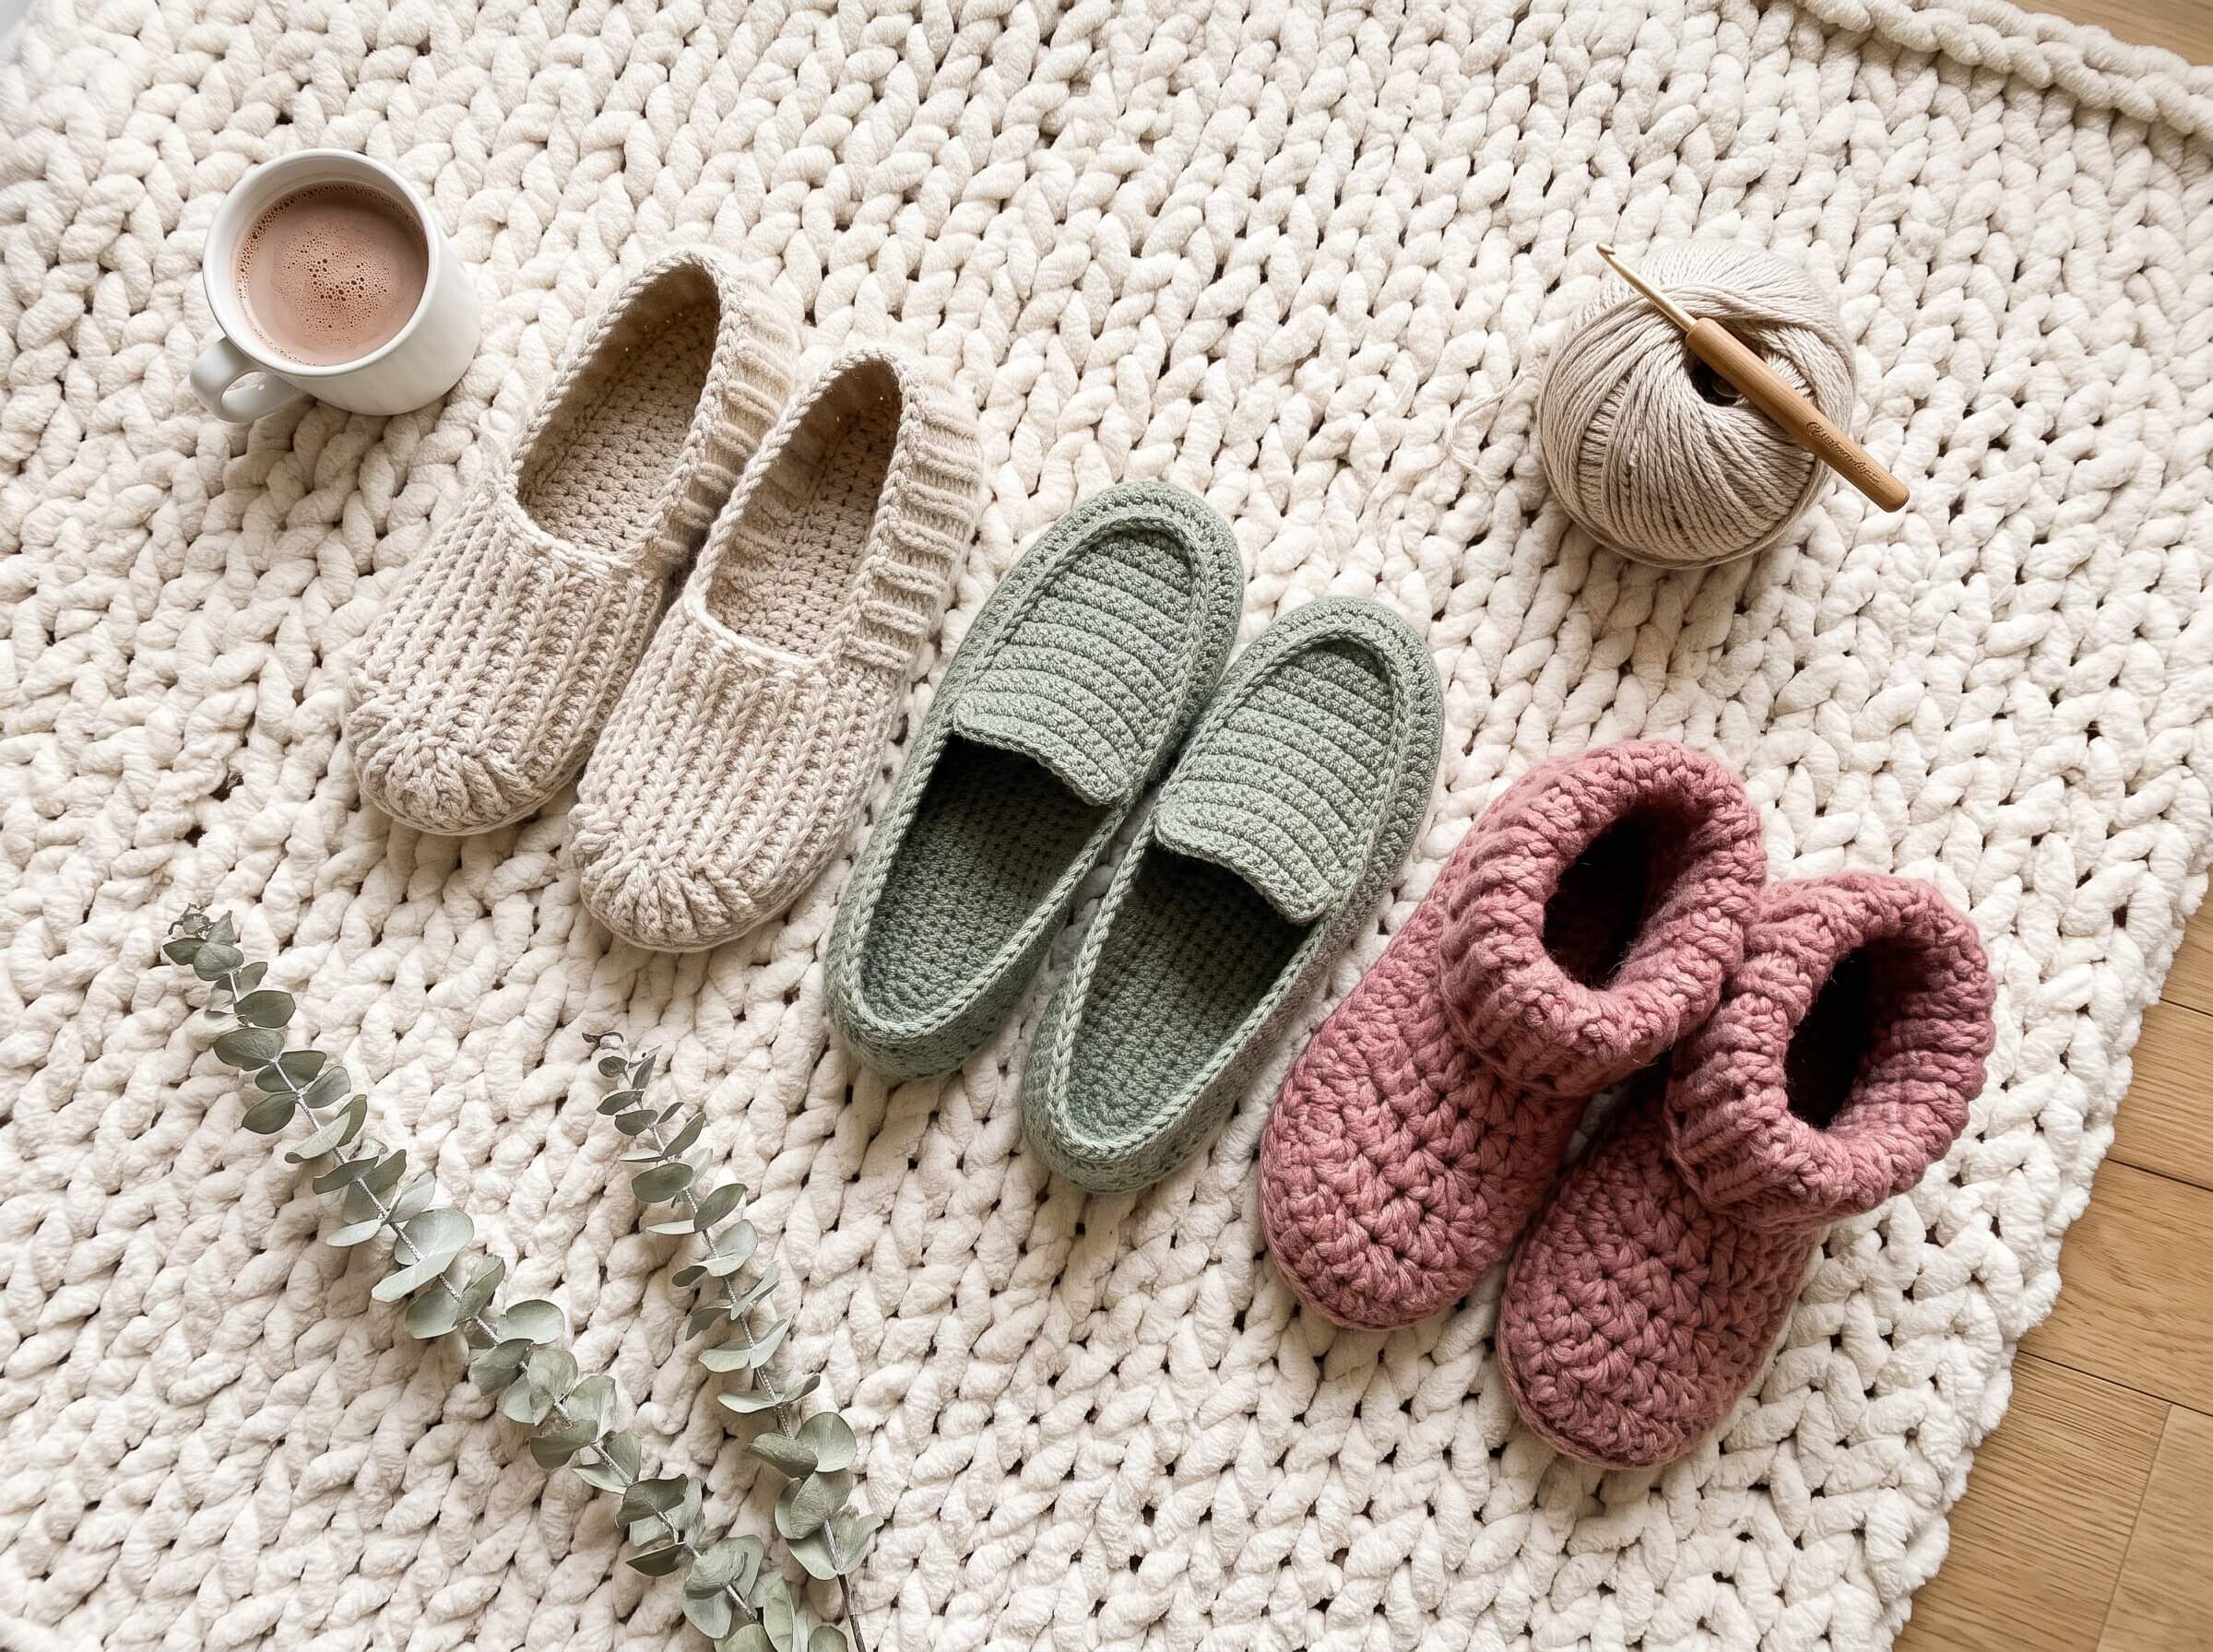
There’s something special about slipping your feet into a pair of slippers you made yourself. They’re soft, they’re warm, and every stitch carries a little bit of your evening on the couch with a cup of tea and your favorite show. If you’re new to crochet, slippers might look intimidating, but they’re actually one of the most rewarding beginner projects you can try. They’re small, so you finish quickly, they use basic stitches, and they make the sweetest handmade gifts for friends, sisters, moms, and anyone who’s always complaining about cold floors.
In this guide, you’ll find five free, beginner-friendly crochet slipper patterns, starting with a design that’s literally just a rectangle and working up to classic shaped slippers with a real sole. Along the way, you’ll learn how to measure your foot, choose the right yarn, make your slippers non-slip, and fix the most common fit problems. Grab your hook, and let’s make something cozy.
Why Crochet Slippers Are the Perfect Beginner Project
Slippers are a wonderful “next step” once you’ve practiced a few rows of basic stitches. Unlike a blanket that takes weeks, a slipper can be finished in a single evening or a relaxed weekend, which gives you that satisfying “I made this!” moment quickly. That quick win is exactly what keeps new crocheters motivated.
They also teach you important skills in a low-pressure way. Depending on the pattern, you’ll practice working in rows, working in rounds, increasing, decreasing, and simple sewing to assemble pieces. Each of those skills carries over to hats, bags, amigurumi, and sweaters later on, so every pair you make is quietly building your confidence.
Finally, slippers are incredibly budget-friendly. A typical adult pair uses roughly 180 to 250 yards of worsted yarn, which is often just one or two skeins. That makes them ideal for using up leftover yarn from other projects or for whipping up a batch of holiday gifts without spending much.
What You’ll Need
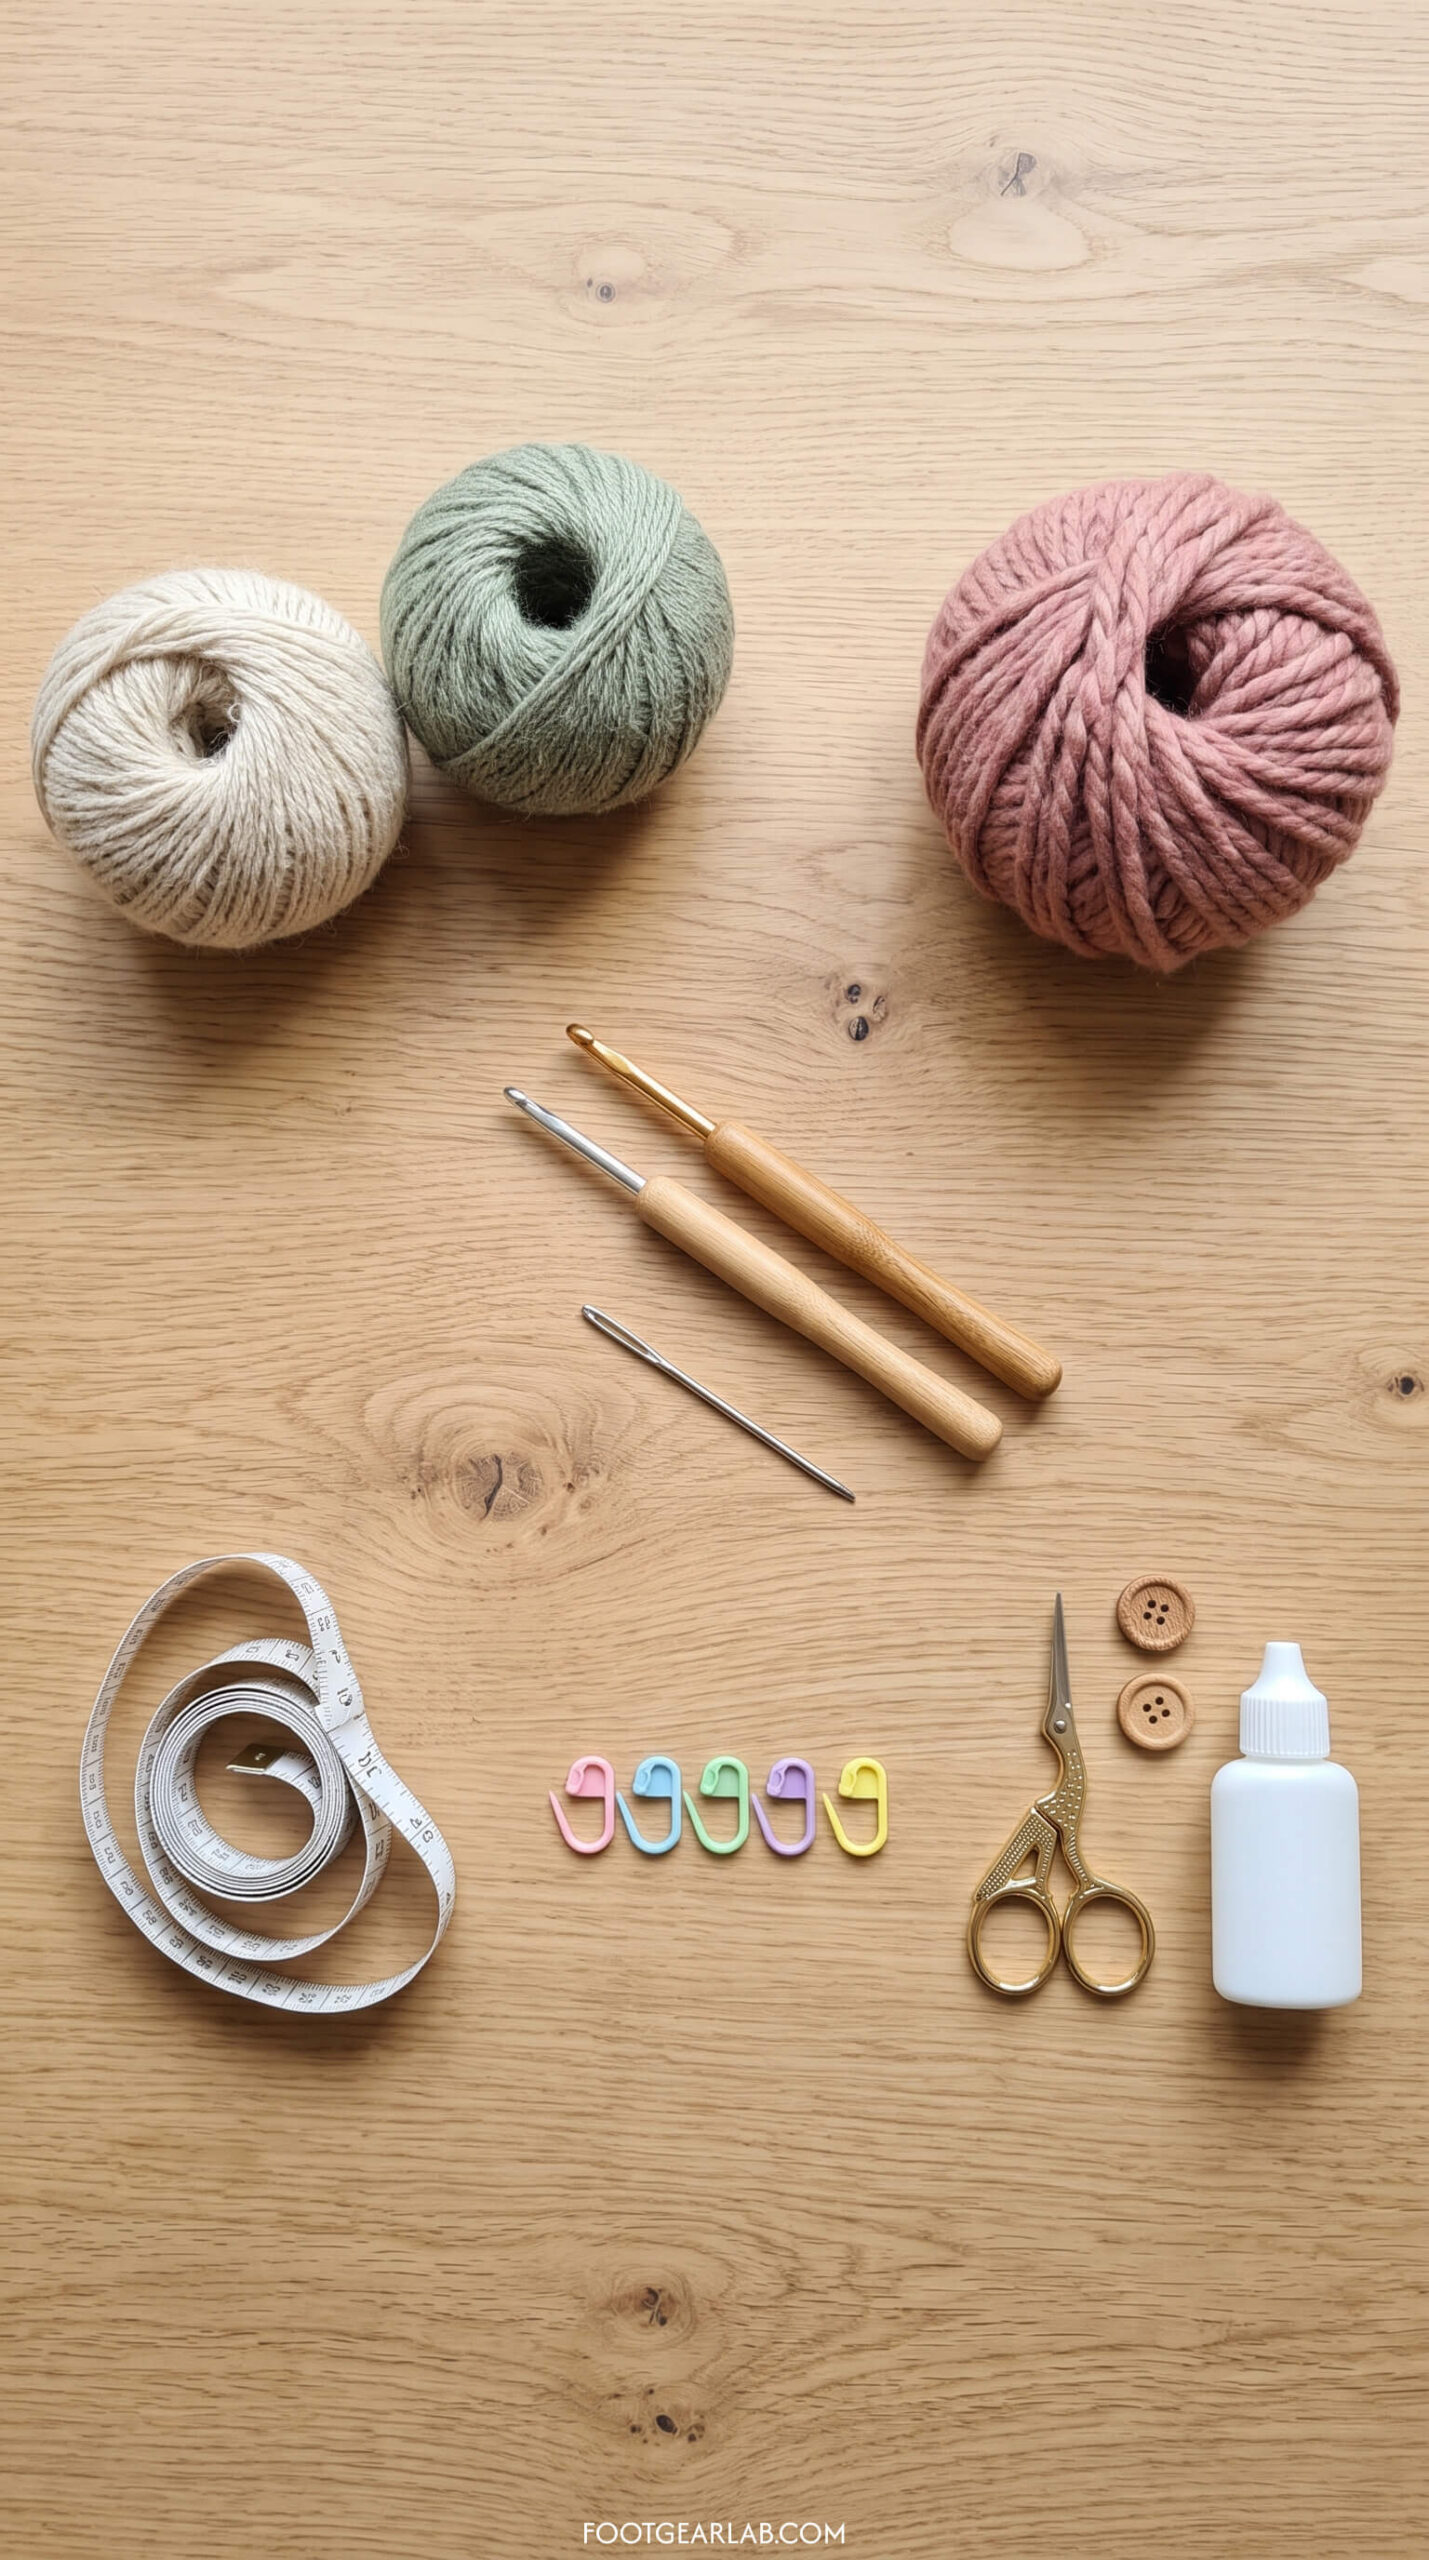
Before you start, gather a few basic supplies. You don’t need anything fancy, and you may already have most of these in your craft basket.
- Yarn: A medium worsted weight yarn (#4) is the easiest to work with for most of these patterns, because it’s thick enough to show your stitches clearly but not so bulky that it feels clumsy. For the chunky booties, you’ll want a bulky (#5) yarn, or you can hold two strands of worsted together. Acrylic and acrylic-wool blends are soft, warm, and machine-washable, which makes them a great everyday choice.
- Crochet hook: A 5.0 mm (US H-8) hook pairs well with worsted yarn, while a 6.5 mm (US K-10½) hook works nicely for bulky yarn. Slippers should feel firm and dense rather than lacy, so if your fabric looks loose or holey, go down half a size.
- Yarn needle: A large-eye blunt tapestry needle is used for sewing seams and weaving in the yarn ends. A plastic or metal one both work fine, though metal glides through thick stitches more easily.
- Stitch markers: These little clips help you track the start of a round and the curved ends of a sole. If you don’t have any, a safety pin or a short scrap of contrasting yarn works just as well.
- Measuring tape and scissors: You’ll measure your foot before starting, and you’ll check your work as you go. Any soft sewing tape measure is perfect.
- Optional extras: Puffy fabric paint or a liquid non-slip coating for grippy soles, small buttons for Mary Jane straps, ribbon for ties, and a pom-pom maker for decorative toppers. These are all inexpensive ways to make your slippers look more polished.
Avoid: text, brand names, readable labels, logos, hands, people, side-by-side panels, insets, arrows, any finished slippers, knitting needles, sewing machine, cluttered background, dark shadows.
Basic Stitches You’ll Use
All five patterns use US crochet terms and only a handful of stitches. If you can do a chain and a single crochet, you can make every pair in this guide.
- Chain (ch): The foundation of almost every crochet project. You’ll use it to start your rectangle or sole, and to turn at the end of rows.
- Slip stitch (sl st): A tiny, flat stitch used to join rounds and create neat edges. It adds almost no height, so it’s perfect for finishing.
- Single crochet (sc): A short, sturdy stitch that creates dense fabric, which is exactly what you want for a slipper sole that needs to hold up to walking.
- Half double crochet (hdc): Slightly taller than single crochet, it works up faster while still feeling thick and cushy. It’s the star stitch of the rectangle slippers.
- Single crochet two together (sc2tog): A simple decrease that turns two stitches into one. You’ll use it to shape the toe so the slipper curves over your foot.
- Back loop only (BLO): Instead of going under both loops at the top of a stitch, you go under only the back one. This creates stretchy ribbing in rows, or a crisp ridge where the sole turns into the side wall when working in rounds.
How to Measure Your Foot for the Perfect Fit
The most common reason handmade slippers don’t fit is skipping the measuring step. Because everyone crochets with a slightly different tension, these patterns are written around your actual foot measurements instead of a strict stitch count, which means they’ll fit you even if your stitches are tighter or looser than someone else’s.
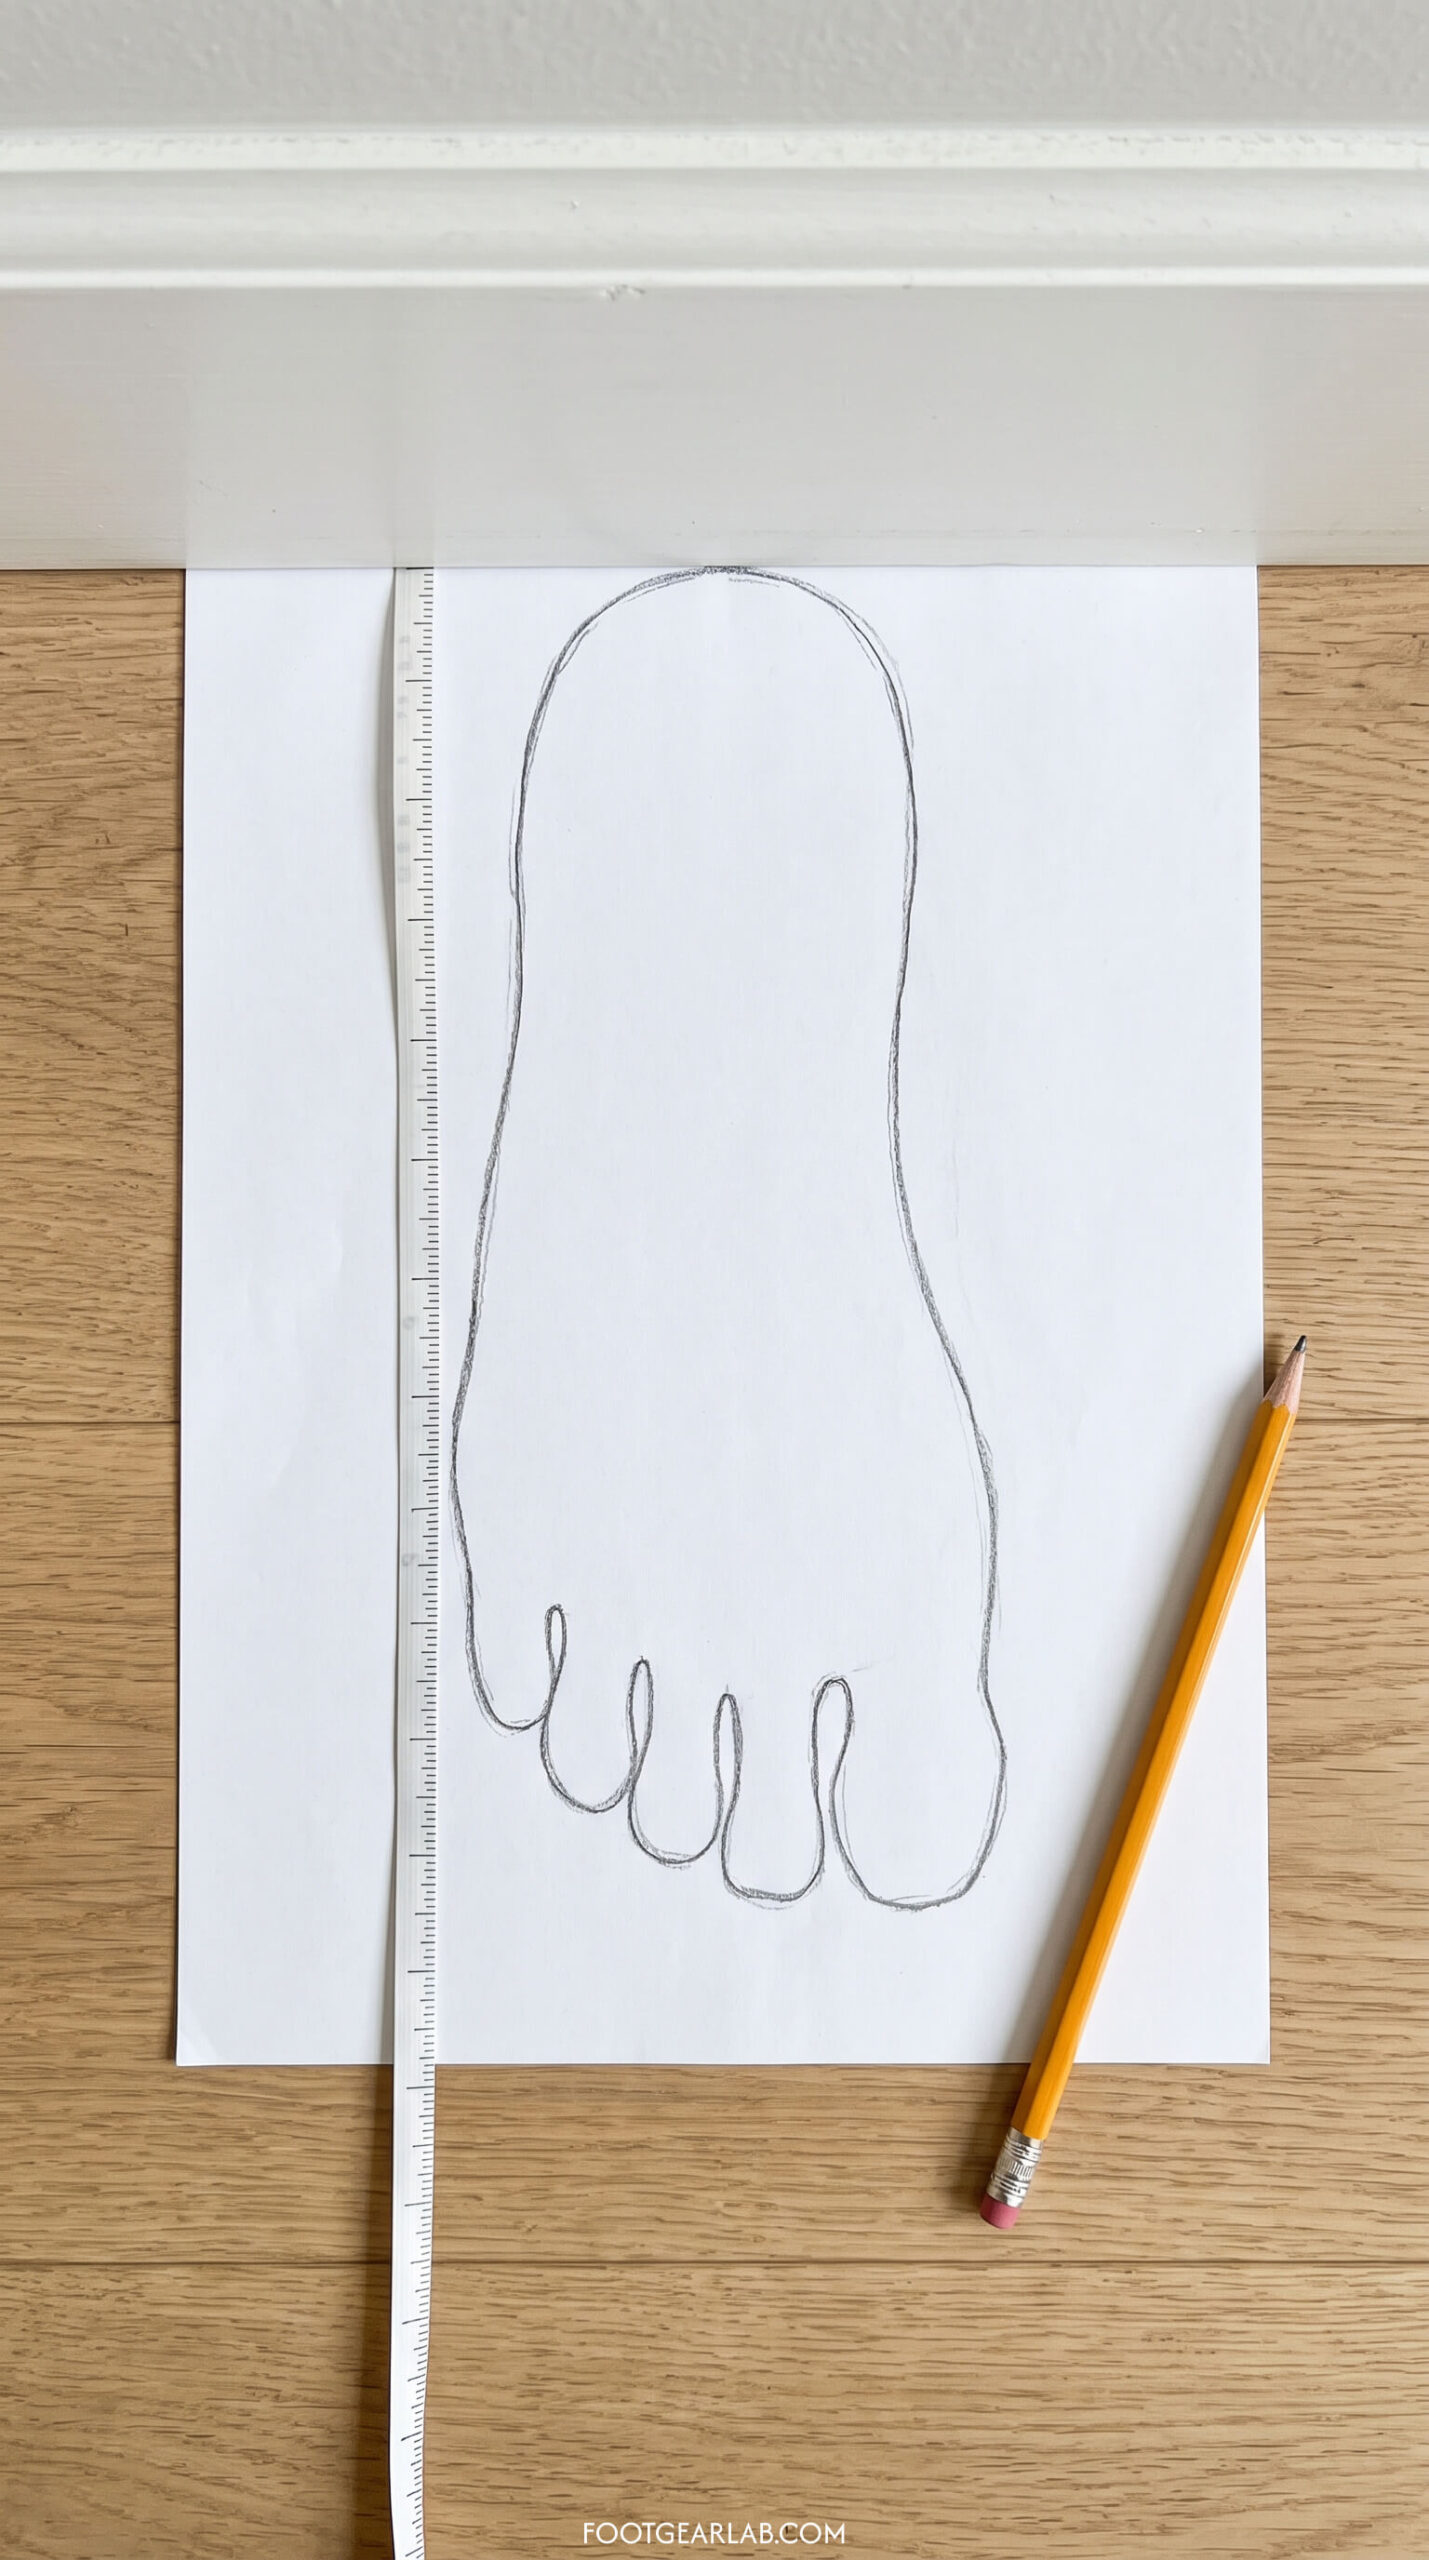
Start by placing a sheet of paper on the floor against a wall, standing on it with your heel touching the wall, and tracing around your foot with a pencil held straight up. Measure the tracing from the back of the heel to the tip of your longest toe; that’s your foot length. Next, wrap the tape measure around the widest part of your foot, across the ball just behind your toes; that’s your foot circumference. Keep the tracing nearby, because it’s the easiest way to check a sole as you work.
If you’re making slippers as a surprise gift, you can use the chart below as a starting point. These numbers are approximate averages, and real feet vary, so measuring is always more accurate when possible.
| US Women’s Shoe Size | Approx. Foot Length | Approx. Foot Length (cm) |
|---|---|---|
| 5 – 6 | 8½ – 9 in | 21.5 – 23 cm |
| 7 – 8 | 9¼ – 9¾ in | 23.5 – 24.8 cm |
| 9 – 10 | 10 – 10½ in | 25.4 – 26.7 cm |
| 11 | about 10¾ in | about 27.3 cm |
Avoid: text, numbers written on the paper, labels, arrows, hands, real feet, people, socks, shoes, side-by-side panels, insets, oval or egg-shaped outline, two outlines, colored markers, clutter.
The 5 Free Crochet Slipper Patterns
Each pattern below is written for an adult women’s medium using worsted yarn, but because you work from your own measurements, you can easily size up or down. They’re arranged from easiest to slightly more involved, so if you’re brand new, start with Pattern 1 and work your way down the list.
Pattern 1: Ribbed Rectangle Slippers (The Easiest Pair You’ll Ever Make)
Skill level: Absolute beginner Yarn: About 180–220 yards of worsted (#4) yarn for a pair Hook: 5.0 mm (H-8) Time: About 2–3 hours per pair
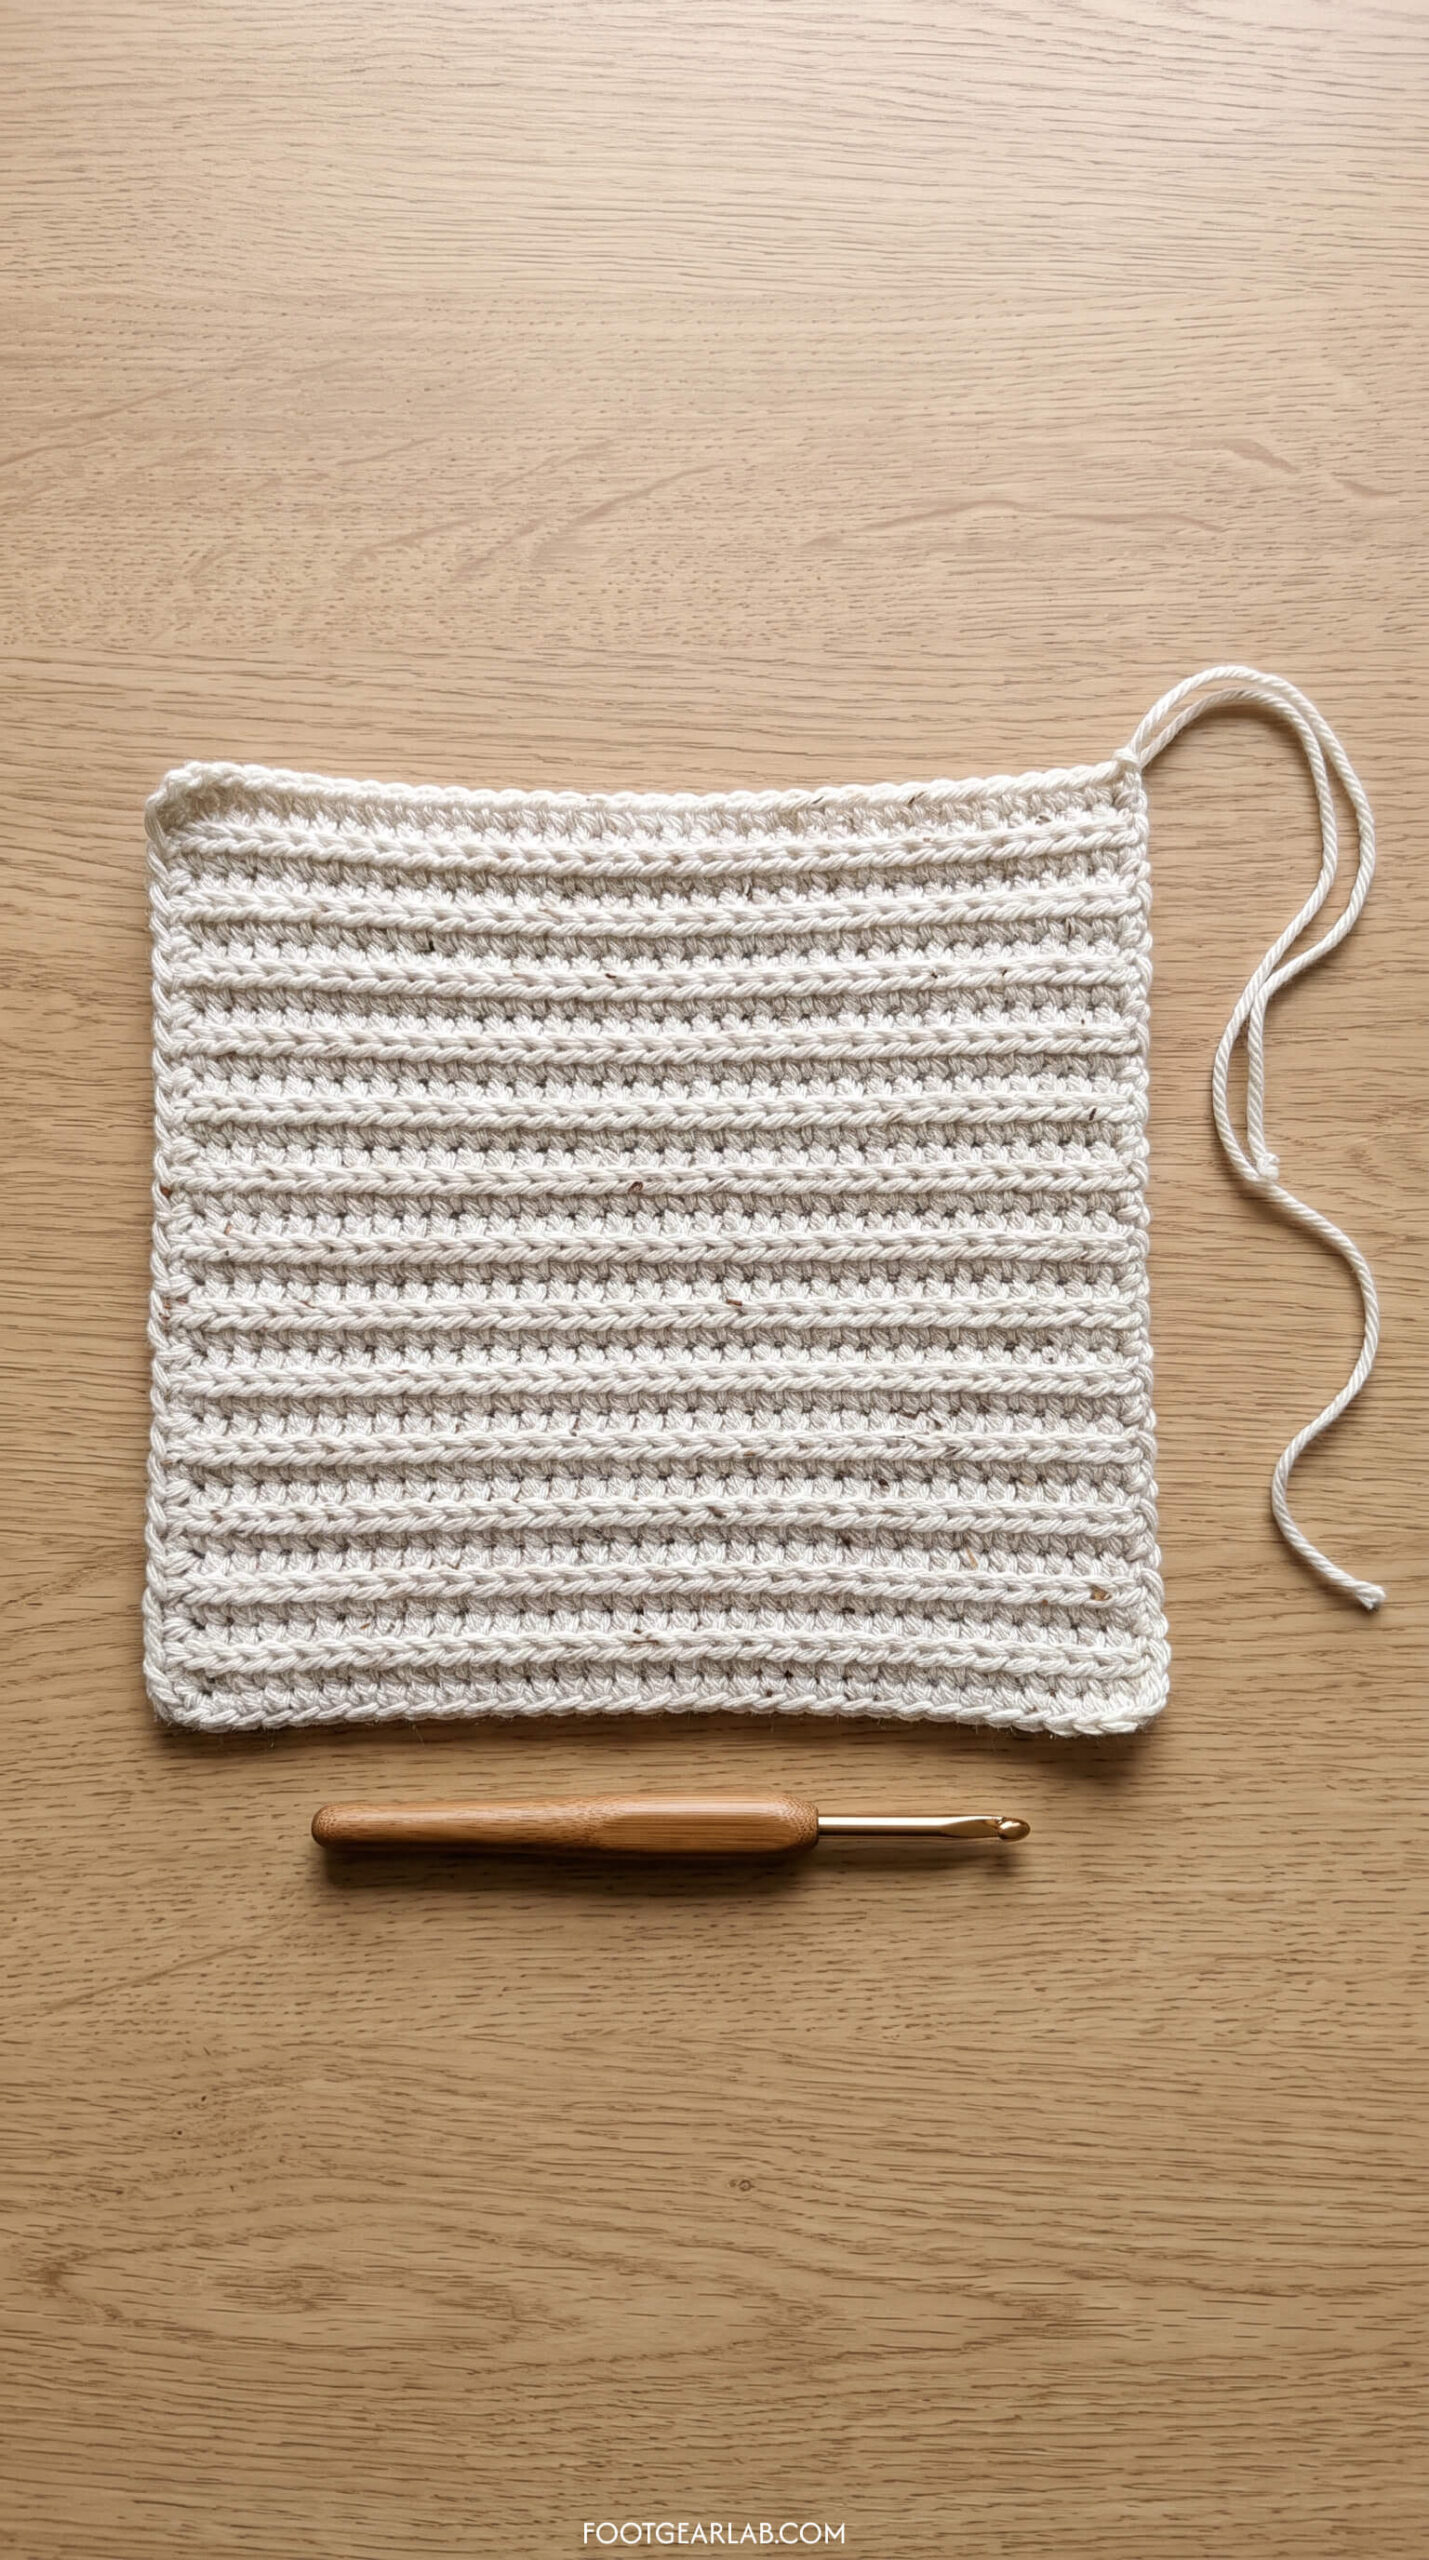
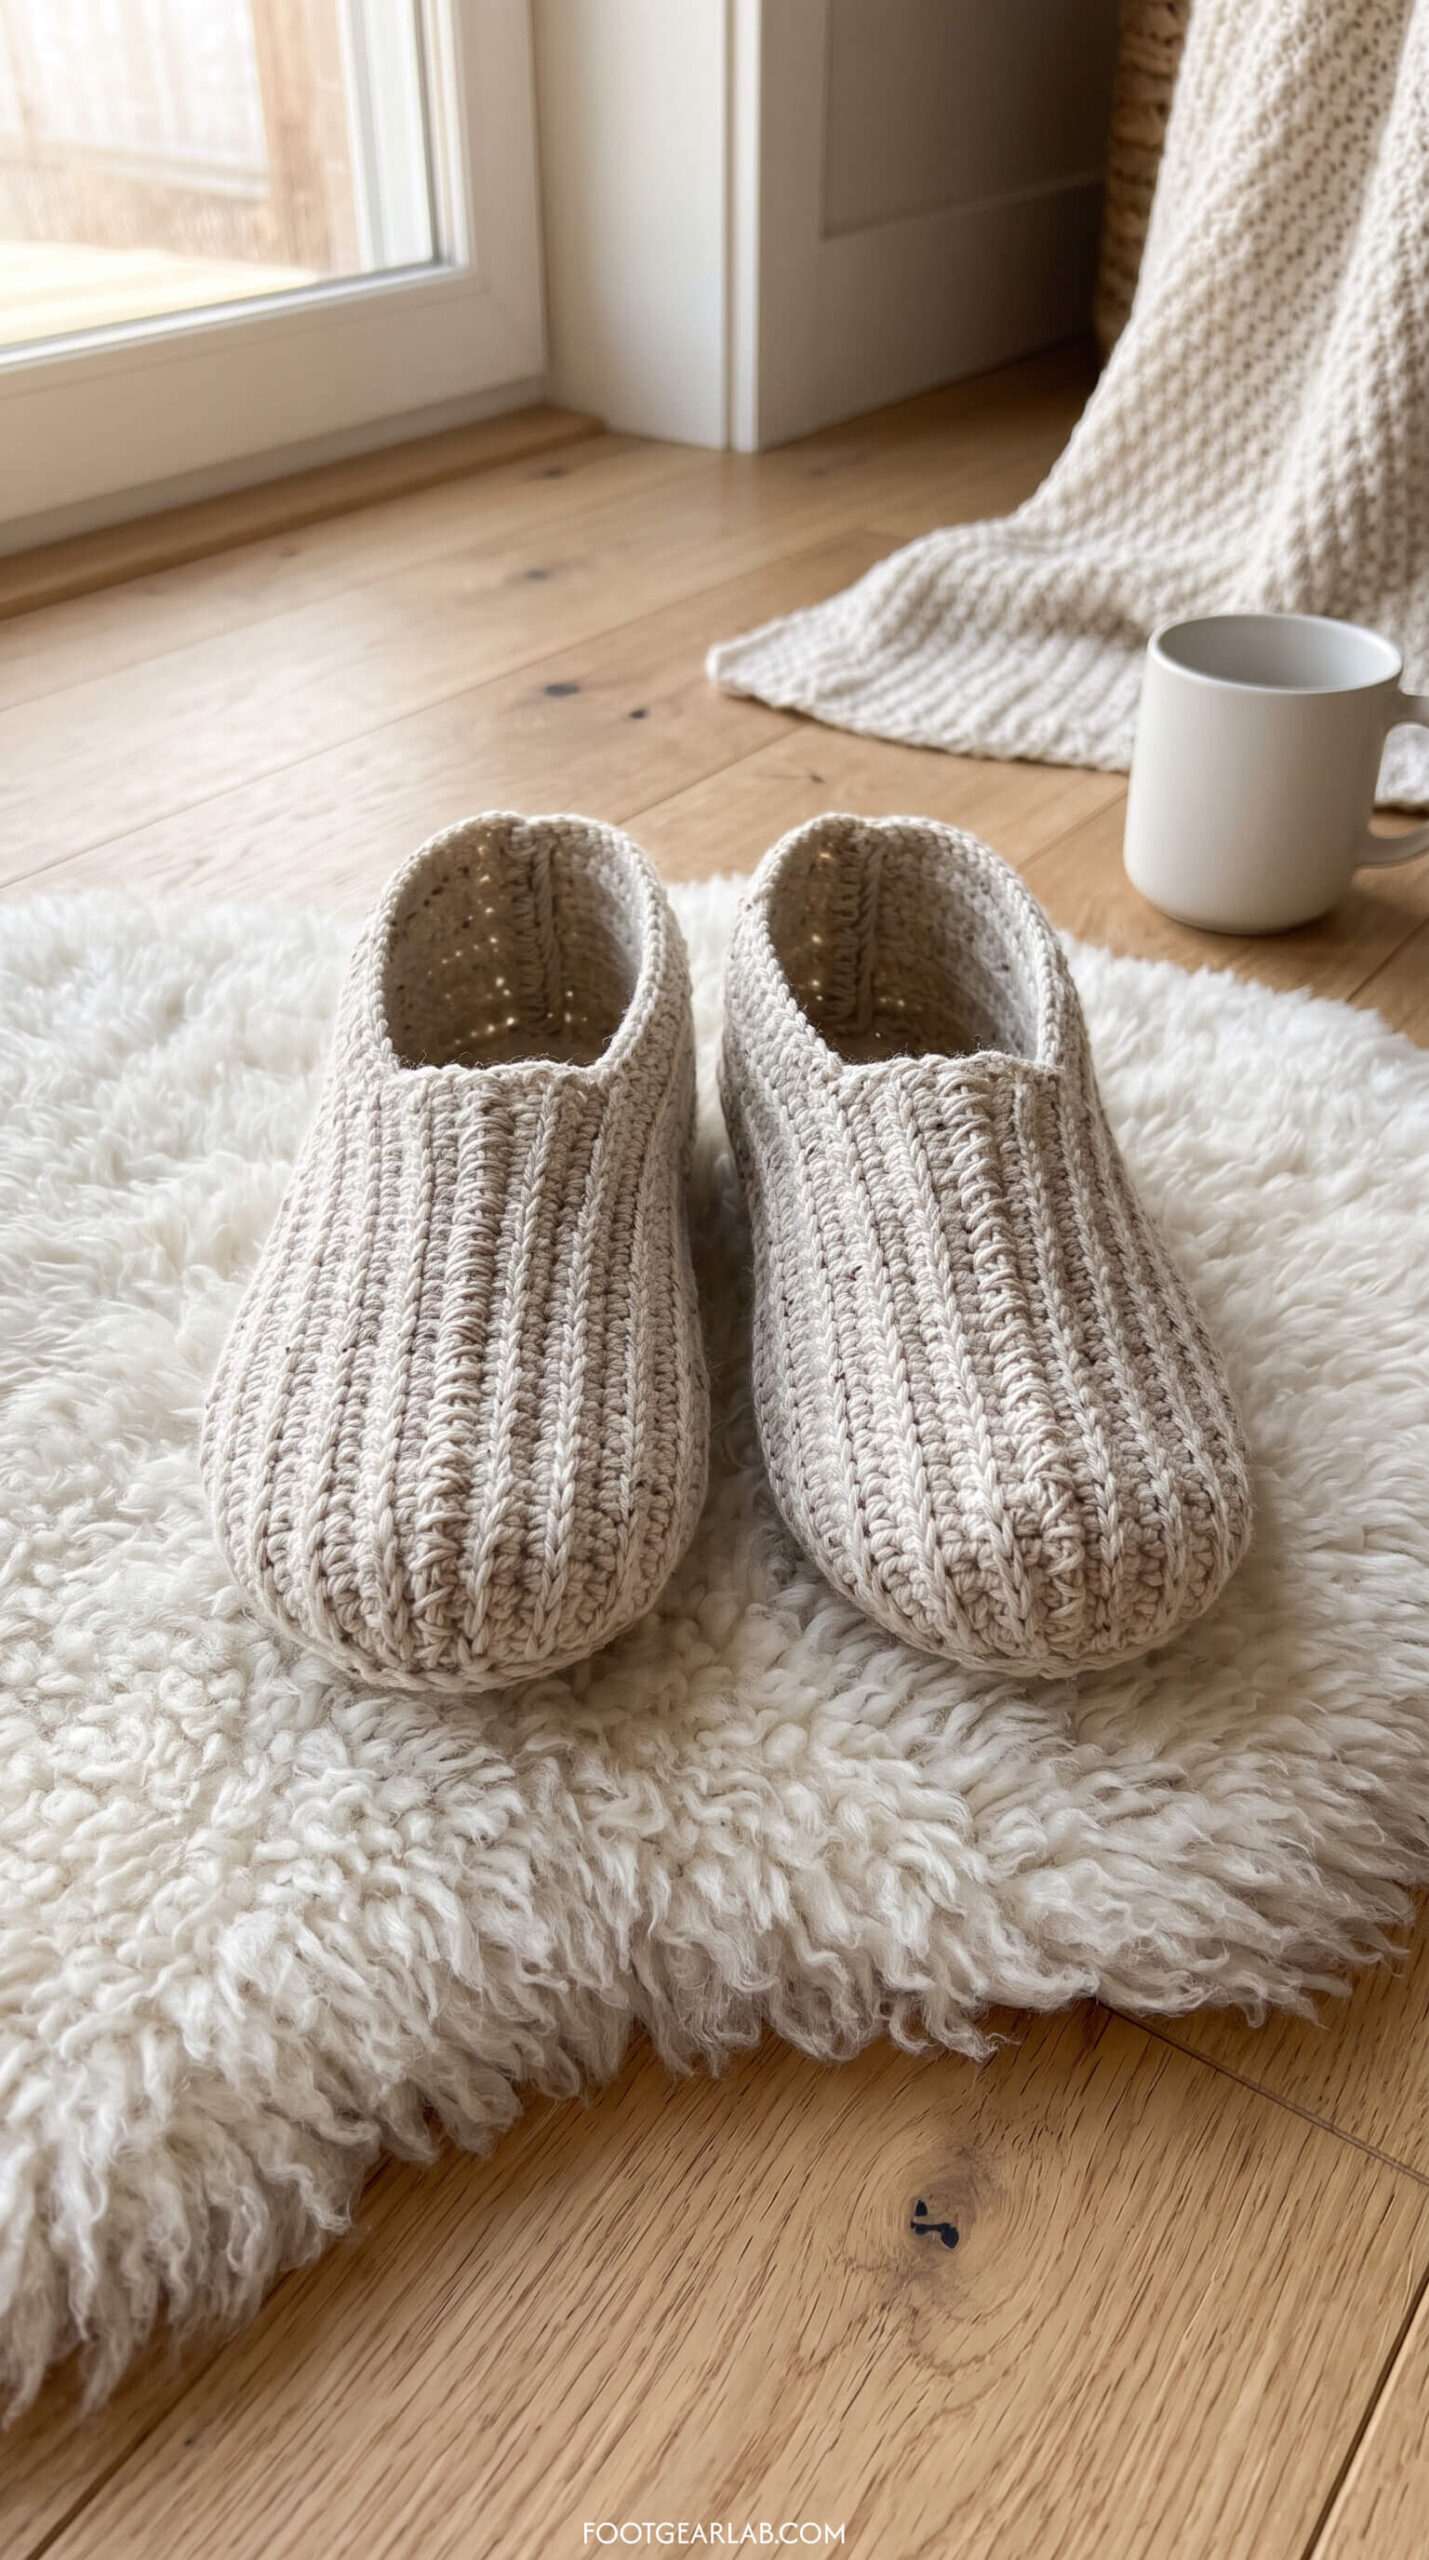
If you can crochet a rectangle, you can make these slippers. That’s truly all they are: a flat ribbed rectangle that you fold and stitch together into a snug, sock-like slipper. Working in the back loop only gives the fabric a gorgeous ribbed texture that stretches around your foot and hugs it gently, so these are very forgiving if your measurements are a little off. They’re the perfect first-ever slipper project.
Make the rectangle (make 2):
- Foundation chain: Chain until your chain measures about ½ inch shorter than your foot length, then chain 1 more. Making it slightly shorter keeps the finished slipper snug, because the fabric will stretch a little as you wear it.
- Row 1: Work 1 hdc in the 2nd chain from the hook and in each chain across. Chain 1 and turn your work. This first row sets the length of your slipper from heel to toe, so take a moment to check that it’s straight and not twisted.
- Row 2: Working in the back loop only, hdc in each stitch across. Chain 1 and turn. You’ll start to see a little ridge forming on the fabric, which is the beginning of your ribbing.
- Repeat Row 2 until the piece measures about 1 inch less than your foot circumference when gently laid flat (for most women’s medium feet, this is around 7½–8 inches). The ribs will run along the length of your rectangle, from what will become the heel to the toe.
- Fasten off, leaving a long tail of about 20 inches. You’ll use this tail to sew the toe, so don’t trim it short.
Avoid: text, labels, arrows, hands, people, side-by-side panels, insets, vertical ribs, a folded or sewn rectangle, a finished slipper, multiple rectangles, frilly or wavy edges, holes or lacy stitches, extra tools.
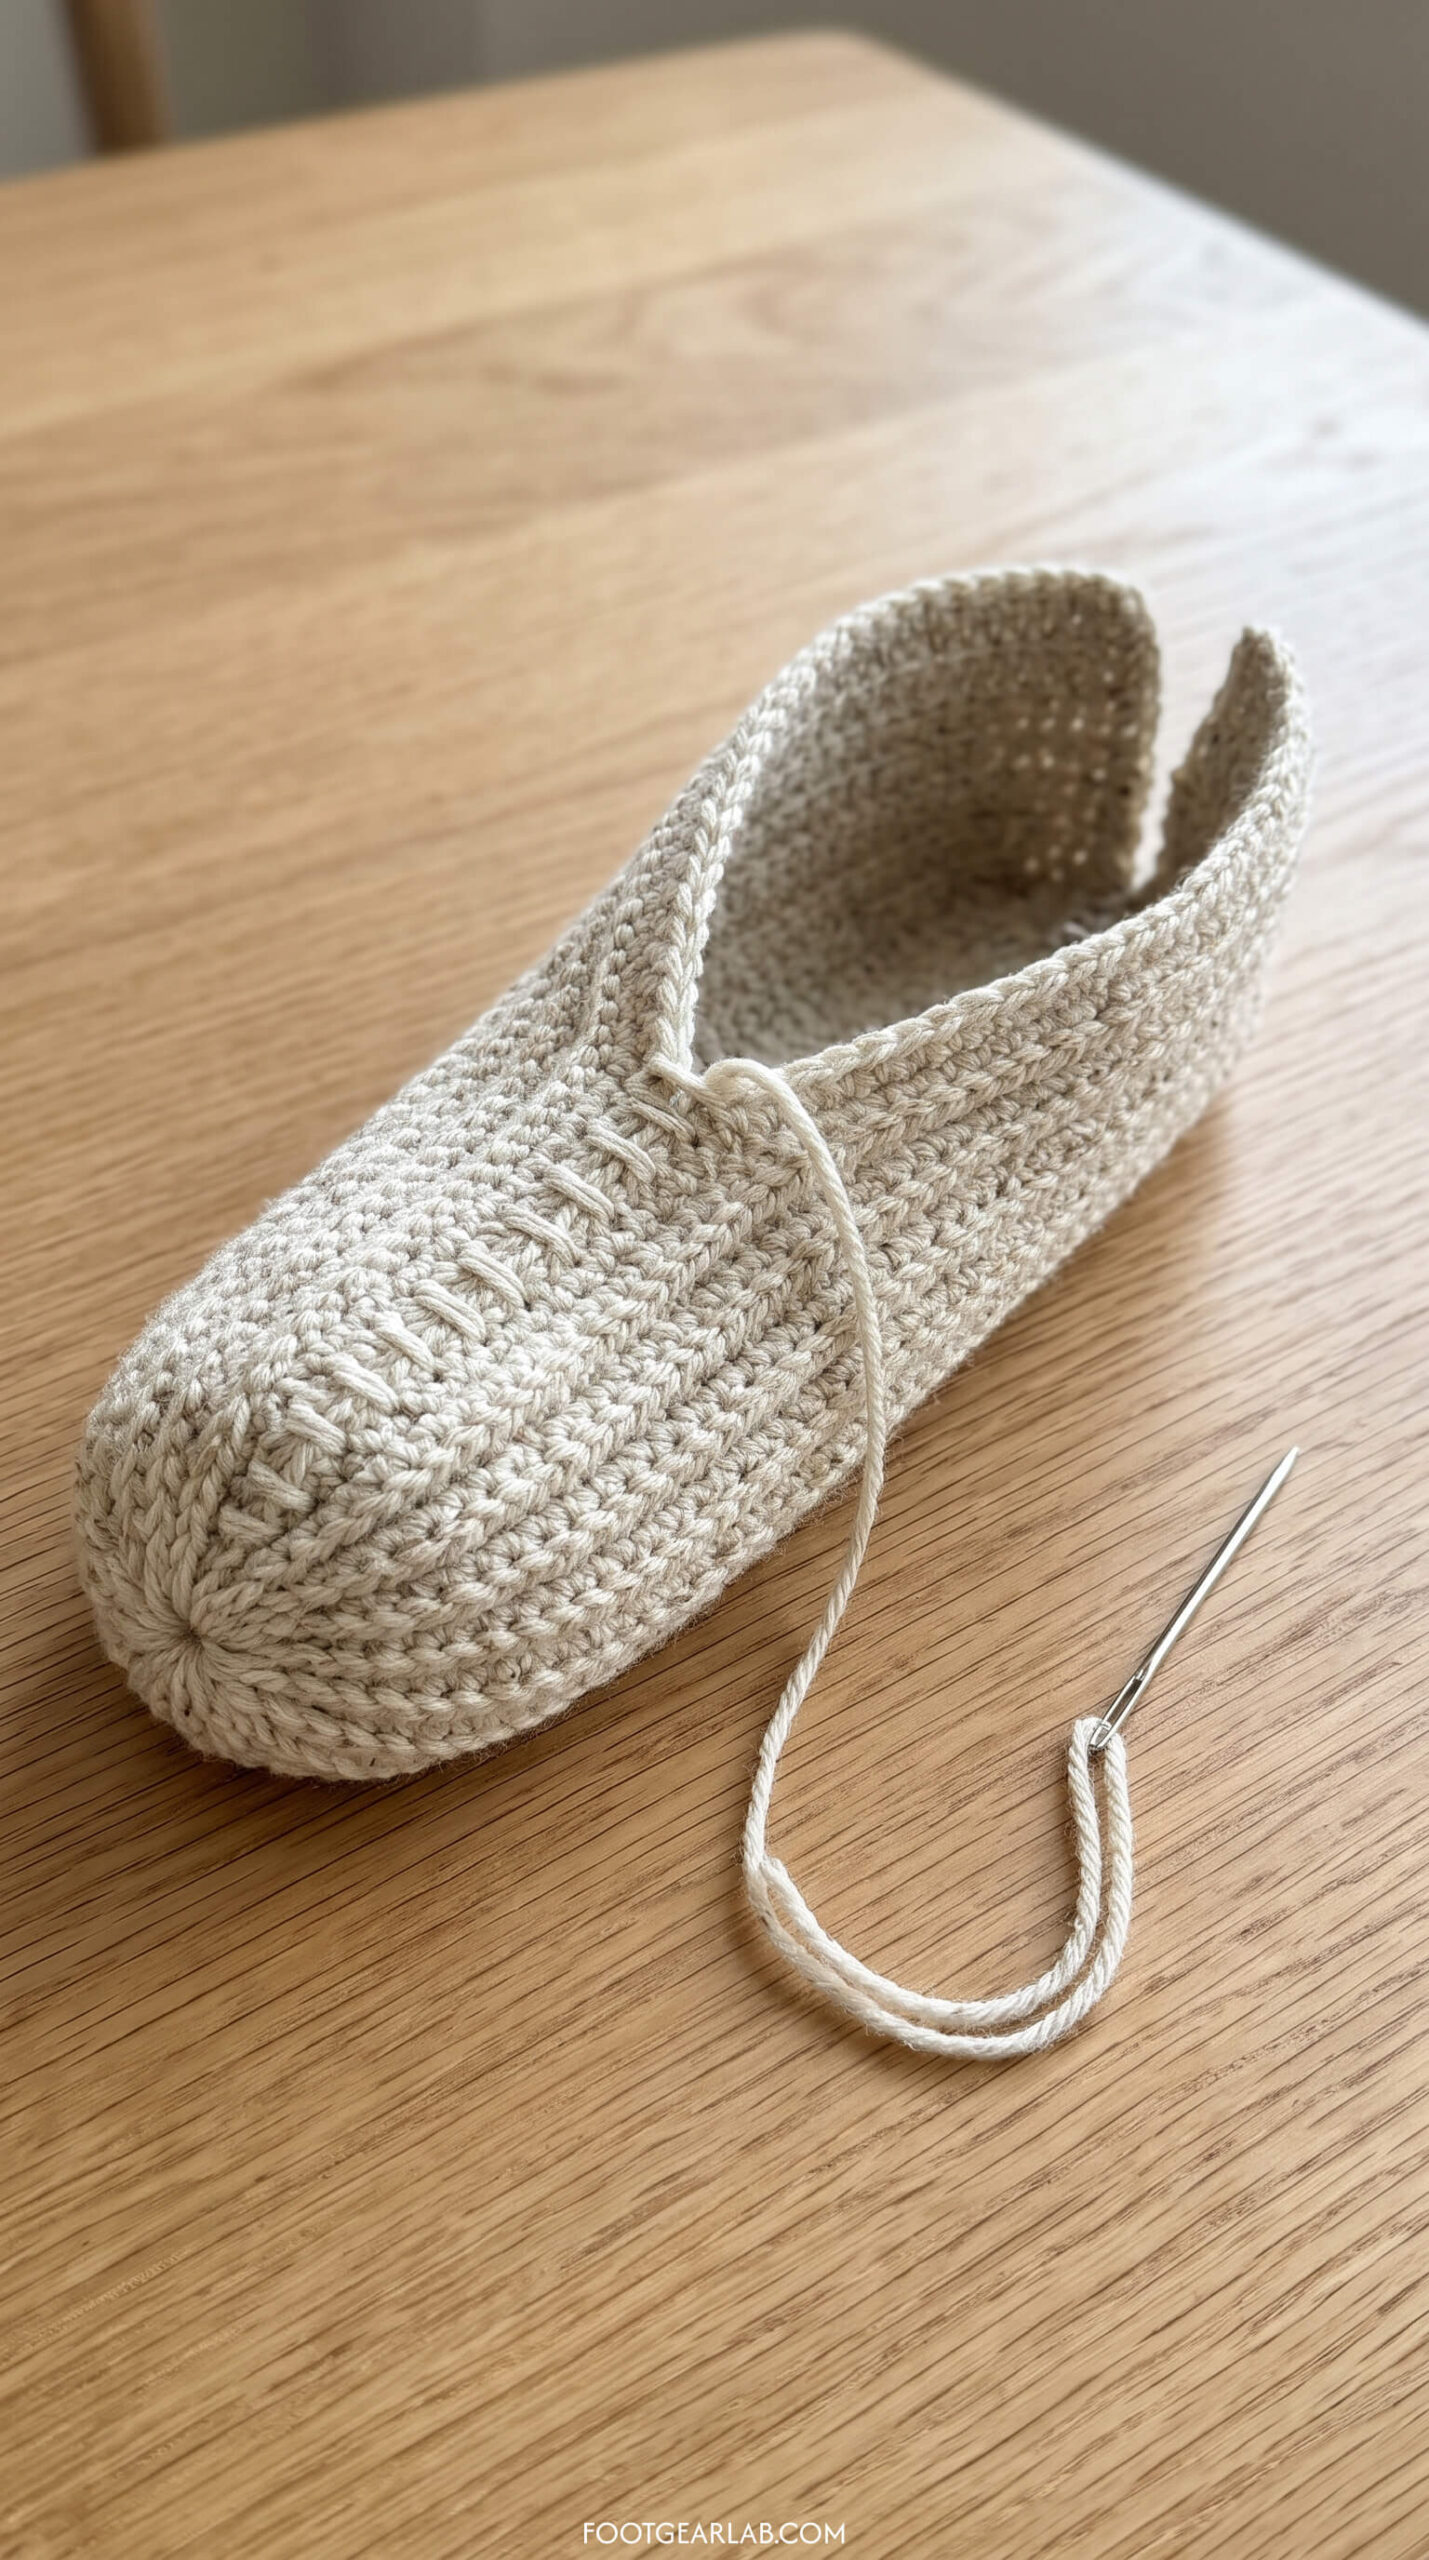
Assemble the slipper:
- Fold: Lay your rectangle flat and fold it in half so the first row and the last row (the two long edges) meet along the top. The fold along the bottom becomes the center of the sole, and the two short ends become the toe and the heel.
- Gather the toe: Thread your long tail onto the yarn needle. Choose the short end where your tail is attached as the toe, and weave the needle in and out through the ends of the rows all the way around that short edge, through both layers. Pull the tail firmly to cinch the toe closed into a soft rounded shape, then secure it with a couple of small stitches.
- Sew the top seam: Without cutting the tail, continue sewing the two long edges together along the top using a simple whip stitch, starting at the toe and working toward the heel. Stop about halfway along the length, which is usually around 4 to 4½ inches. The unsewn part is the opening for your foot.
- Close the heel: Cut a new piece of yarn about 15 inches long. At the other short end, sew the two layers together with a whip stitch from the bottom fold up to the top edge. This creates a neat vertical seam at the back of the heel.
- Finish: Weave in all the ends on the inside, turn the slipper right side out, and try it on. The ribbing should feel snug and stretch comfortably around your foot.
Avoid: text, labels, arrows, hands, people, feet, side-by-side panels, insets, a fully sewn heel, a separate sole piece, vertical ribs, multiple slippers, extra tools, scissors cutting yarn.
Easy variations: Add stripes by changing colors every 4 rows for a fun scrap-yarn version, or sew a fluffy pom-pom onto the toe for extra charm. You can also work one round of single crochet around the opening for a cleaner, more finished edge.
Avoid: text, logos, hands, feet, people, legs, side-by-side panels, insets, rubber soles, shoe laces, mismatched slippers, more than two slippers, hard flat soles, dark lighting.
Pattern 2: Chunky Cuffed Booties
Skill level: Beginner Yarn: About 200–250 yards of bulky (#5) yarn, or two strands of worsted held together Hook: 6.5 mm (K-10½) Time: About 3–4 hours per pair
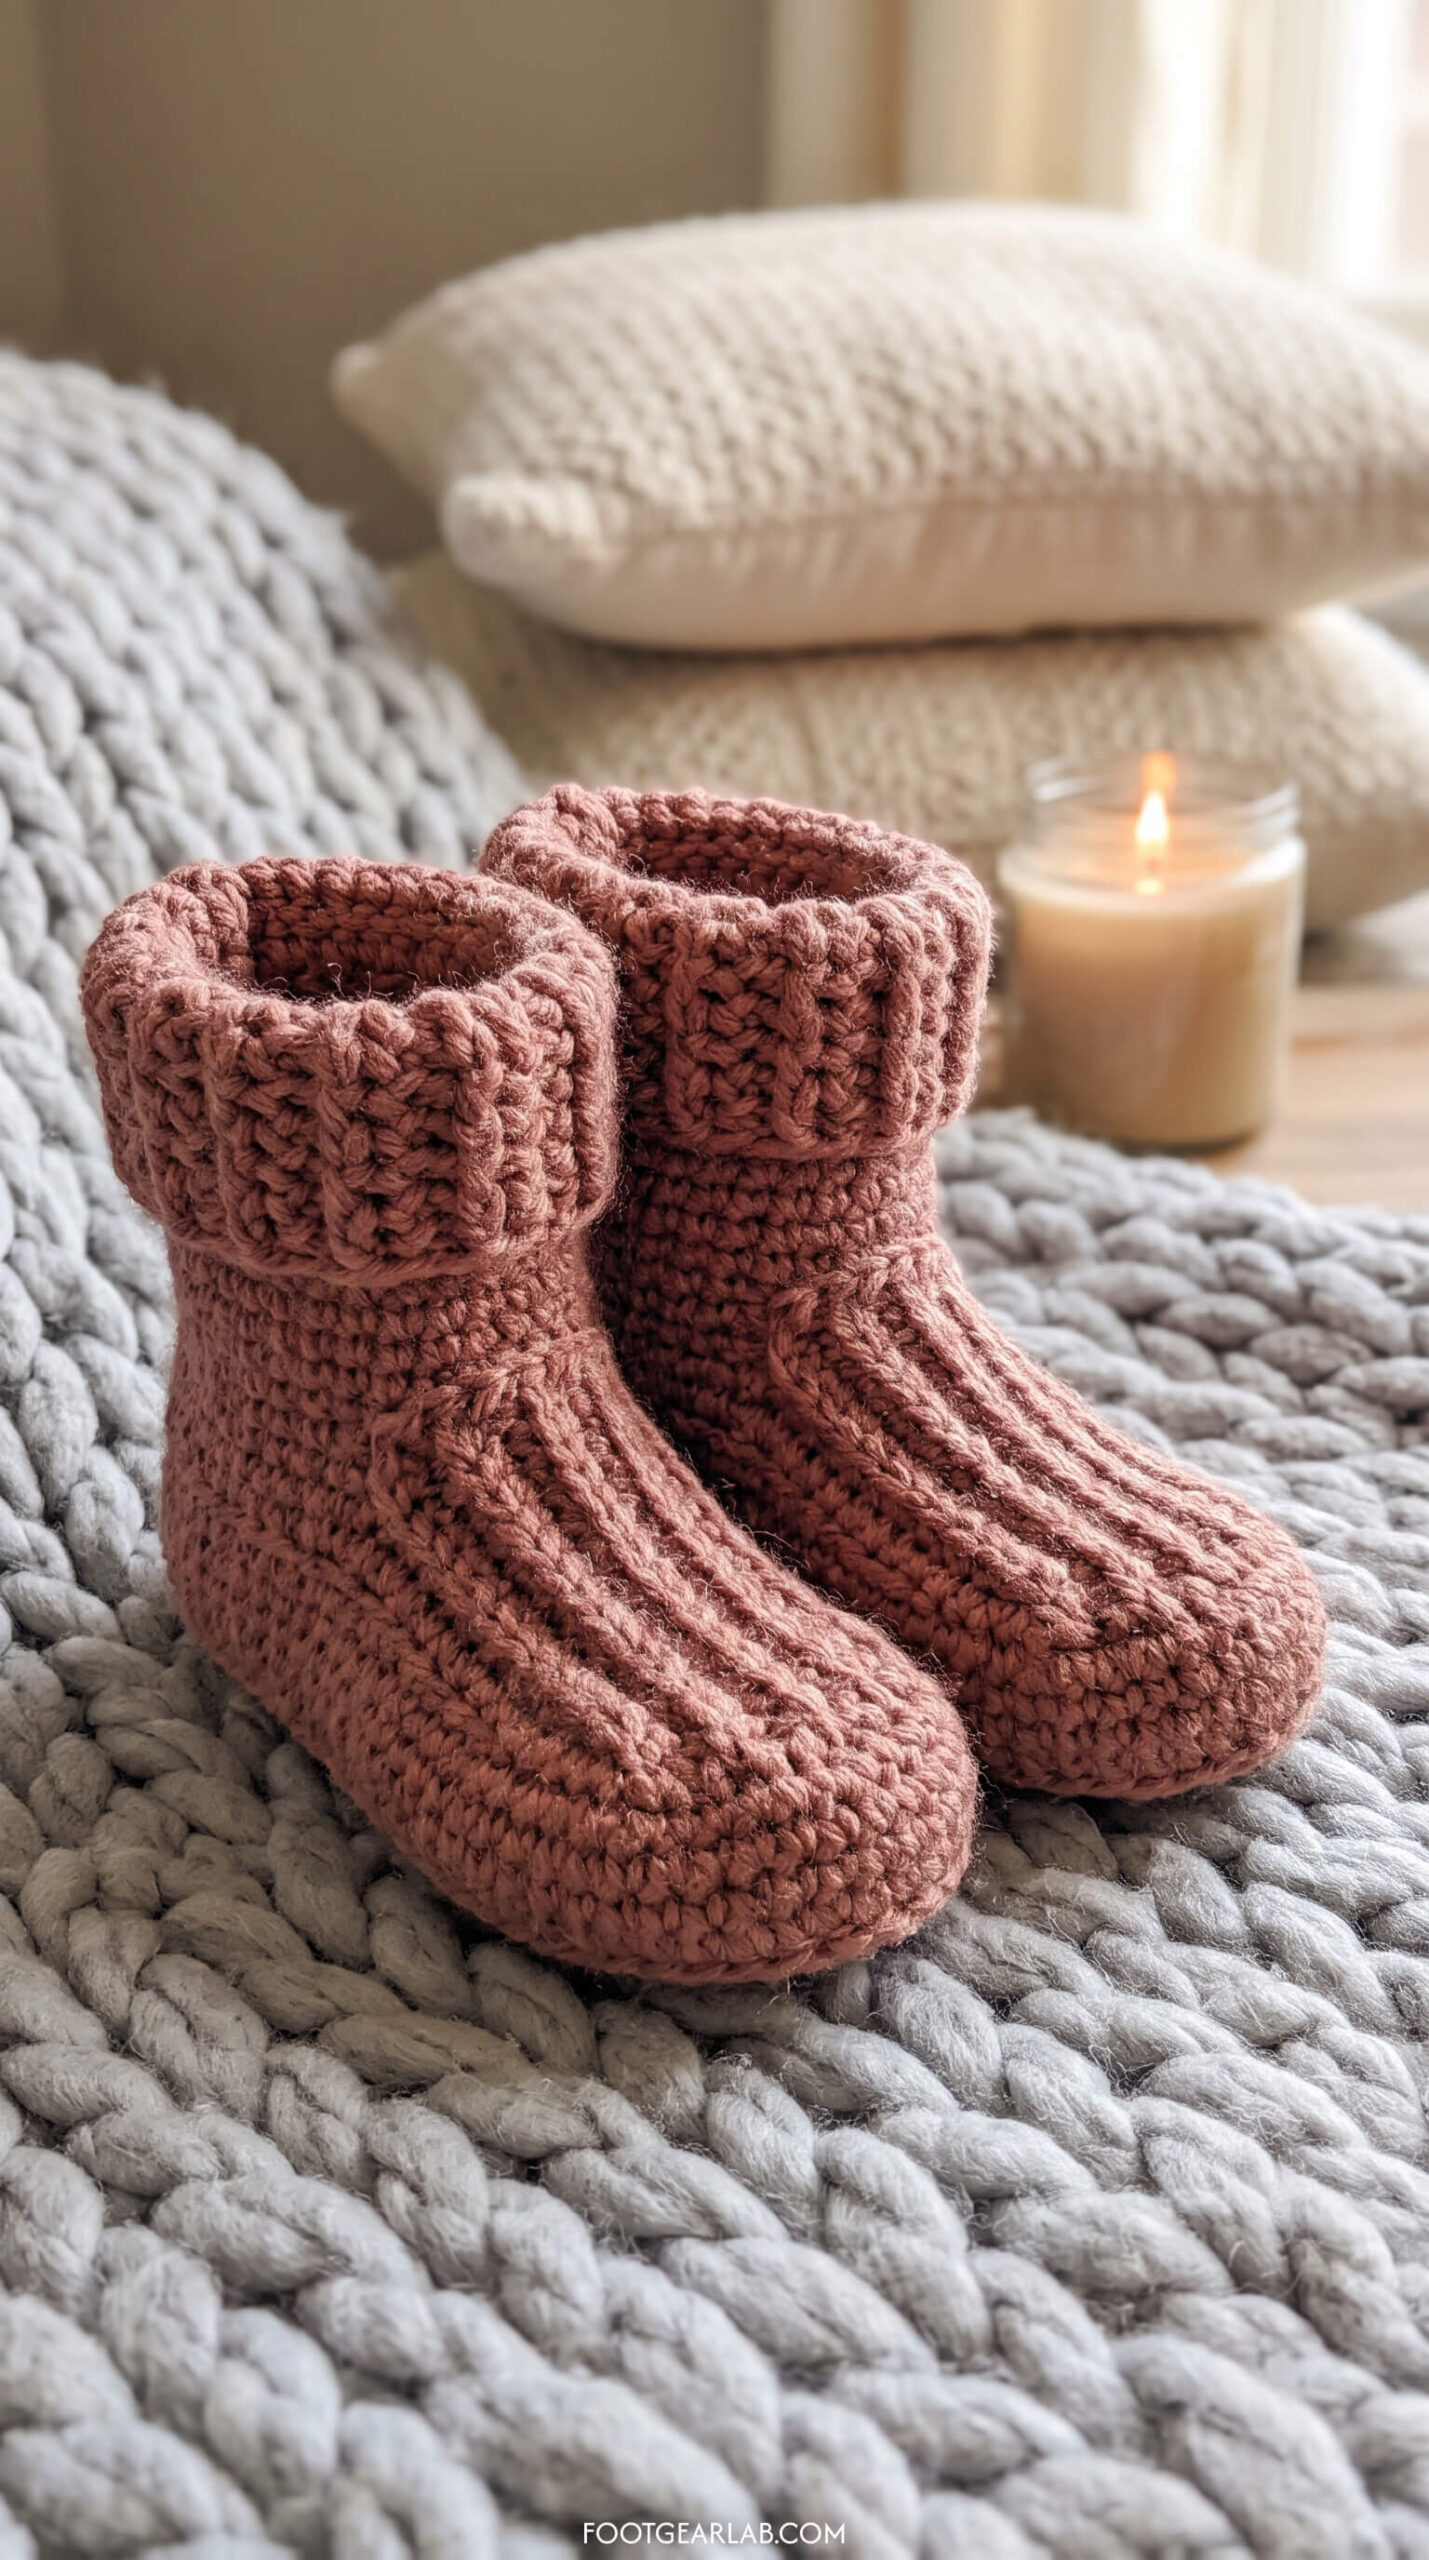
These booties take the rectangle method from Pattern 1 and add a thick, folded-down cuff that keeps your ankles toasty on chilly mornings. Using bulky yarn makes them work up surprisingly fast, and the extra thickness gives them a plush, cabin-cozy look that photographs beautifully. They’re the pair to make if you love that “wrapped in a blanket” feeling.
Make the slipper base (make 2):
- Follow Pattern 1 exactly, using bulky yarn and the larger hook. Because you’re working from your measurements, the bulkier yarn simply means fewer stitches and rows, not a different size.
- Sew a shorter top seam: When you sew the top seam from the toe, stop after about 3 inches instead of halfway. This leaves a wider opening so the cuff has room to sit comfortably around your ankle.
Add the cuff:
- Round 1: Join your yarn at the top of the heel seam with a slip stitch. Chain 1, then work single crochet evenly all the way around the opening, placing about one stitch into each row-end or stitch along the edge. Join with a slip stitch to the first stitch. The goal is a smooth, flat edge, so if it starts to ruffle, skip a stitch here and there, and if it pulls tight, add an extra one.
- Rounds 2–7: Chain 2 (this doesn’t count as a stitch), then hdc in each stitch around and join with a slip stitch. Keep going until the cuff is about 3 inches tall. Each round builds the cuff a little higher and adds that chunky, squishy texture.
- Fasten off and weave in your ends. Fold the top half of the cuff down over itself for the classic bootie look.
Make them extra special: Add a band of faux fur trim around the folded cuff edge, sew two small wooden buttons on the outer side of the cuff, or make the cuff in a contrasting color for a modern two-tone style.
Avoid: text, logos, hands, feet, people, legs, side-by-side panels, insets, laces, rubber soles, buttons, fur trim, cuffs standing straight up unfolded, more than two booties, mismatched colors.
Pattern 3: Classic Loafer Slippers
Skill level: Advanced beginner Yarn: About 200–250 yards of worsted (#4) yarn for a pair Hook: 5.0 mm (H-8) Time: One to two evenings per pair
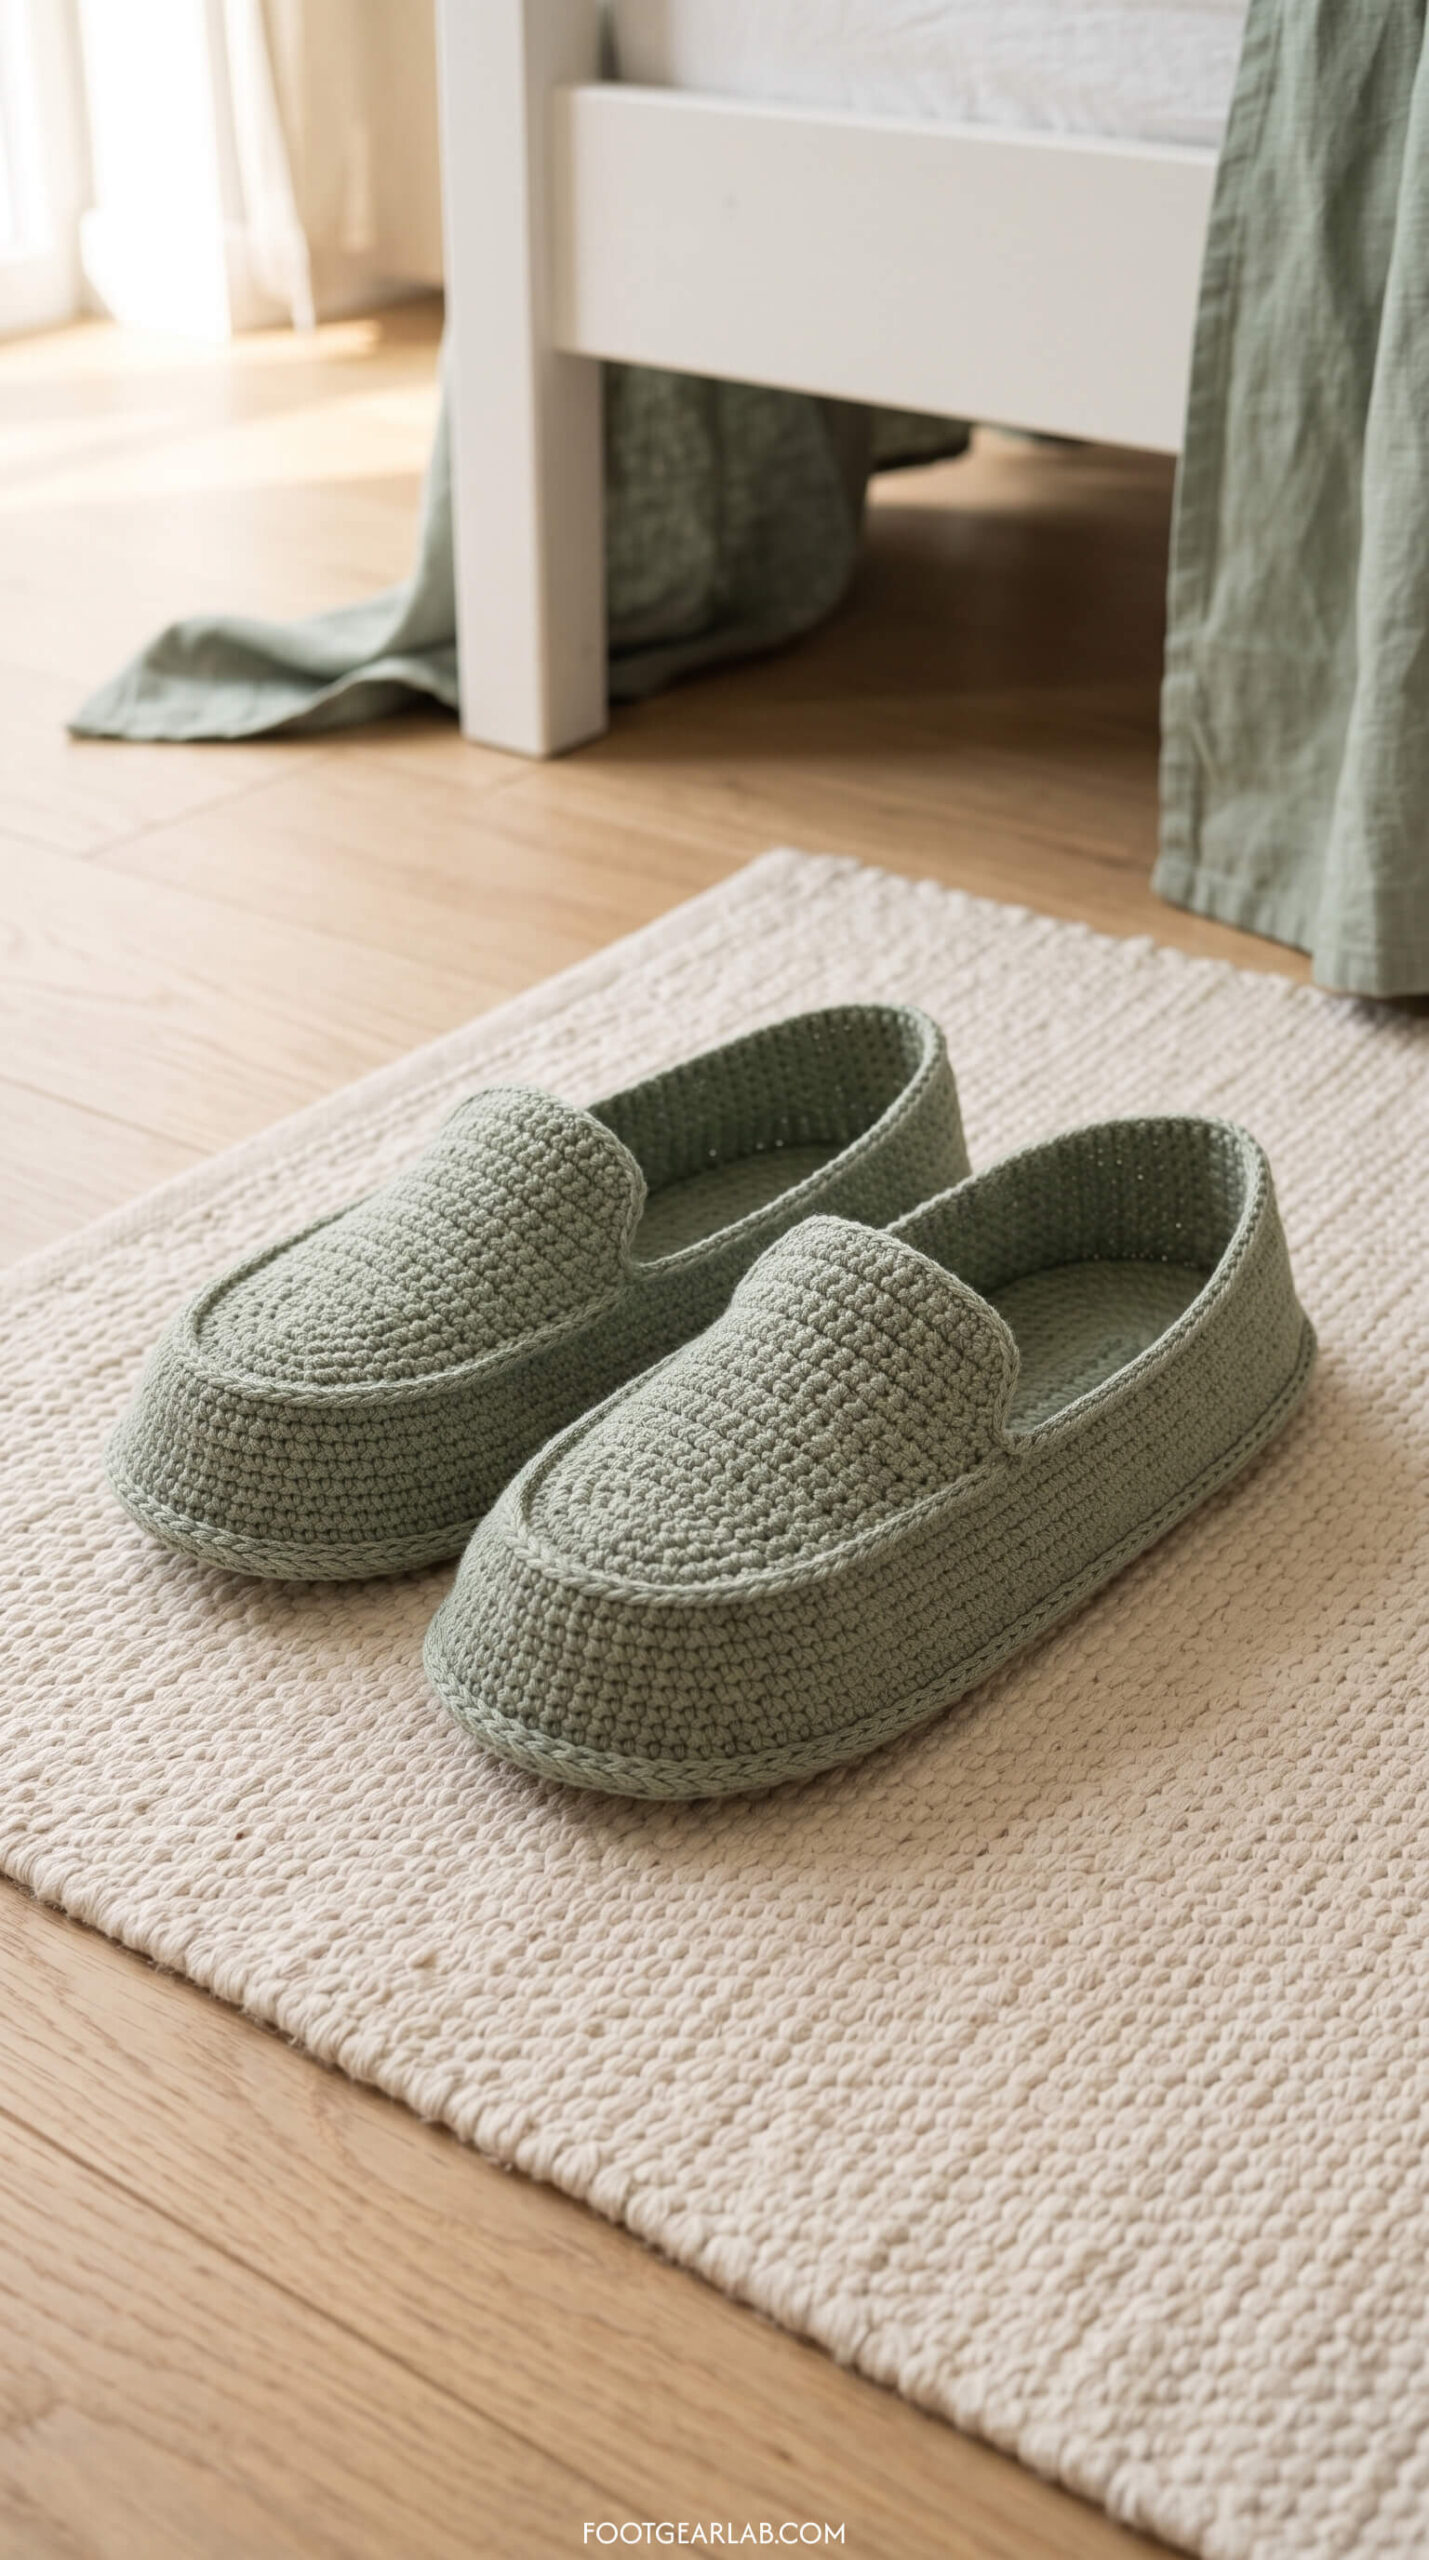
This is the classic shaped slipper, with a real oval sole, short side walls, and a toe cap that curves over your toes like a cozy loafer. It’s a little more involved than the rectangle styles because you’ll work in rounds and use increases and decreases, but each step is simple on its own. Once you’ve made this one, you’ll understand how most crochet slippers are built, which opens the door to countless other designs.
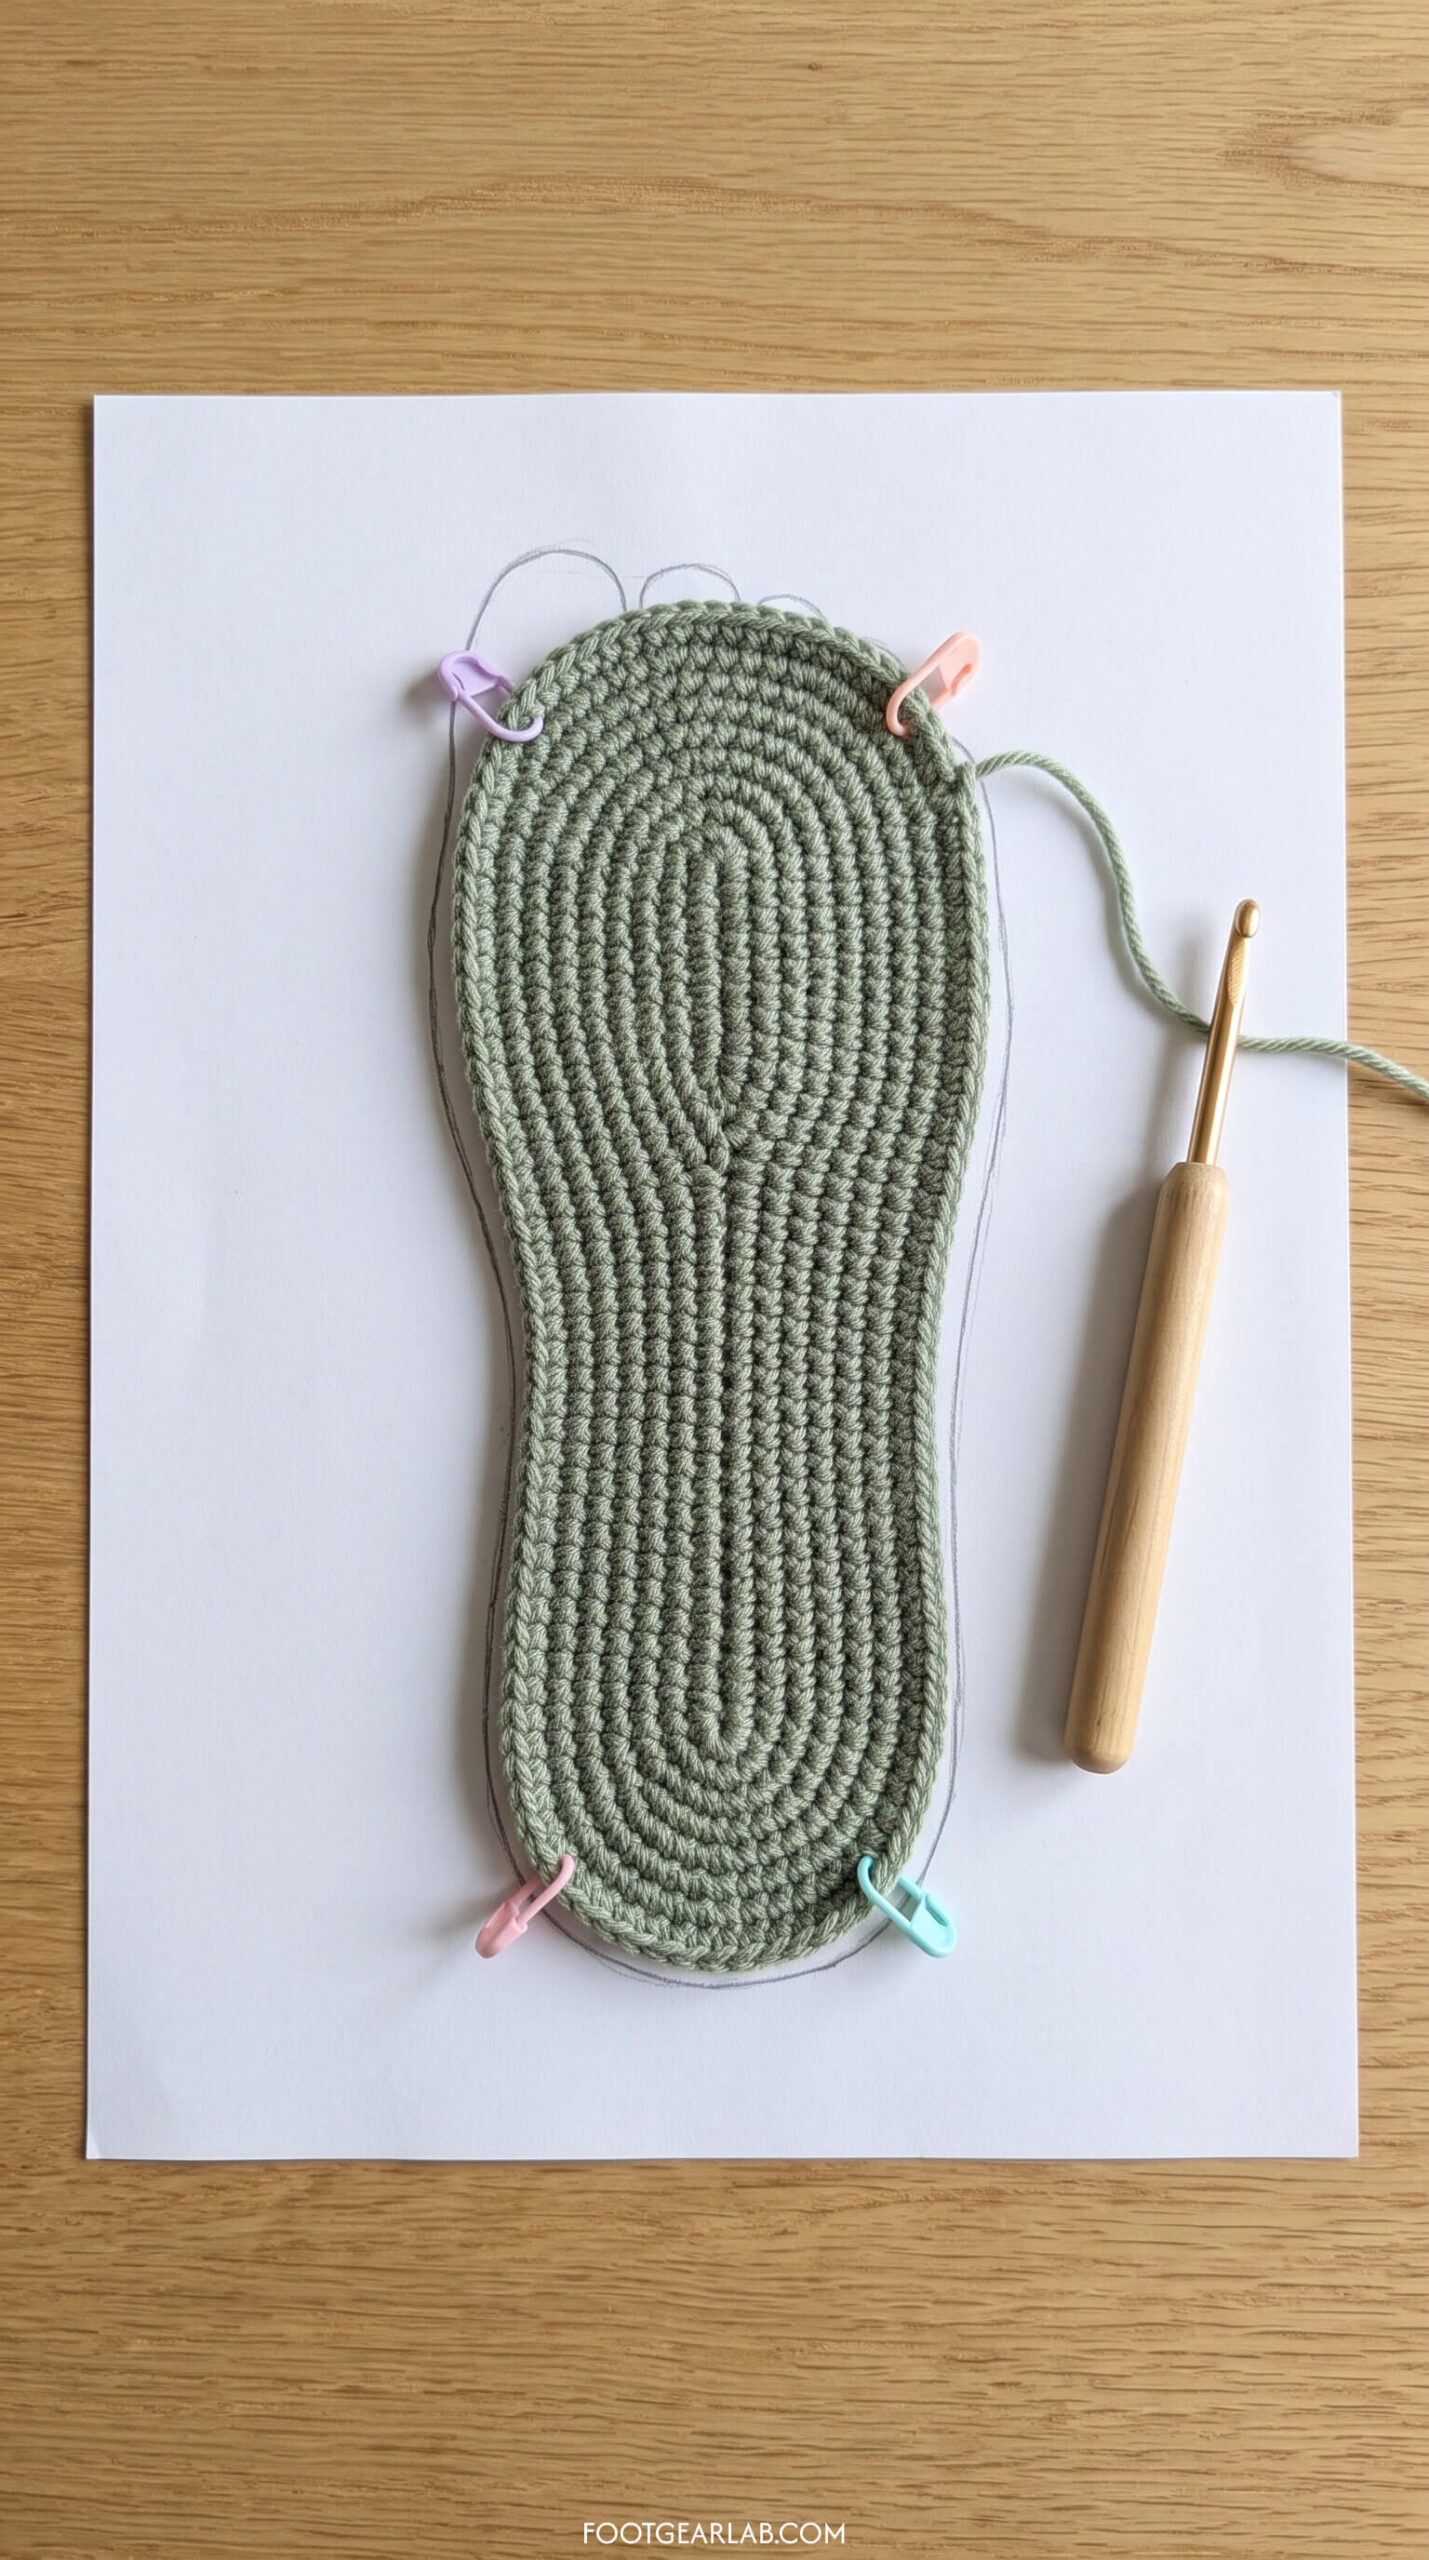
Make the sole (make 2):
- Foundation chain: Chain until your chain measures about 3½ inches shorter than your foot length. For most women’s medium feet in worsted yarn, that’s somewhere around 22 to 26 chains. The sole grows outward at both ends as you work around it, which is why you start much shorter than your foot.
- Round 1: Single crochet in the 2nd chain from the hook and in each chain across until 1 chain remains. Work 3 sc in that last chain. Now rotate your work and continue along the other side of the chain, working sc into the bottom loops of each chain until you reach the chain that holds your very first stitch, and work 2 more sc into it. Join with a slip stitch to the first sc. You’ll have a narrow oval, with a curved group of 3 stitches at each end.
- Mark the curved ends: Place a stitch marker in the first and last stitch of each 3-stitch curved group. Only the stitches between each pair of markers get increases; the straight sides are always worked with plain sc.
- Round 2: Chain 1. Single crochet around, working 2 sc into each stitch of both curved ends (that’s 6 increases in total). Join, and move your markers to the first and last stitch of each newly widened end.
- Round 3: Chain 1. Single crochet around, and across each curved end work 2 sc in the next stitch, 1 sc in the next stitch three times. Join and move your markers.
- Round 4 and onward: Keep the same rhythm, adding one more plain stitch between increases each round (so Round 4 is 2 sc in next, 1 sc in next 2 three times on each end, Round 5 is 2 sc in next, 1 sc in next 3, and so on). If your round happens to start in the middle of a curved end, don’t worry; just follow your markers and the math still works out.
- Check your size: Lay the sole on your foot tracing after every round. Stop when it matches the width of the ball of your foot, which usually takes about 7 to 8 rounds in worsted yarn. The sole should be the same length as your tracing or just a hair shorter.
Avoid: text, labels, numbers, arrows, hands, feet, people, side-by-side panels, insets, a sole with side walls, ruffled or wavy edges, a cupped or bowl-shaped sole, a perfectly round circle, more than four markers, two soles.
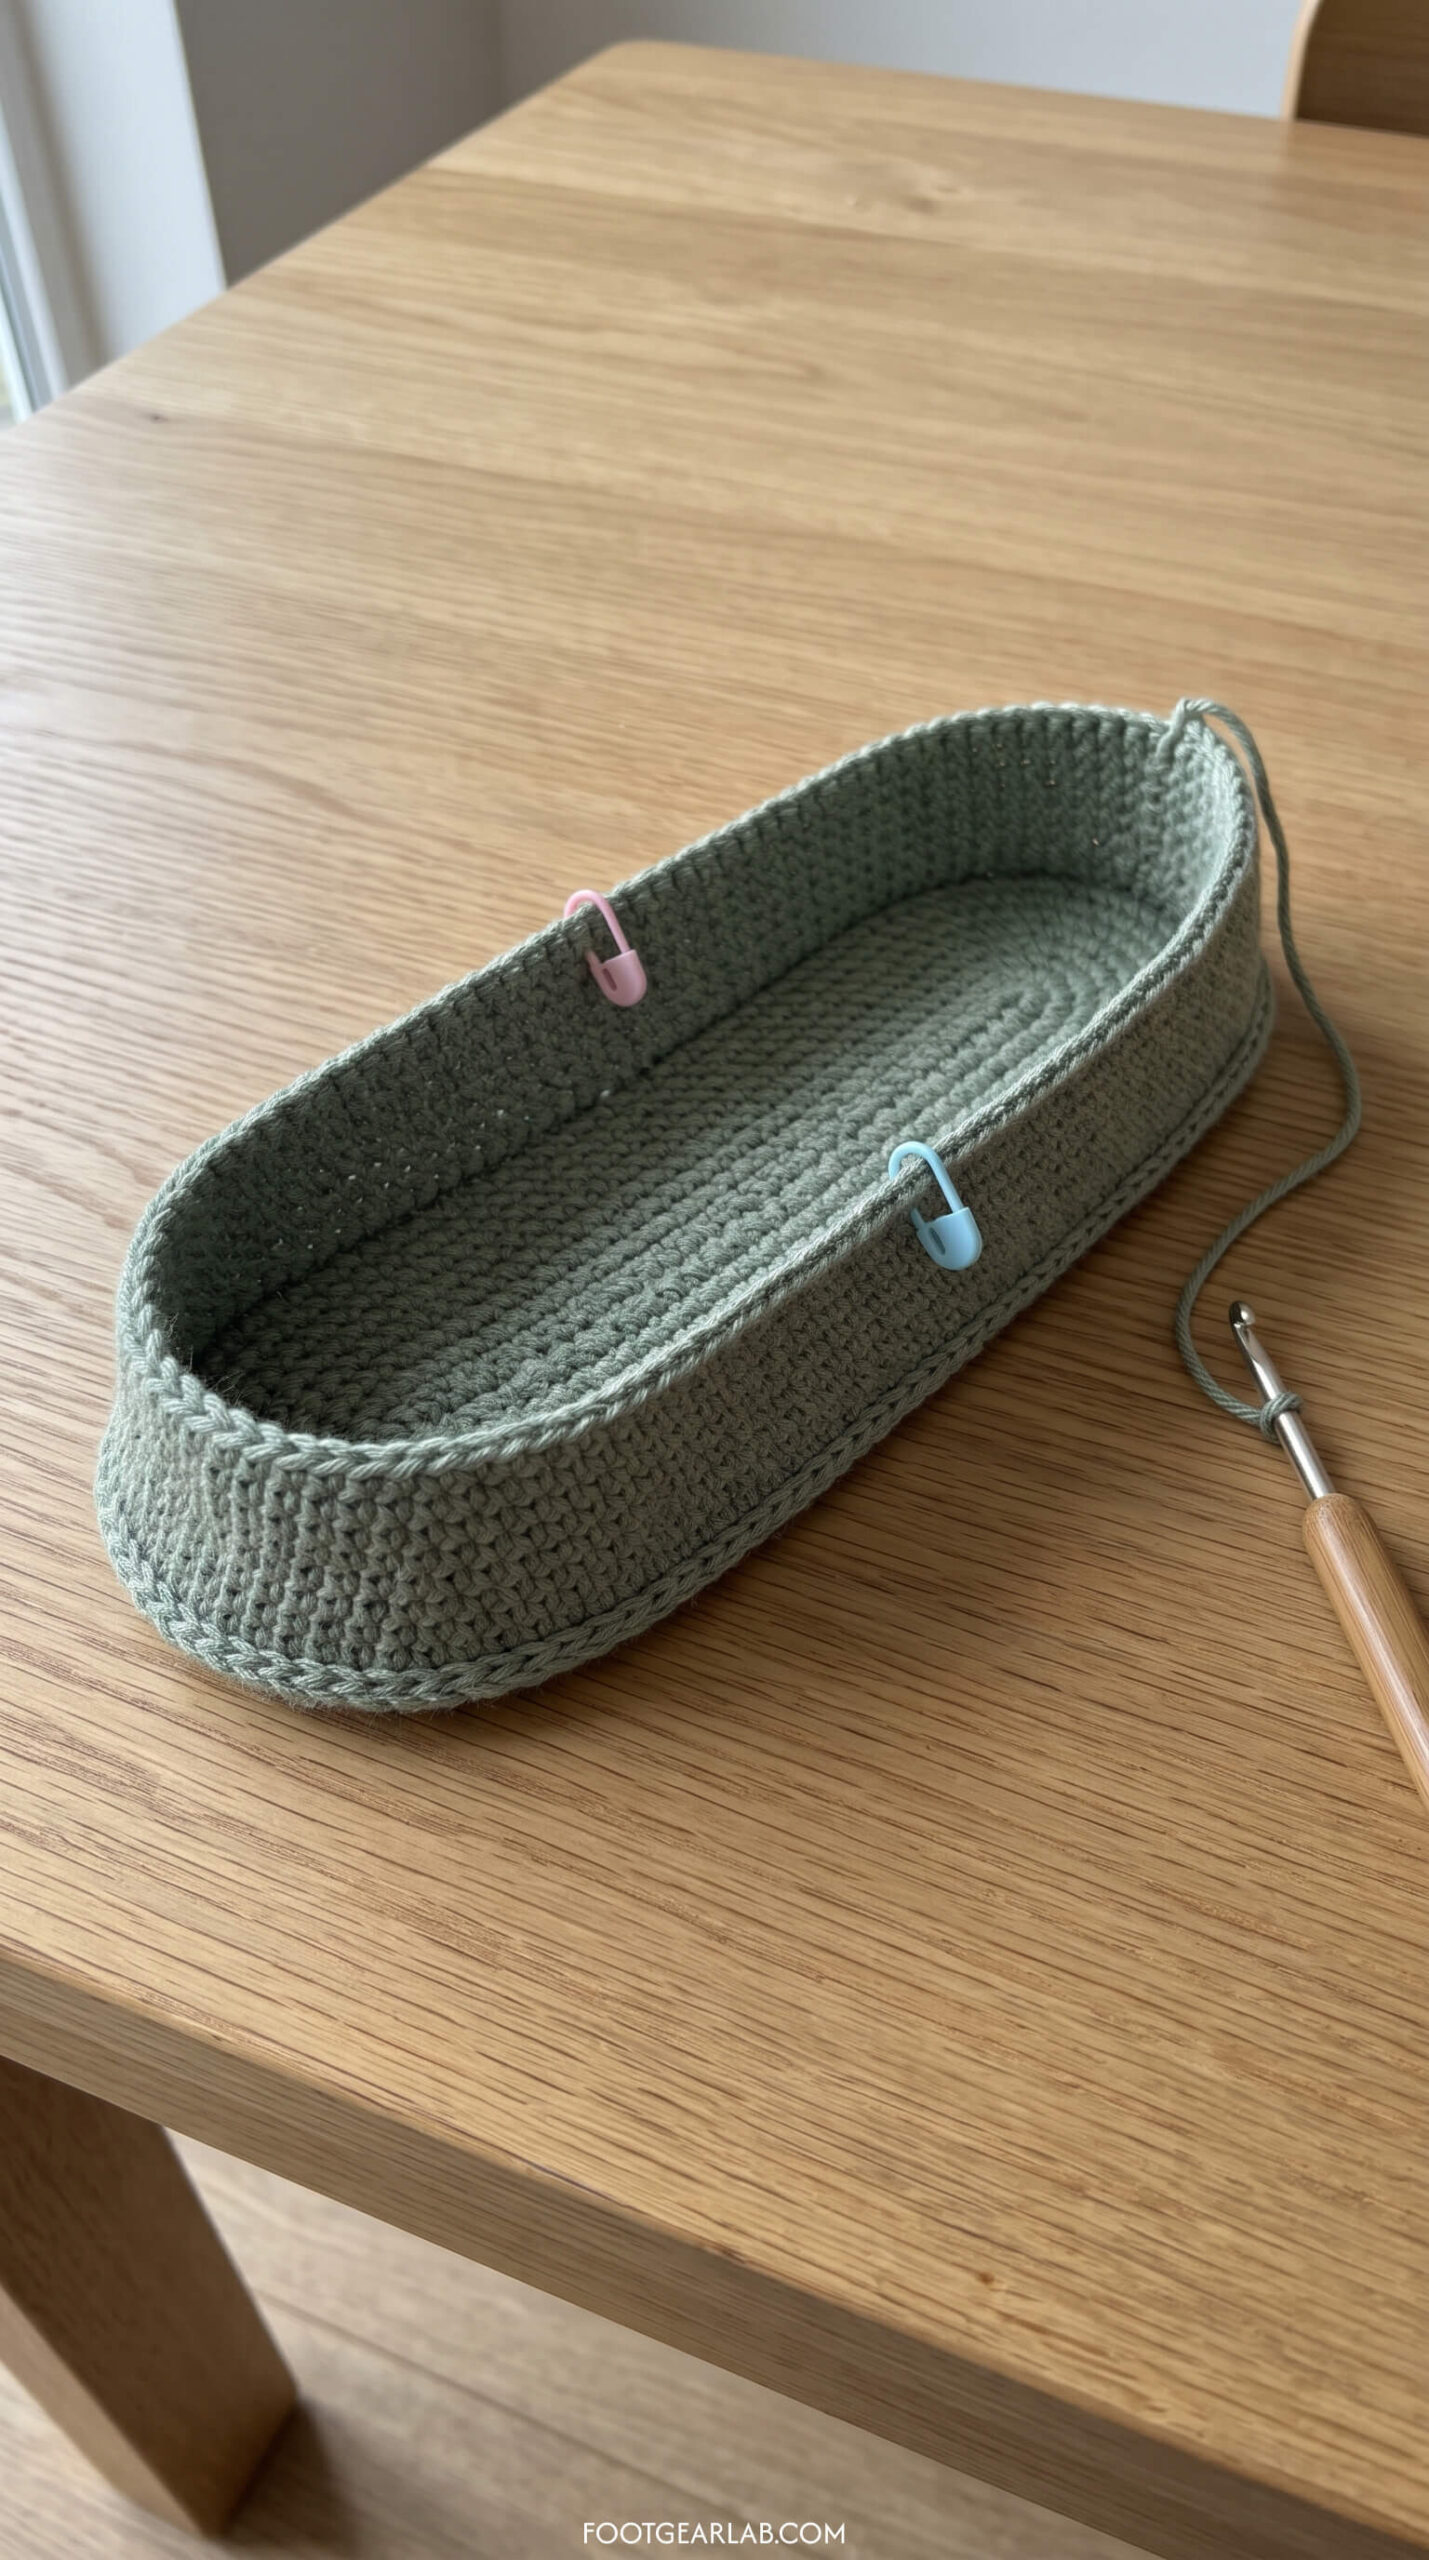
Build the sides:
- Turning round: Chain 1, then sc in the back loop only of each stitch around, and join. Working in the back loop creates a crisp ridge along the edge of the sole and encourages the fabric to turn upward, forming the side walls.
- Side rounds: Chain 1, sc in both loops of each stitch around, and join. Repeat this round 3 more times, until the sides stand about 1 inch tall. At this point, your sole should look like a shallow little boat.
Shape the toe:
- Mark the toe: Decide which curved end will be the toe. Place two markers on the top edge so that roughly the front third of all your stitches sits between them, centered on the toe.
- Toe Round 1: Chain 1, sc in each stitch until you reach the first marker, then work sc2tog repeatedly across all the stitches between the markers. After the second marker, sc in each remaining stitch and join. You’ll see the front edge start to pull inward and curve over where your toes will be.
- Toe Rounds 2 and 3: Move your markers so they sit at the edges of the newly shrunk toe section, and repeat Toe Round 1. Try the slipper on after each round, and stop as soon as the toe cap covers your toes comfortably.
- Edging: Work one round of slip stitch or single crochet around the opening to tidy the edge and add a little stability. Fasten off and weave in your ends.
Avoid: text, labels, arrows, hands, feet, people, side-by-side panels, insets, a finished toe cap, a toe that curves inward, buttons, straps, pom-poms, more than one slipper, ruffled walls, extra tools.
Avoid: text, logos, hands, feet, people, legs, side-by-side panels, insets, laces, buttons, straps, pom-poms, rubber soles, shiny leather, mismatched slippers, more than two slippers, dark lighting.
Pattern 4: Sweet Mary Jane Slippers
Skill level: Advanced beginner Yarn: About 180–220 yards of worsted (#4) yarn, plus 2 buttons (½ to ¾ inch / 13–20 mm) Hook: 5.0 mm (H-8) Time: One to two evenings per pair
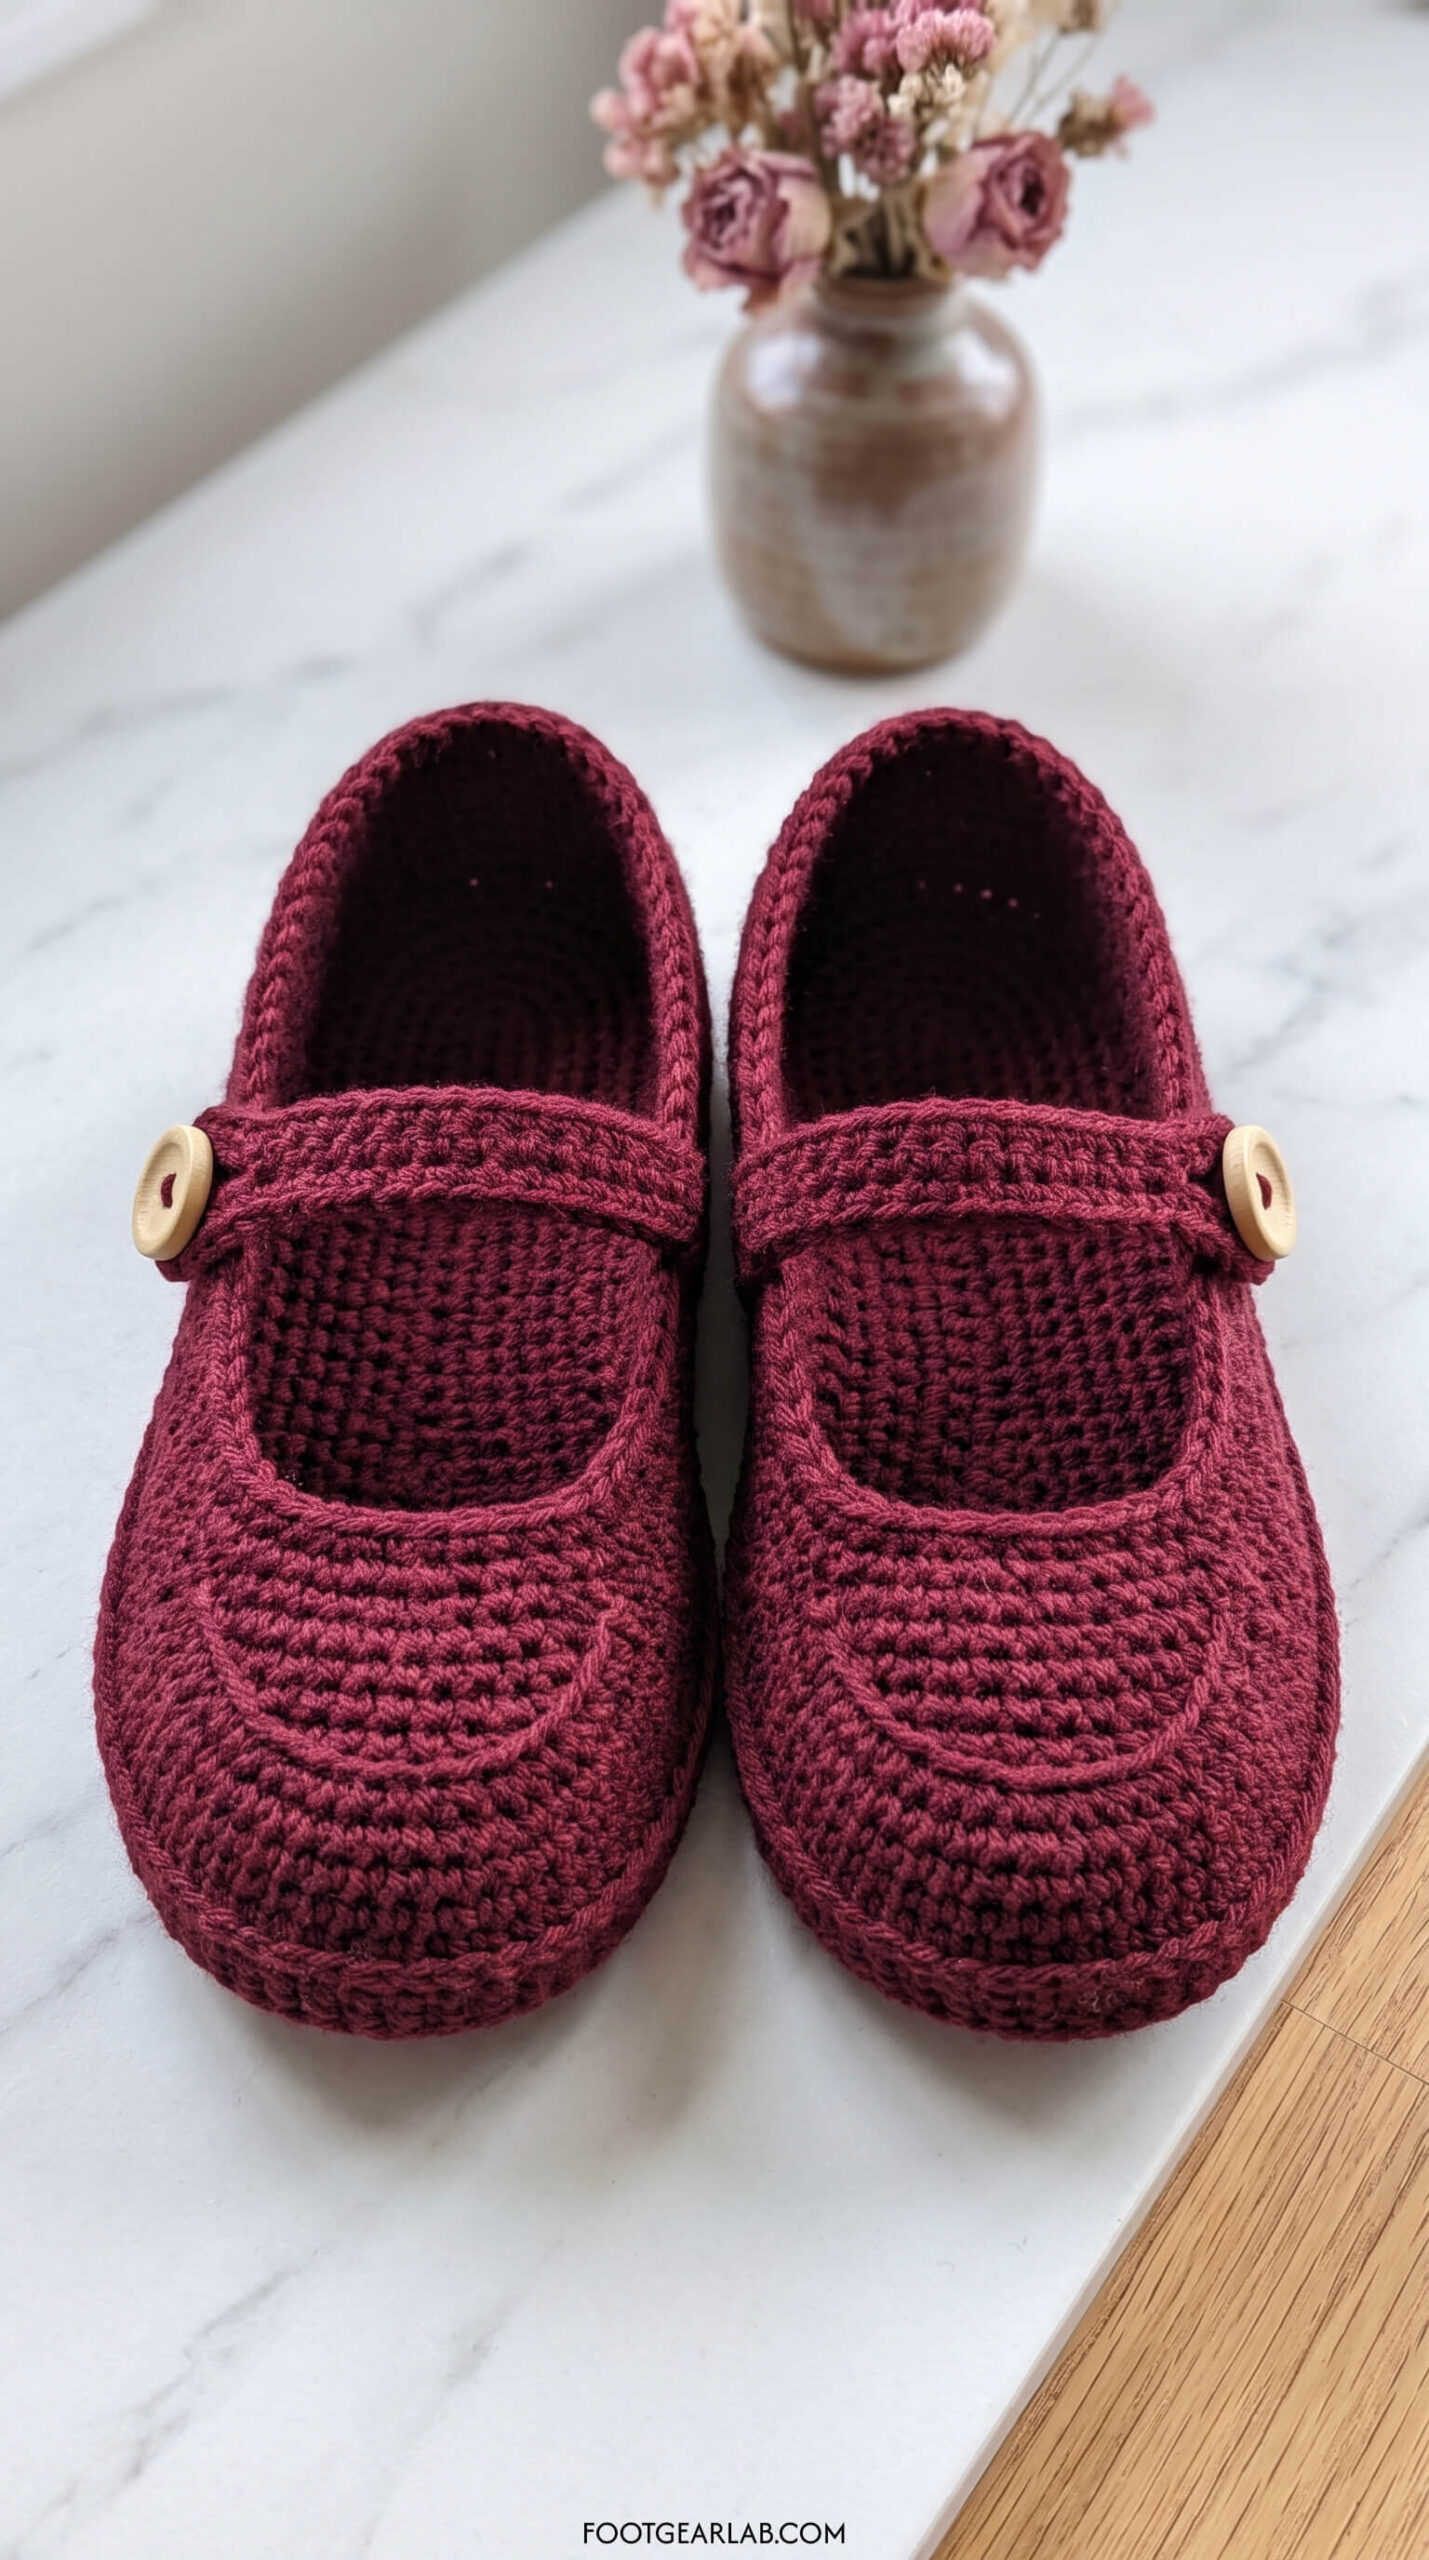
Mary Janes are the cutest little twist on the classic slipper. They have lower sides and a shorter toe cap, plus a strap across the top of the foot that fastens with a button. They look almost like ballet shoes and feel lovely and light, which makes them a great choice if you run warm or want something prettier to wear around the house. They’re also a favorite for gifting because they look so polished.
Make the base (make 2):
- Sole: Make the sole exactly as in Pattern 3, checking it against your foot tracing as you go.
- Sides: Work the back-loop-only turning round, then only 2 plain sc rounds instead of 4. This keeps the sides low and dainty.
- Toe: Mark the front third of the stitches and work just 2 toe rounds of sc2tog, so the toe cap is shorter and leaves more of the top of the foot open.
- Edging: Finish with one round of sc around the opening, then fasten off.
Add the strap:
- Plan a mirrored pair: Each strap starts on the inner side of the foot (the side closest to your other foot) and buttons on the outer side. So on the left slipper the strap starts on the right edge, and on the right slipper it starts on the left edge.
- Chain: Join your yarn on the inner edge of the opening, about 1 inch behind the toe cap. Chain until the chain reaches across the top of your foot to the opposite edge, which is usually 12 to 16 chains.
- Row 1: Single crochet in the 2nd chain from the hook and in each chain back toward the slipper, then slip stitch into the slipper edge to anchor it. This gives you a sturdy strap that won’t stretch out.
- Row 2: Chain 1, turn, and sc in each stitch back to the end of the strap. At the end, chain 4 and slip stitch into the last sc you made, creating a small loop for the button. Fasten off and weave in the ends.
- Sew the button: Try on the slipper, bring the strap across, and mark where the loop lands on the outer edge. Sew your button firmly at that spot.
Avoid: text, logos, hands, feet, people, legs, side-by-side panels, insets, buckles, laces, two straps per slipper, buttons on the same side on both slippers, tall sides, rubber soles, shiny patent leather, more than two slippers.
Pattern 5: Pom-Pom Ballet Slippers
Skill level: Advanced beginner Yarn: About 150–200 yards of worsted (#4) yarn, plus a small amount of white yarn for pom-poms and about 1 yard of narrow satin ribbon per slipper Hook: 5.0 mm (H-8) Time: One evening per pair
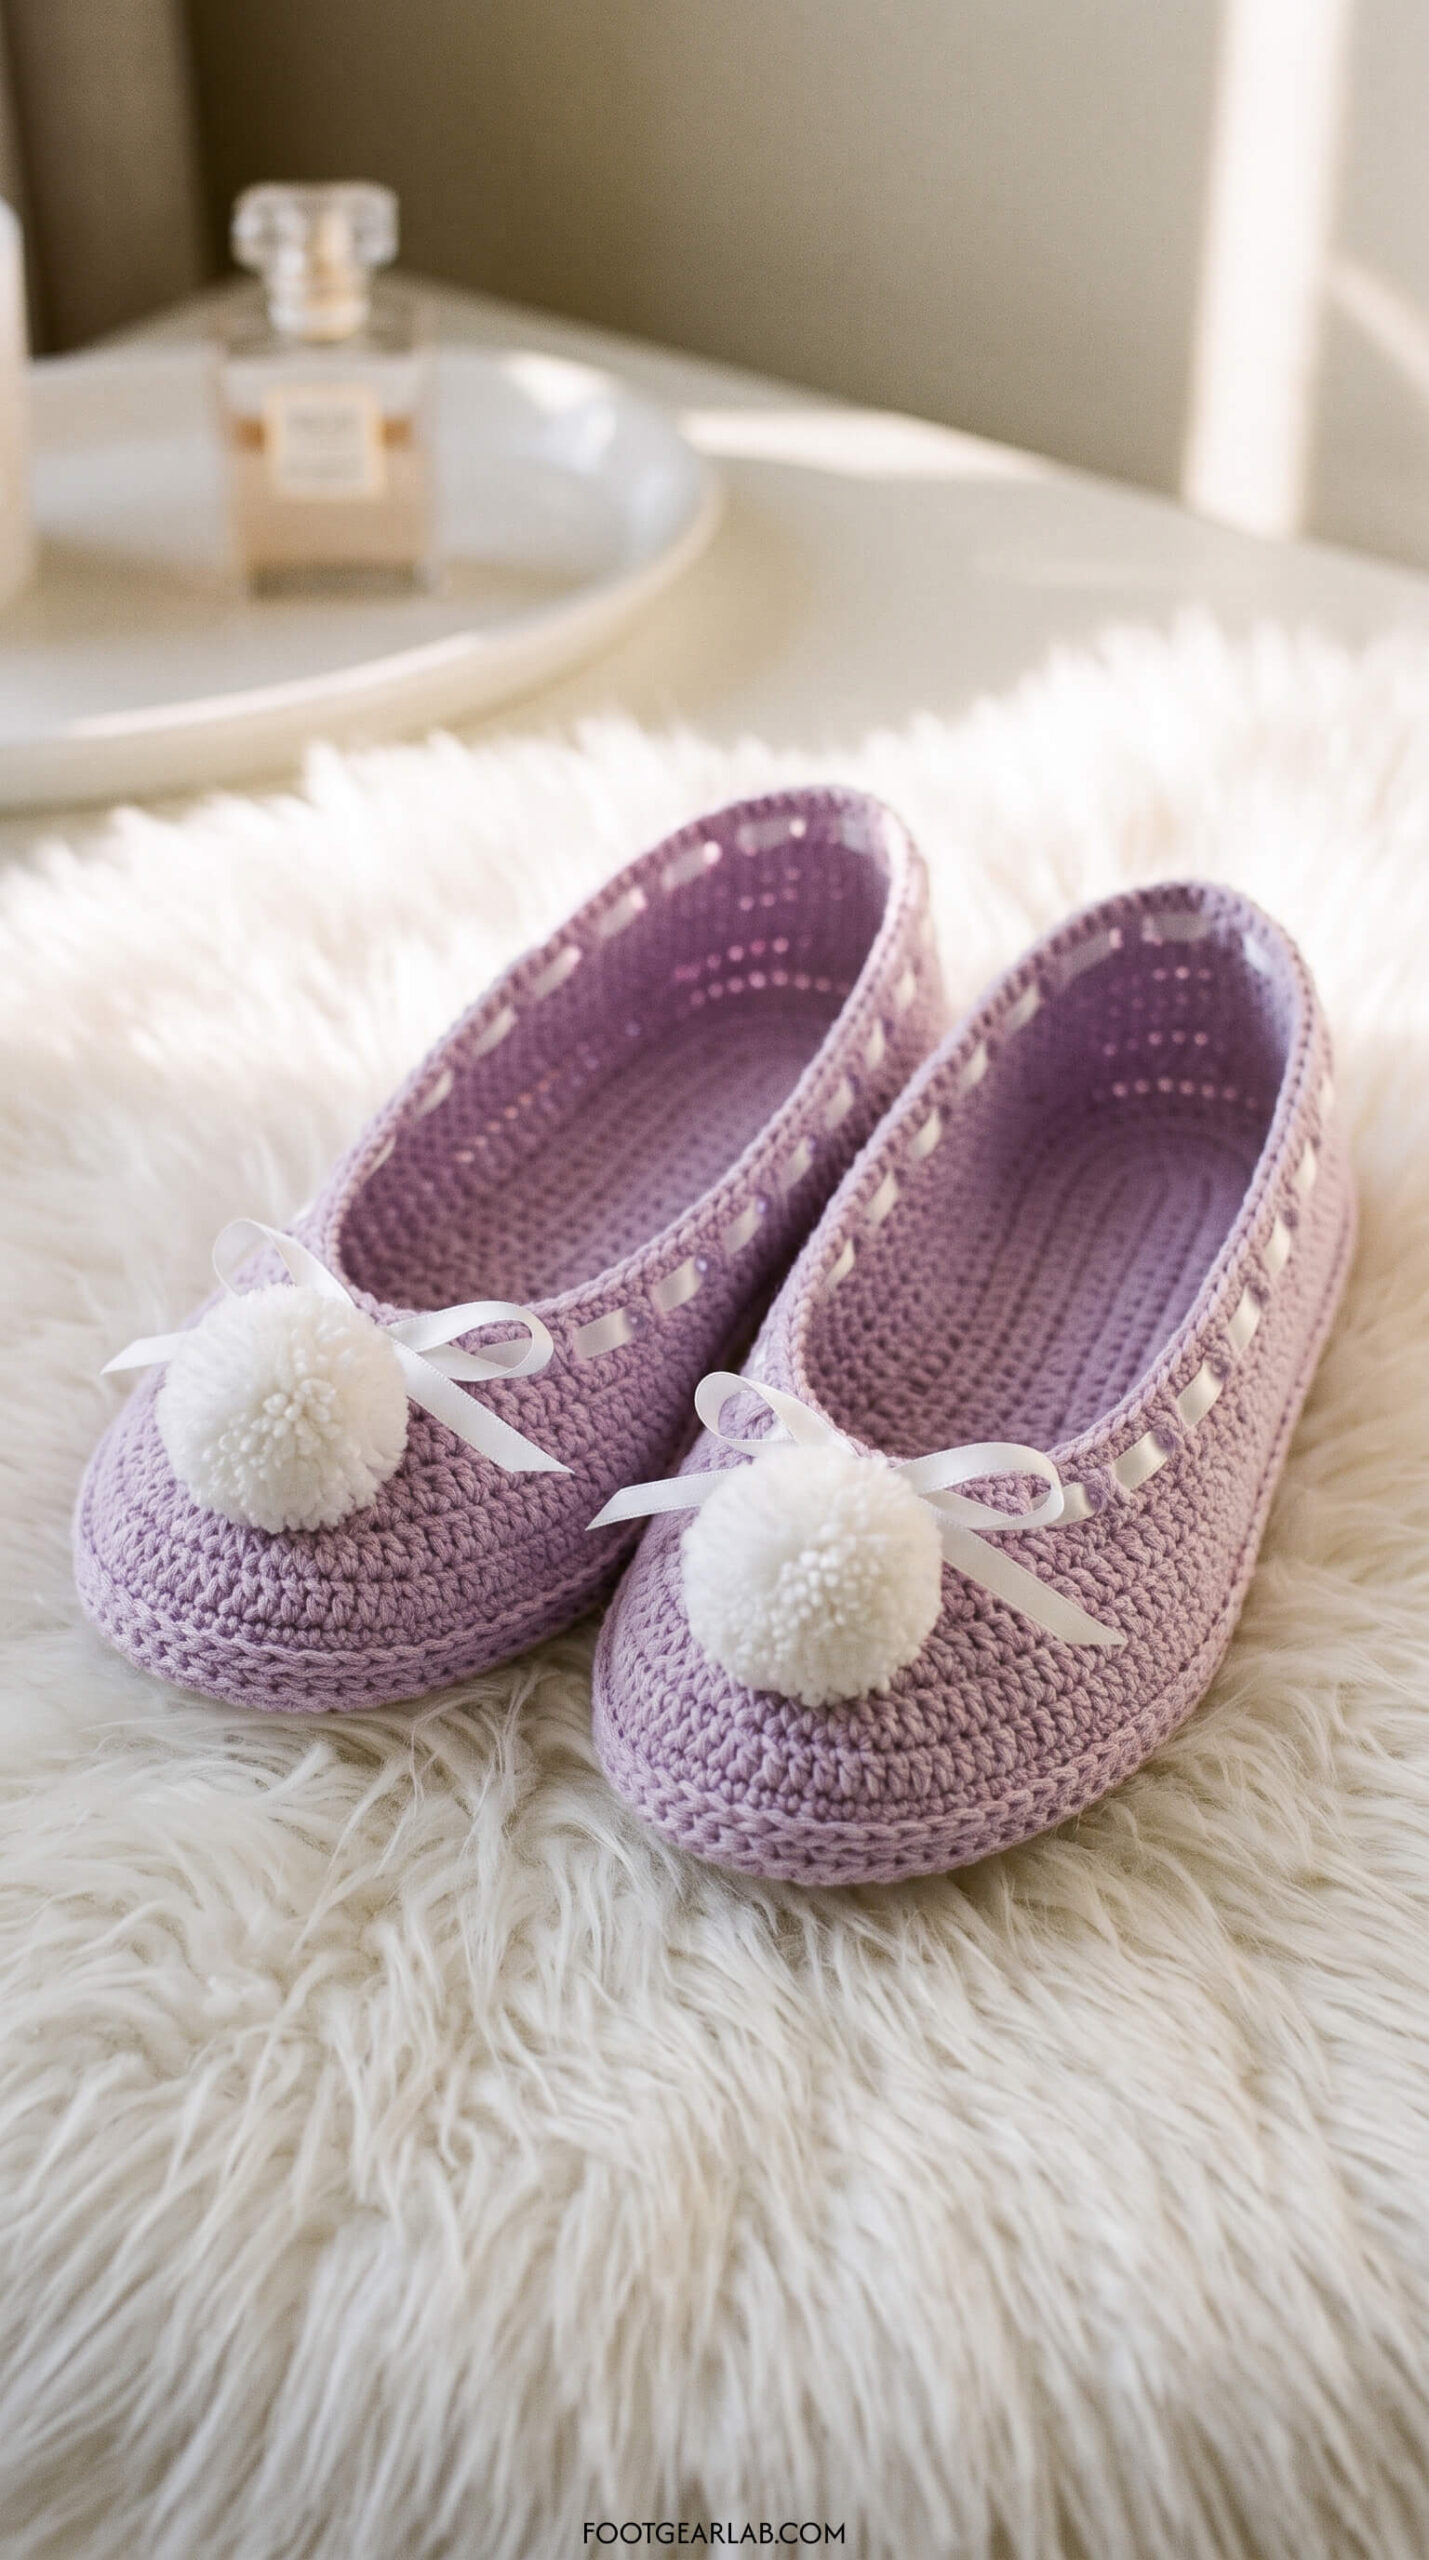
These are the lightest, most playful slippers in the collection. They’re shallow like a ballet flat, with a tiny toe cap topped by a fluffy pom-pom, and a ribbon drawstring woven around the opening so you can cinch them snug. Low slippers can sometimes slide off, and the ribbon is the simple trick that solves it while adding a feminine finishing touch.
Make the slipper (make 2):
- Sole: Make the sole as in Pattern 3.
- Sides: Work the back-loop-only turning round, followed by just 1 plain sc round. That’s all the height you need for a ballet-flat shape.
- Toe: Mark the front third of the stitches and work 1 or 2 toe rounds of sc2tog, stopping as soon as the toe cap covers the base of your toes.
- Ribbon round: Chain 3 (counts as the first dc), then chain 1, skip 1 stitch, dc in the next stitch all the way around, and join to the top of the beginning chain. This creates a row of little eyelets for your ribbon. Fasten off and weave in the ends.
- Thread the ribbon: Starting at the center front just behind the toe cap, weave the ribbon in and out through the eyelets all the way around, so both ends come out at the front. Slip on the slipper, pull gently to snug the fit, and tie a small bow.
- Add the pom-pom: Make a pom-pom about 1½ to 2 inches wide with your white yarn, either with a pom-pom maker or by wrapping yarn around two fingers about 60 times, tying it tightly around the middle, cutting the loops, and trimming it round. Sew it securely to the top of the toe cap.
Avoid: text, logos, readable labels, hands, feet, people, legs, side-by-side panels, insets, tall side walls, straps, buttons, rubber soles, ribbons tied at the heel, more than one pom-pom per slipper, mismatched slippers, more than two slippers.
How to Make Your Crochet Slippers Non-Slip
Crochet soles look adorable, but they can be slippery on hardwood, tile, and laminate floors, especially if you’re wearing them on stairs. Adding grip only takes a few minutes and makes your slippers much safer to wear every day.
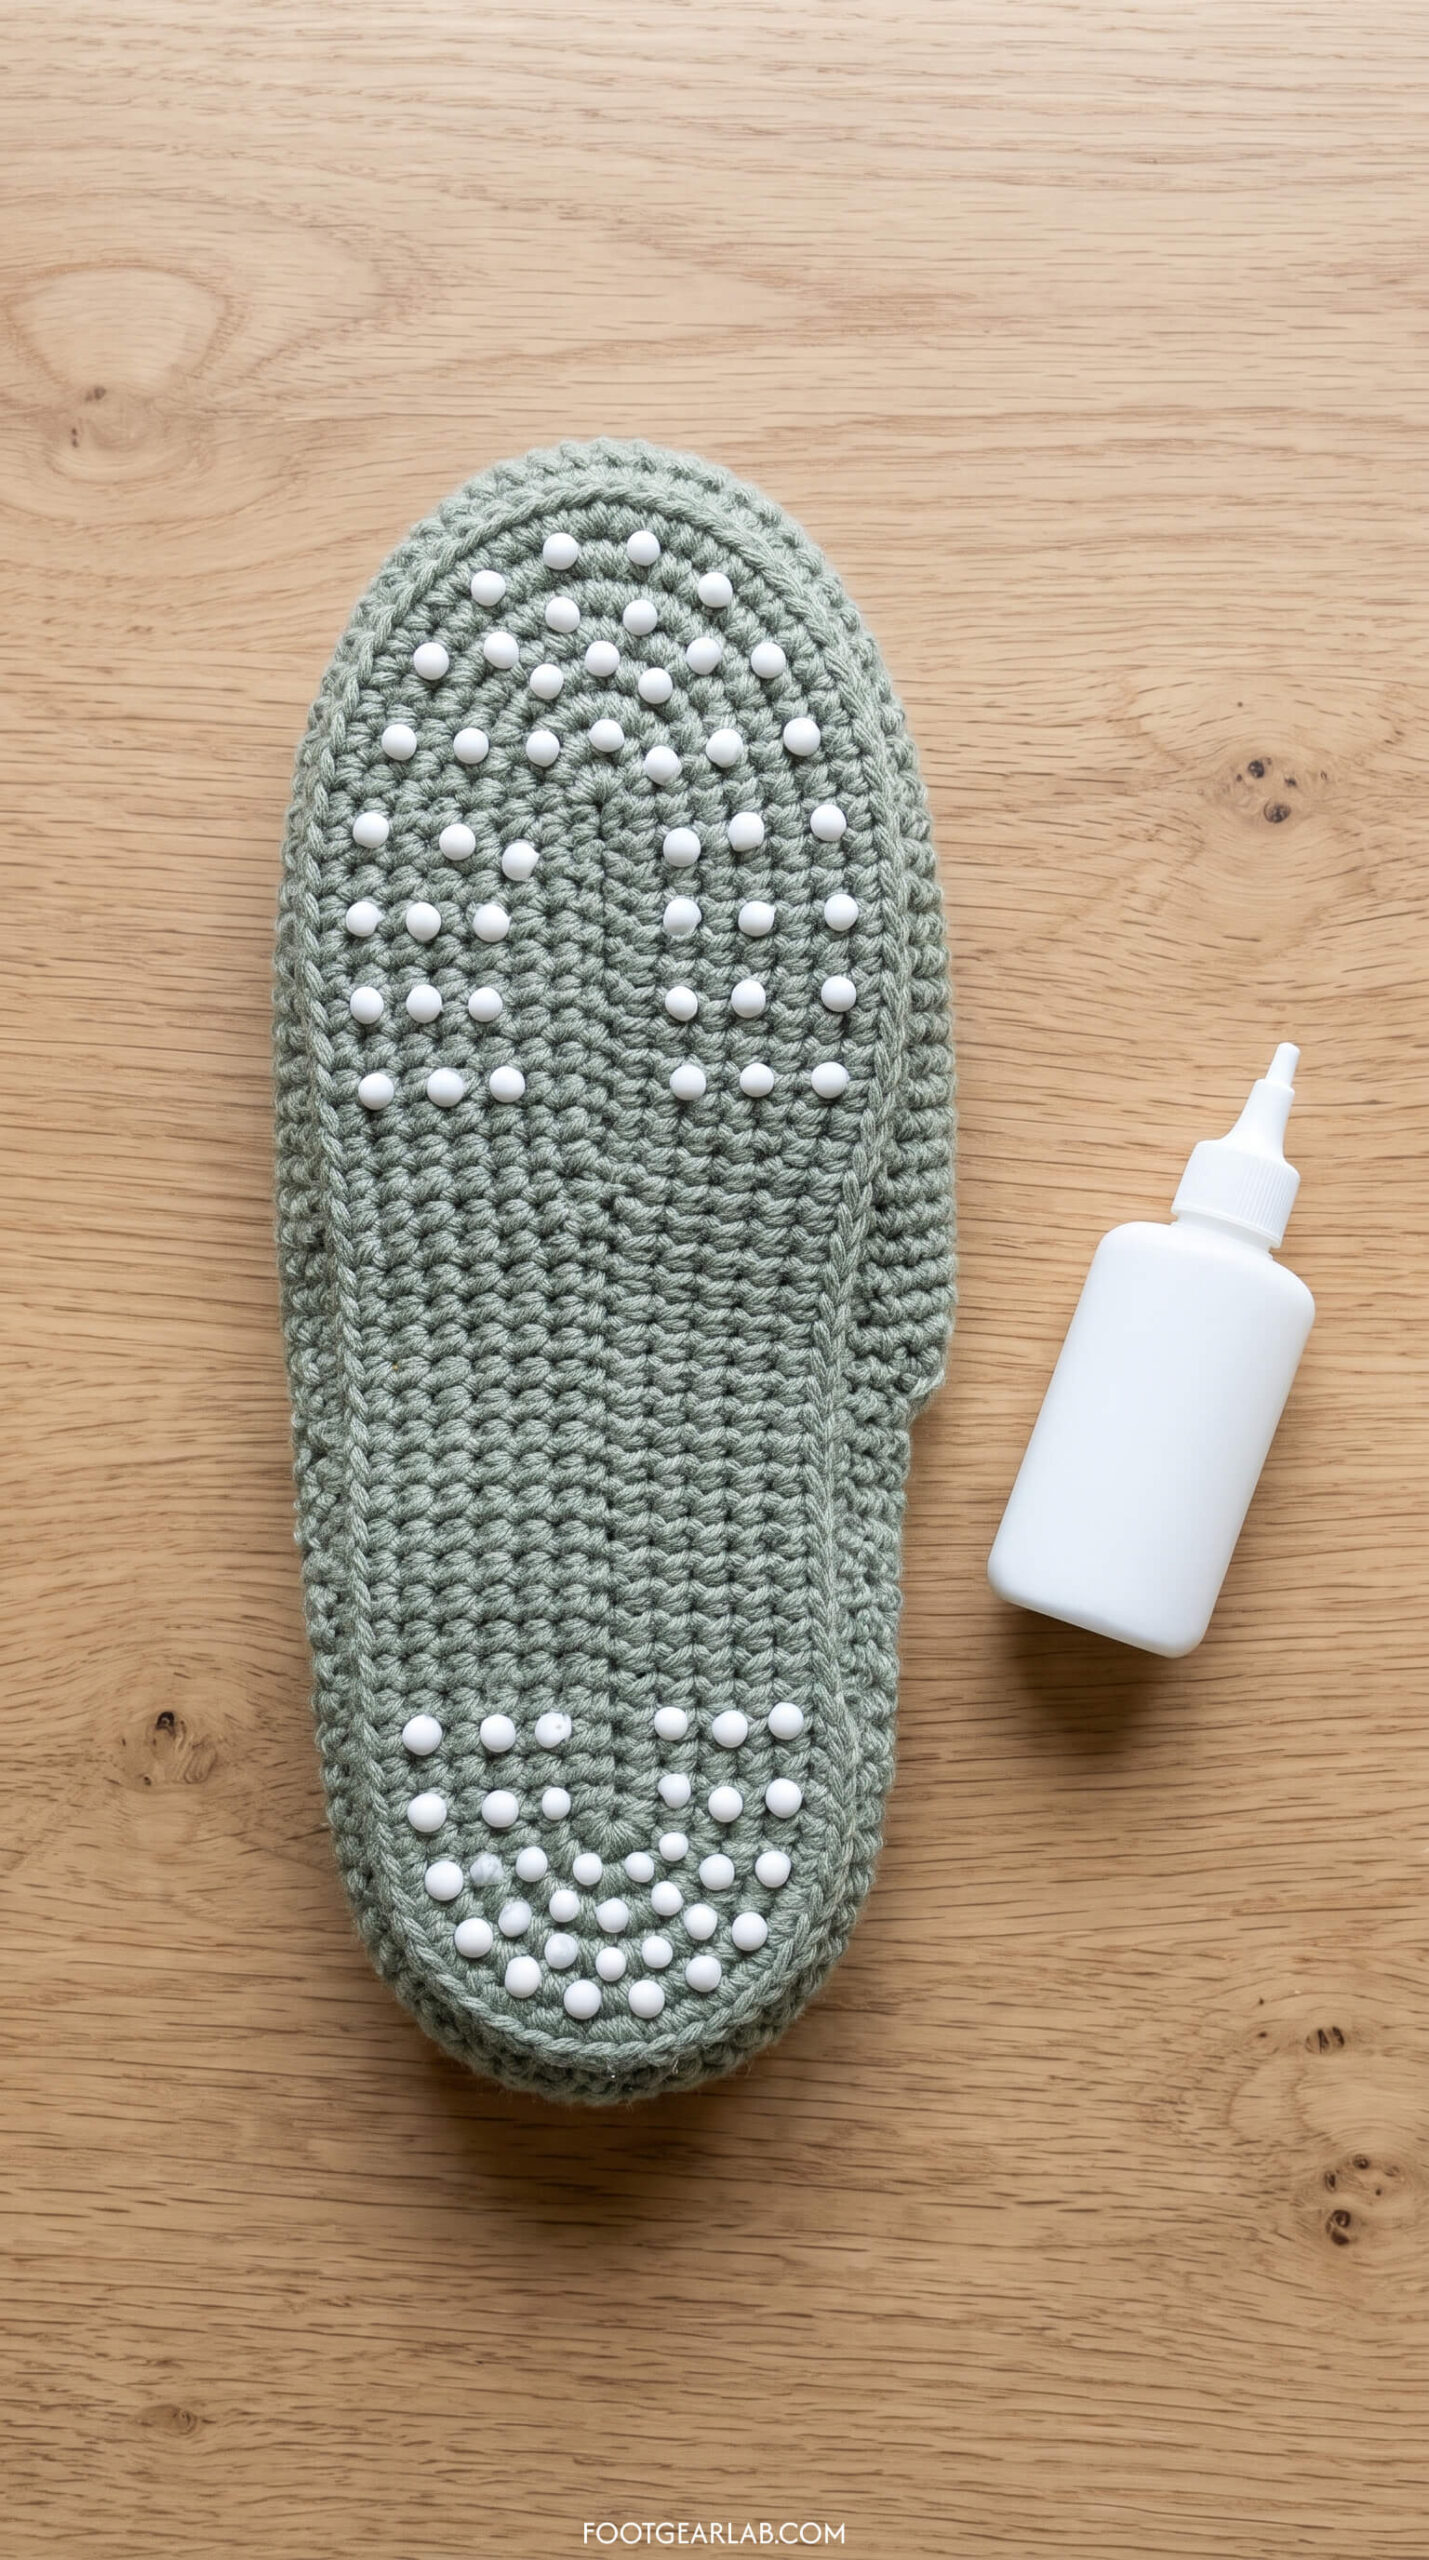
- Puffy fabric paint dots: Turn your slipper over and squeeze small dots or wavy lines of puffy fabric paint across the bottom, focusing on the ball of the foot and the heel where you press down most. Leave the slippers sole-side up and let the paint dry and cure completely according to the instructions on the bottle, which often means waiting a few days before washing.
- Liquid non-slip coating: Products sold as “sock grip” or liquid latex coatings brush or squeeze onto fabric and dry into a rubbery, grippy texture. They’re great if you want full coverage across the sole rather than dots.
- Suede or leather soles: Pre-cut suede slipper soles with pre-punched holes can be sewn onto the bottom with yarn or strong thread. This adds durability as well as grip and is the best option if you plan to wear your slippers a lot.
- Felt insoles for comfort: While not a grip solution, slipping a felt or fleece insole inside your slipper adds cushioning and extra warmth, and it helps thinner slippers feel more substantial underfoot.
Avoid: text, labels, logos, hands, people, feet, side-by-side panels, insets, arrows, wet dripping paint, paint on the side walls, rubber soles, colored paint dots, more than one slipper, brushes, messy smears.
Common Fit Problems and Easy Fixes
Even experienced crocheters run into fit hiccups, so don’t be discouraged if your first pair isn’t perfect. Most problems come down to tension or the number of increases, and they’re easy to fix on the second slipper.
- Your sole ruffles or looks wavy: This usually means you’ve added too many increases for your tension. Try skipping the increases on the next round, or rework the round with one more plain stitch between each increase.
- Your sole curls up into a bowl: This is the opposite problem, meaning you need more increases. Add an extra increase or two at each curved end, and make sure you’re not skipping the 2-sc stitches.
- The slipper feels too loose: Go down half a hook size, or work fewer rows (for rectangle styles) or fewer sole rounds (for shaped styles). Crochet fabric relaxes with wear, so a slightly snug fit at first is ideal.
- The slipper feels too tight: Go up half a hook size, or add a row or round. For rectangle slippers, you can also sew a shorter top seam to make the opening bigger.
- Your two slippers don’t match: Write down your chain count, number of rows or rounds, and any changes you made on the first slipper, then follow those notes exactly for the second one. This little habit saves a lot of frustration.
Caring for Your Handmade Slippers
Taking good care of your slippers keeps them soft and looking new for years. If you used acrylic or superwash wool yarn, you can usually machine wash them on a gentle cycle in cold water, ideally inside a mesh laundry bag to protect the stitches. Lay them flat to dry instead of using the dryer, which can stretch or warp the shape and wear down any painted grip dots.
If you used regular (non-superwash) wool, hand wash in cool water with a gentle wool wash and avoid rubbing or agitating, because warm water and friction can shrink and felt the fabric. Gently press out the water with a towel, reshape the slippers while damp, and let them air dry. Slippers with suede soles are best spot-cleaned only, using a damp cloth on the crochet and keeping the suede dry.
Frequently Asked Questions
How long does it take a beginner to crochet slippers? The ribbed rectangle slippers can be finished in about 2 to 3 hours for a pair, even if you’re brand new. Shaped styles like the loafer or Mary Jane usually take one to two relaxed evenings, especially the first time while you’re getting used to working in rounds.
What’s the best yarn for crochet slippers? A worsted weight acrylic or acrylic-wool blend is the best all-around choice because it’s warm, durable, soft, and easy to wash. Cotton is lovely for spring and summer slippers, but it has less stretch, so it works best for shaped styles rather than the ribbed rectangle design.
Can I make these slippers for kids or men? Yes! Because every pattern here is based on foot measurements rather than fixed stitch counts, you can make any size simply by measuring the foot you’re crocheting for. Just keep checking the sole against a foot tracing as you go.
Do I need to know how to read crochet charts? Not at all. All five patterns are written out step by step in plain language, so you only need to know the basic stitches listed earlier in this guide.
Are crochet slippers safe to wear on stairs and hard floors? Plain crochet soles can be slippery, so it’s a good idea to add puffy paint dots, a liquid grip coating, or sewn-on suede soles before wearing them on smooth floors or stairs.
Ready to Get Cozy?
Crochet slippers are proof that a few simple stitches can turn into something you’ll actually use every single day. Start with the ribbed rectangle pair to build your confidence, then try the loafer or Mary Jane once you’re ready for a new skill. Before you know it, you’ll be making matching pairs for the whole family and gifting them to every friend who ever complained about cold toes.
Save this pin to your crochet board so you always have these free patterns on hand, and share it with a friend who’s been wanting to learn. Happy crocheting, and enjoy every warm, cozy step!