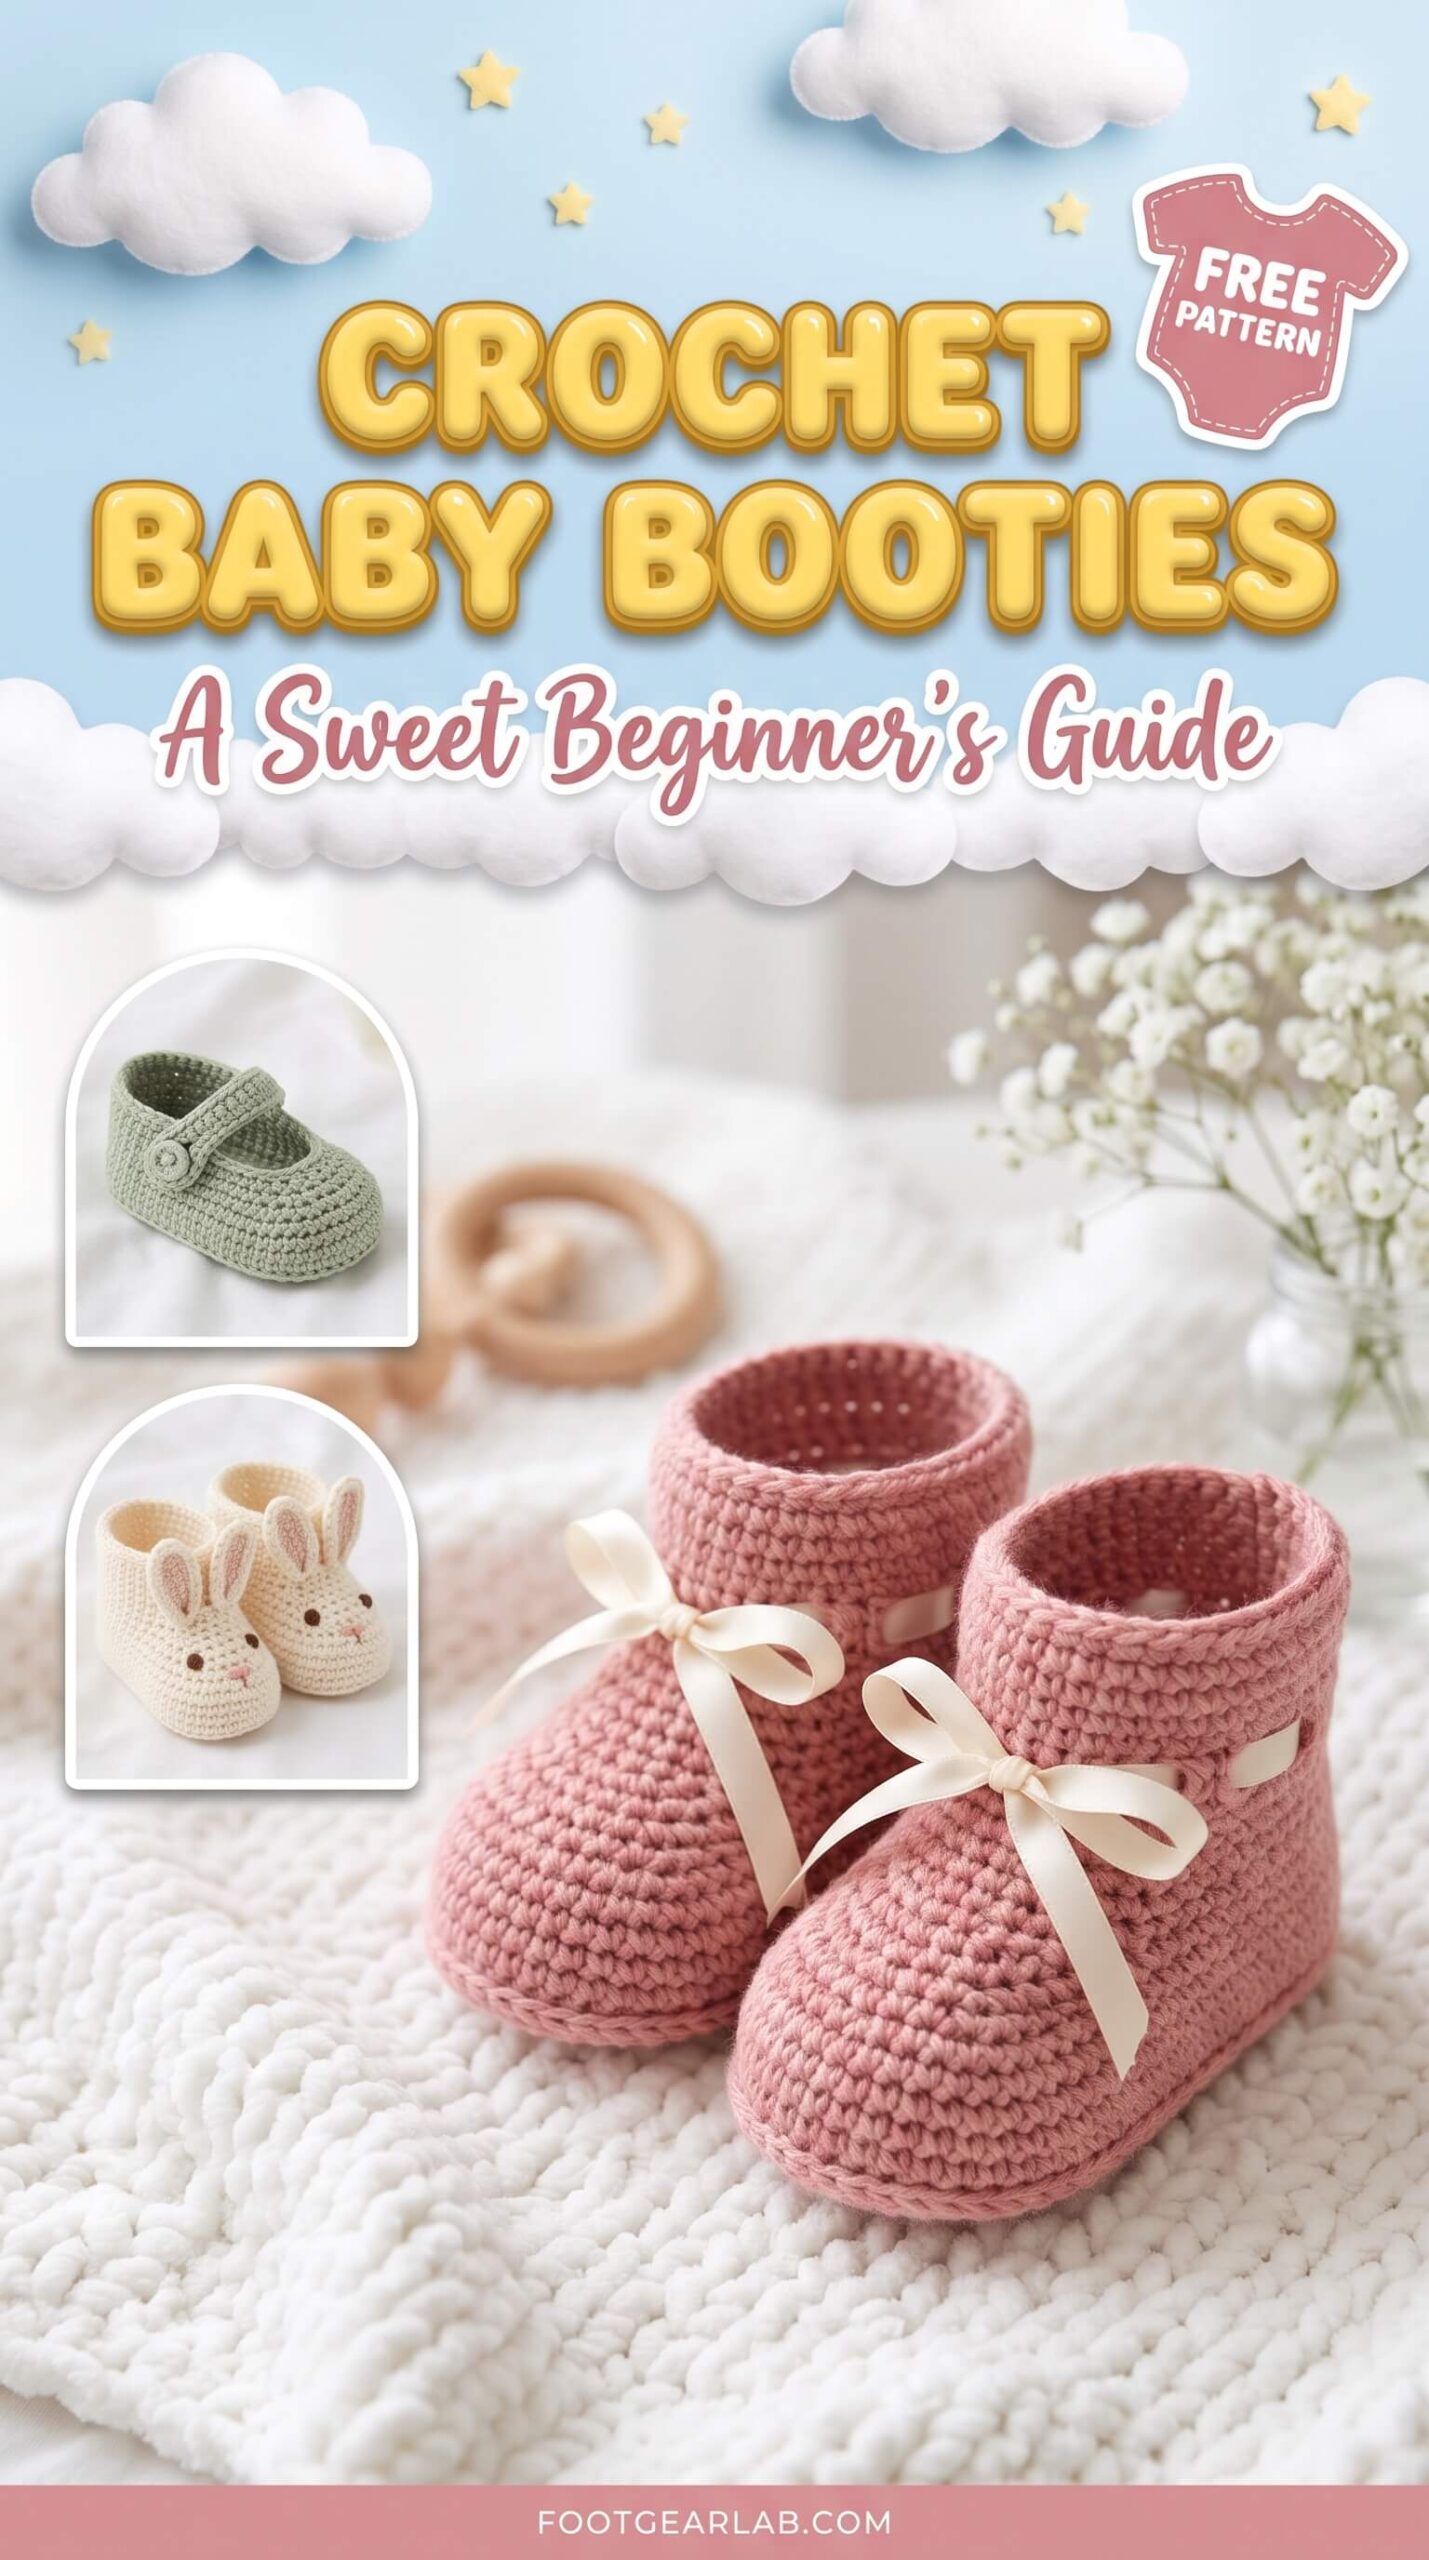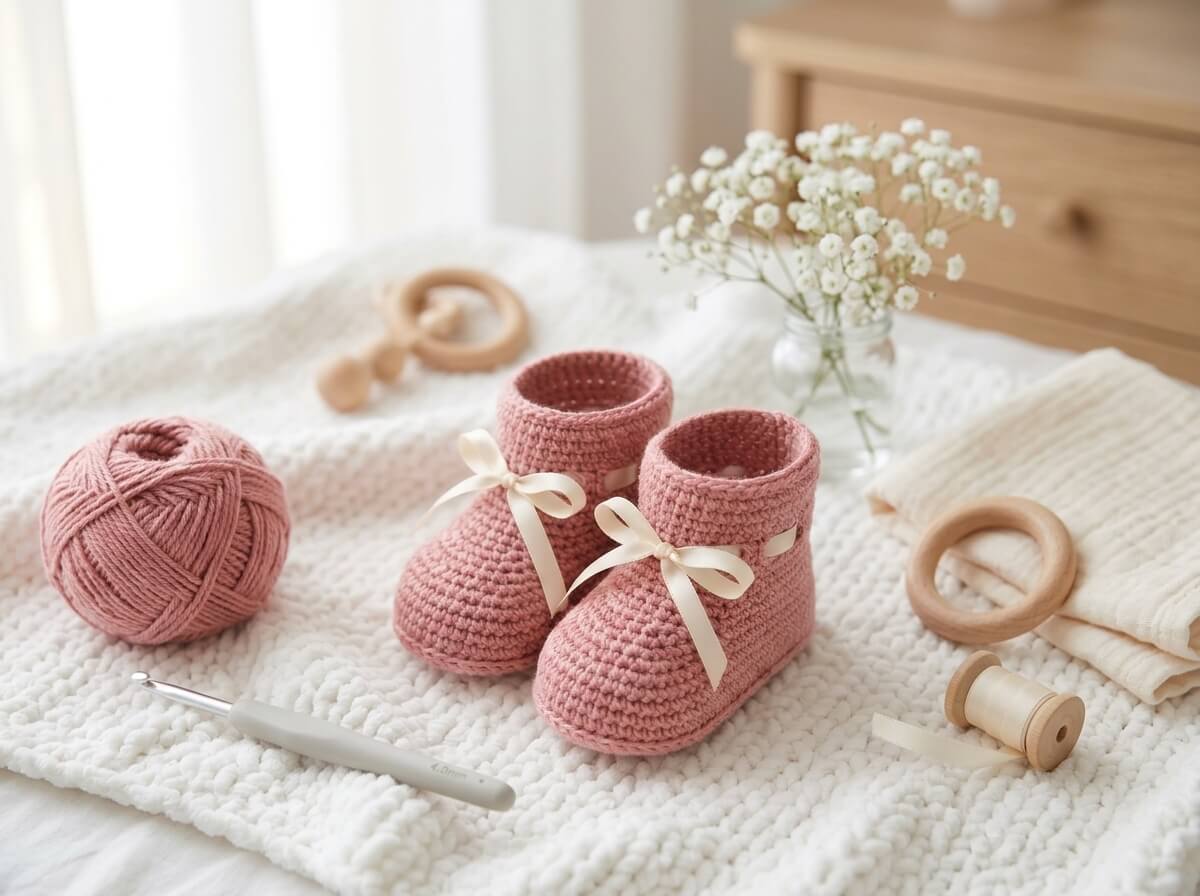
There is something truly magical about a pair of tiny handmade baby booties. They are small enough to fit in the palm of your hand, quick enough to finish in an evening, and so sweet that they almost always bring a smile, and sometimes happy tears, to anyone who receives them. Whether you are expecting a little one yourself, preparing a heartfelt baby shower gift, or simply want a fun, fast project that uses up your softest leftover yarn, crochet baby booties are one of the most rewarding things you can make with a hook.
The good news is that baby booties are much easier than they look. If you can make a chain, a single crochet and a simple decrease, you already have every skill you need. In this guide, you will find everything to get you started with confidence: the softest and safest yarns for delicate baby skin, the tools you need, a clear size chart, a free beginner-friendly pattern for classic ribbon-tie booties with step-by-step photos, eight adorable styles to try next, important safety tips, care and gifting ideas, and a helpful troubleshooting guide for when something does not look quite right. So grab your hook and a cup of tea, and let’s make something precious.
Why Crochet Baby Booties Are Such a Lovely Project
Baby booties have been a favorite among crocheters for generations, and once you make your first pair, you will understand why so many makers keep coming back to them.
- They are quick and satisfying. A single bootie usually takes a beginner about one to two hours, and an experienced crocheter can often finish a full pair in a single evening. That quick finish gives you a real sense of achievement, which is wonderful motivation when you are still learning and building your confidence.
- They are budget friendly. A pair of newborn booties uses only about 60 to 80 yards (55 to 75 meters) of worsted weight yarn, which means one ball of baby yarn can make several pairs. They are also a perfect way to use up those small, soft leftover balls that are too precious to throw away but too small for a blanket.
- They are genuinely useful. Newborns lose heat easily through their hands and feet, and socks are famous for slipping off tiny feet. Well-fitted booties with a snug cuff or ribbon tie help keep little toes cozy during cooler months, car rides, strolls and photo sessions.
- They teach valuable skills. Booties are a mini course in three-dimensional crochet. You will practice working in rounds around a chain, increasing evenly, working into back loops, shaping with decreases and adding a neat cuff, and every one of these skills will help you later with slippers, hats, bags and toys.
- They make treasured gifts. Handmade booties are one of the most cherished baby shower gifts because they are personal and full of love. Many parents keep their baby’s first booties for years as a keepsake, which makes your little project part of a family’s story.
Understanding Baby Bootie Sizes
Getting the size right is the secret to booties that actually stay on and keep a baby comfortable. Babies’ feet grow very quickly, so it helps to know the average sole lengths for each age and to measure whenever you can.
Average Baby Foot Sizes
| Baby’s Age | Average Sole Length | Approximate Ankle Circumference |
|---|---|---|
| 0–3 months | 3.5 in (9 cm) | 4.5–5 in (11.5–12.5 cm) |
| 3–6 months | 4 in (10 cm) | 5–5.5 in (12.5–14 cm) |
| 6–12 months | 4.5 in (11.5 cm) | 5.5–6 in (14–15 cm) |
| 12–18 months | 5 in (12.5 cm) | 6–6.5 in (15–16.5 cm) |
These measurements are averages, and real babies vary quite a bit, so treat this chart as a helpful starting point rather than a strict rule. If you know the baby, gently measure their foot from the back of the heel to the tip of the longest toe and add about 1/4 inch (6 mm) of wiggle room so the bootie is comfortable and leaves space for a little growth.
Tips for Choosing a Size for a Gift
If you are making booties for a baby who has not been born yet, the 0–3 month size is the safest choice for a shower gift, since it fits most newborns during the first chilly weeks. For a more practical gift, many crocheters like to make one pair in 0–3 months and a second pair in 3–6 months, so the parents have booties ready as the baby grows. Making slightly bigger booties is also a thoughtful choice for babies due in fall or winter, since they will need warm feet for several months.
Choosing the Best Yarn for Baby Booties
Because booties sit right against a baby’s delicate skin, and because babies love to put their feet (and everything else) in their mouths, yarn choice matters more for this project than for almost any other.
What to Look For
The best bootie yarn is soft, smooth, breathable and easy to wash. A smooth yarn also shows your stitches clearly, which makes counting easier and gives your booties a neat, polished look. Choose a worsted weight (weight 4) or DK weight (weight 3) yarn labeled for babies whenever possible, since these yarns are designed to be gentle, washable and free from scratchy fibers.
Great Yarn Options
Cotton and cotton blends are breathable, durable and gentle, which makes them ideal for spring and summer babies or for little ones with sensitive skin. A bamboo-cotton blend is especially lovely because it adds extra softness and a beautiful, subtle sheen.
Baby acrylic yarn is soft, affordable, comes in endless pastel shades and can usually be machine washed and dried, which busy new parents truly appreciate. It is an excellent choice for everyday booties and for beginners who want an easy-care yarn.
Superwash merino wool is wonderfully warm and soft for winter babies, and the superwash treatment means it can be machine washed on a gentle cycle without shrinking or felting. Always double-check the label before choosing a wool, since regular wool can felt in the wash.
Yarns to Avoid
Skip fuzzy, hairy or shedding yarns such as mohair, eyelash yarn and some faux-fur or chenille yarns, since loose fibers can be breathed in or swallowed by a curious baby. It is also best to avoid scratchy wools, yarns with metallic threads or sequins, and very slippery yarns that can make the booties stretch out of shape. When in doubt, rub the yarn against the inside of your wrist or your cheek; if it feels even slightly itchy to you, it will feel worse to a baby.
Tools and Materials You Will Need
You need only a few simple supplies to make a pair of baby booties, and you may already have most of them in your craft basket.
- Yarn: About 60 to 80 yards (55 to 75 meters) of soft worsted weight (weight 4) baby yarn for one pair in the 0–3 month size. The sample booties in this guide are made in a soft dusty rose, but any pastel or neutral color works beautifully.
- Crochet hook: A 4.0 mm (US G-6) hook. This is slightly smaller than the size recommended on most worsted weight labels, and that is on purpose, since a tighter fabric gives booties a firmer sole and helps them keep their shape.
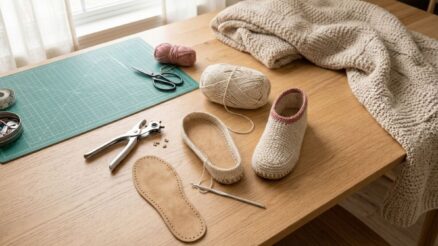
- Tapestry needle: A blunt-tip yarn needle with a large eye for weaving in your ends securely, which is an important safety step for baby items.
- Two stitch markers: Locking stitch markers help you mark exactly where the toe shaping begins and ends, which takes all the guesswork out of the trickiest part of the pattern.
- Scissors: A small, sharp pair of scissors gives you clean cuts on yarn and ribbon.
- Measuring tape: You will use this to check that the sole matches the size you want before you move on to the sides.
- Ribbon (optional): About 36 inches (90 cm) of 1/4-inch (6 mm) satin ribbon for two booties, or you can crochet simple chain ties from your leftover yarn instead.
Crochet Abbreviations Used in This Pattern
This pattern is written in US crochet terms. If you usually follow UK patterns, remember that a US single crochet is a UK double crochet, and a US half double crochet is a UK half treble.
| Abbreviation | Meaning | How It Is Used Here |
|---|---|---|
| ch | Chain | Makes the foundation chain and starts each round |
| sl st | Slip stitch | Joins each round neatly |
| sc | Single crochet | The main stitch for the sole, sides and toe |
| hdc | Half double crochet | Builds the taller, softer cuff |
| dc | Double crochet | Creates the eyelet round for the ribbon |
| BLO | Back loop only | Creates the crisp edge where the sole turns up into the sides |
| sc2tog | Single crochet two together | The decrease that shapes the rounded toe |
| st(s) | Stitch(es) | Tells you which stitches to work into |
| sp | Space | The little gap under a chain where you work a stitch |
A Quick Note on the Two Special Techniques
Back loop only (BLO) means you insert your hook under only the back strand of the “V” at the top of each stitch, the strand farthest away from you, instead of under both strands. This leaves the front strands unworked, and those front strands form a neat ridge line around the sole, which helps the side walls stand up straight instead of curving outward.
Single crochet two together (sc2tog) turns two stitches into one. Insert your hook into the first stitch, yarn over and pull up a loop, then insert your hook into the next stitch, yarn over and pull up another loop, so you have three loops on your hook. Yarn over once more and pull through all three loops. For an even neater toe, you can use the invisible decrease instead: insert your hook into the front loop only of the first stitch and then the front loop only of the second stitch, yarn over and pull through both front loops, then yarn over and pull through the two loops on your hook.
Free Pattern: Classic Ribbon-Tie Baby Booties
This simple, timeless bootie is the perfect first project. It is worked in one piece from the sole up, so there is no sewing of separate parts, and you will make the second bootie exactly like the first, since there is no left or right foot.
Size: 0–3 months (sole length about 3.5 in / 9 cm). Instructions for adjusting the size are included at the end of the pattern.
Gauge tip: Exact gauge is not essential, but your finished sole after Round 3 should measure about 3.5 inches (9 cm) long. If it is longer, switch to a smaller hook; if it is shorter, switch to a slightly larger one.
Pattern notes: Each round is joined with a slip stitch to the first stitch of the round. The chain 1 at the start of each round does not count as a stitch. The stitch count at the end of each round is shown in parentheses, and checking it every time is the single best habit for perfect booties.
Step 1: Make the Foundation Chain and Round 1 of the Sole
The sole is worked in rounds around both sides of a short foundation chain, which creates a long, oval shape that fits a baby’s foot.
Foundation: Make a slip knot, leaving a 4-inch (10 cm) tail, and chain 11.
Round 1: Single crochet in the 2nd chain from the hook, then single crochet in each of the next 8 chains. In the last chain, work 3 single crochet. Now rotate your work so you can crochet along the underside of the foundation chain (the single bumps on the back of the chain). Single crochet in each of the next 8 chains, then work 2 single crochet in the last chain, which is the same chain where you made your very first single crochet. Join with a slip stitch to the first single crochet. (22 sts)
The end where you started and joined will become the heel, and the end where you worked 3 single crochet in one chain will become the toe. Your piece should look like a long, narrow oval with two straight sides and two rounded ends, sitting flat on the table.
Step 2: Finish the Sole (Rounds 2 and 3)
Now you will add two more rounds, increasing at both rounded ends so the sole grows longer and wider while staying perfectly flat.
Round 2: Chain 1. Work 2 single crochet in the first stitch, single crochet in each of the next 8 stitches, work 2 single crochet in each of the next 3 stitches (this is the toe end), single crochet in each of the next 8 stitches, then work 2 single crochet in each of the last 2 stitches (this is the heel end). Join with a slip stitch to the first single crochet. (28 sts)
Round 3: Chain 1. Single crochet in the first stitch, 2 single crochet in the next stitch, single crochet in each of the next 8 stitches, then single crochet in the next stitch, 2 single crochet in the next stitch and repeat from * to * 3 times around the toe. Single crochet in each of the next 8 stitches, then single crochet in the next stitch, 2 single crochet in the next stitch and repeat from * to * 2 times around the heel. Join with a slip stitch to the first single crochet. (34 sts)
Lay your sole flat and measure it. It should be about 3.5 inches (9 cm) long and about 1.75 inches (4.5 cm) wide, with straight sides and evenly rounded ends. If the edges ruffle like a pie crust, your increases are too loose or your hook is too big; if the sole cups upward like a bowl, your stitches are too tight, and it is worth trying a larger hook before you continue.
Step 3: Build the Sides (Rounds 4 to 6)
This is the moment your flat oval starts to turn into a tiny shoe. Working the first side round in the back loops only creates a sharp, defined edge so the sides stand up straight.
Round 4: Chain 1. Working in the back loop only, single crochet in each stitch around. Join with a slip stitch to the first single crochet. (34 sts)
Rounds 5 and 6: Chain 1. Working through both loops as usual, single crochet in each stitch around. Join with a slip stitch to the first single crochet. (34 sts)
As you work these rounds, the edges will naturally begin to rise up, and your piece will look like a small, shallow boat or tray. The unworked front loops from Round 4 form a pretty ridge line around the bottom, which outlines the sole just like the welt on a real shoe.
Step 4: Mark the Toe Stitches
Before you shape the toe, it helps to mark exactly which stitches wrap around the front of the bootie. This small step keeps your decreases centered so the toe looks rounded and even.
Counting from the first stitch of the round (right after your join at the heel), place one stitch marker in the 9th stitch and a second stitch marker in the 24th stitch. The 16 stitches from the first marker to the second marker, including both marked stitches, are the toe stitches. Your markers should sit on the two long sides of the bootie, roughly mirroring each other, just behind the point where the straight sides begin to curve around the toe.
Step 5: Shape the Toe (Rounds 7 and 8)
Now for the most exciting part: the decreases pull the side walls in over the toes and form the top of the foot.
Round 7: Chain 1. Single crochet in each of the first 8 stitches. Starting in the marked 9th stitch, work sc2tog 8 times, which uses up all 16 toe stitches and ends in the second marked stitch. Remove both markers. Single crochet in each of the last 10 stitches. Join with a slip stitch to the first single crochet. (26 sts)
Round 8: Chain 1. Single crochet in each of the first 8 stitches, work sc2tog 4 times across the 8 decreased stitches at the toe, then single crochet in each of the last 10 stitches. Join with a slip stitch to the first single crochet. (22 sts)
After these two rounds, the front of your bootie will be gently closed over the toes with a smooth, rounded top, while the back half remains open to form the ankle opening. If you see small holes along the decreases, try the invisible decrease described in the abbreviations section, which creates a much smoother surface.
Step 6: Crochet the Cuff with Eyelets (Rounds 9 to 14)
The cuff hugs the ankle and holds the ribbon that keeps the bootie snugly in place. The eyelet round creates small holes that the ribbon will weave through.
Round 9: Chain 1. Single crochet in each stitch around. Join with a slip stitch to the first single crochet. (22 sts)
Round 10 (eyelet round): Chain 4 (this counts as your first double crochet plus a chain 1 space). Skip the next stitch, then double crochet in the next stitch, chain 1, skip the next stitch and repeat from * to * 10 times. Join with a slip stitch to the 3rd chain of the beginning chain 4. (11 double crochet and 11 chain-1 spaces, which equals 22 sts)
Round 11: Chain 1. Single crochet in the same stitch as the join, then single crochet in the next chain-1 space. Single crochet in the next double crochet, single crochet in the next chain-1 space and repeat from * to * around. Join with a slip stitch to the first single crochet. (22 sts)
Rounds 12 and 13: Chain 1. Half double crochet in each stitch around. Join with a slip stitch to the first half double crochet. (22 sts)
Round 14: Chain 1. Single crochet in each stitch around. Join with a slip stitch to the first single crochet, fasten off and leave a 6-inch (15 cm) tail.
Using your tapestry needle, weave the final tail and the starting tail through the stitches on the inside of the bootie, changing direction at least twice so they are completely secure. Weave each end for at least 2 inches (5 cm) before trimming, because loose ends can unravel or wrap around tiny toes. Then make a second bootie exactly the same way.
Step 7: Add the Ribbon Tie
The ribbon is the sweet finishing touch, and it also does an important job by gently cinching the ankle so the bootie stays on wiggly little feet.
Cut a piece of 1/4-inch (6 mm) satin ribbon about 18 inches (45 cm) long for each bootie. Find the two eyelets closest to the center front of the bootie, right above the toe. Starting from the outside at one of these front eyelets, weave the ribbon in and out of each eyelet all the way around the cuff, ending at the eyelet next to where you started, so both ends come out at the front. Gently pull the ribbon so the cuff fits snugly but not tightly, then tie a small, neat bow and trim the ends at an angle. To stop the ribbon from fraying, dab the cut ends with a fabric fray sealant and let it dry completely.
If you prefer an all-crochet look, make a chain about 14 inches (35 cm) long with your leftover yarn, slip stitch back along the chain for extra strength, and weave it through the eyelets the same way. Whichever you choose, keep the bow tails short, ideally no longer than about 1.5 inches (4 cm), so there is nothing long enough to wrap around a tiny finger or neck.
Step 8: Admire Your Finished Pair
Once both booties are finished, give them a gentle shape with your fingers, pushing out the toes and straightening the cuffs. If you used cotton or acrylic yarn, you can mist them lightly with water and let them dry on a flat towel, which relaxes the stitches and gives them a soft, professional finish.
How to Make Bigger Sizes
You can easily adjust this pattern for older babies by lengthening the foundation chain, which makes the sole longer while keeping all the shaping the same.
For 3–6 months (about 4 in / 10 cm): Chain 13 instead of 11. In Rounds 1, 2 and 3, change every “single crochet in each of the next 8 stitches” to “single crochet in each of the next 10 stitches.” In Rounds 7 and 8, work single crochet in each of the first 10 stitches (instead of 8) and each of the last 12 stitches (instead of 10), keeping the toe decreases exactly the same, and place your toe markers in the 11th and 26th stitches instead of the 9th and 24th. Every round will have 4 more stitches than the original pattern (26, 32 and 38 stitches for the sole rounds), so your cuff will have 26 stitches, and the eyelet repeat in Round 10 becomes 12 times instead of 10.
For 6–12 months and beyond: The easiest approach is to use the 3–6 month instructions with a 4.5 mm hook, or to switch to a slightly thicker yarn. You can also add an extra plain round of single crochet to the sides (between Rounds 6 and 7) for a deeper, roomier foot. Always measure the sole after Round 3 and compare it to the size chart before you continue.
8 Adorable Crochet Baby Bootie Styles to Try Next
Once you have made your first pair of classic booties, a whole world of cute styles opens up. Most of these use the same basic method of a sole worked in rounds, sides worked in the back loop and a shaped top, so you will recognize many of the steps.
1. Mary Jane Booties
Mary Jane booties are low and sweet, with an open top and a single strap across the foot, just like a little girl’s dress shoe. They look especially pretty with frilly socks for christenings, holidays and family photos. For safety, fasten the strap with a small crocheted button sewn on very securely rather than a plastic button, or simply sew the strap closed and slip the bootie on over the foot.
2. Bunny Booties
Bunny booties are pure joy and make an especially memorable gift for spring babies and Easter photos. The ears are small crocheted ovals sewn upright on top of the toe, and the face is embroidered with yarn. Always embroider the eyes and nose instead of using plastic safety eyes, since anything hard and small can become a choking hazard if it ever comes loose.
3. High-Top Sneaker Booties
These sporty little sneakers are a favorite for baby boys and girls alike, and they are perfect for parents who love a cool, casual style. They use a contrasting white sole edge and toe cap, a colorful high-top body and crocheted chain “laces” threaded through the front. Make sure the laces are securely sewn or knotted in place so they cannot be pulled out.
4. Ribbed Cuff Boots
Tall ribbed boots are cozy and stylish, with a snug knit-look cuff that can be worn straight up or folded down. The ribbing is made with alternating front post and back post stitches, which is a wonderful next step once you are comfortable with the basic pattern. The taller cuff also helps these boots stay on extra well, which makes them ideal for winter babies.
5. Ballerina Slippers
Little ballet slippers are dainty and graceful, with low sides, a soft rounded toe and a tiny bow sewn at the front. They are lovely for newborn photo shoots, baptisms and summer babies who need something light. Add a single strap across the top of the foot or a round of elastic thread worked into the top edge to help them stay on, rather than long ribbons wrapped up the leg.
6. Granny Square Booties
Granny square booties combine a classic granny square for the top of the foot with a simple sole, creating a charming vintage look. They are a beautiful way to use up small amounts of colorful leftover yarn, and every pair turns out a little different. Choose soft, coordinating colors for a modern boho nursery feel.
7. Strawberry Booties
Strawberry booties are playful and summery, with a red body, tiny embroidered “seeds” and a leafy green cuff that looks just like a strawberry top. They are a fun choice for summer babies, first birthday photos and fruit-themed baby showers. Embroider the seeds with yarn rather than using beads to keep them safe.
8. Holiday Booties
Festive holiday booties make an adorable gift for a baby’s first Christmas, and they also look lovely hanging on a tree as a keepsake ornament in later years. A cheerful red body with a cream cuff gives a classic Santa-inspired look. Instead of a fluffy fur yarn, use a smooth cream cuff worked in bobble or puff stitches to create texture that will not shed.
Important Safety Tips for Crochet Baby Booties
Handmade baby items should be just as safe as they are beautiful. Keeping these simple guidelines in mind will give you and the parents peace of mind.
- Avoid small, hard decorations. Buttons, beads, sequins, plastic safety eyes and small bells can come loose and become a choking hazard. Choose crocheted buttons, embroidered details and securely sewn crocheted shapes instead, and give every decoration a firm tug after you attach it.
- Keep ties short and secure. Long ribbons, strings and cords can wrap around a baby’s fingers, toes or neck. Keep bow tails short, knot or seal the ends so they do not unravel, and consider ribbon-free styles such as tall cuff boots for very young babies.
- Weave in ends very securely. Loose yarn ends can unravel over time, and loose strands inside a bootie can wrap tightly around a tiny toe. Weave each end for at least 2 inches, changing direction a few times, and check the inside of the bootie for any loops before gifting.
- Choose a comfortable fit. Booties should be snug enough to stay on but never tight. If the cuff leaves a red mark or the toes look squished, the booties are too small, and it is best to move up a size.
- Use non-shedding yarn. As mentioned earlier, skip fuzzy and hairy yarns that can shed fibers, and choose smooth, soft, washable yarn made for babies.
- Add grip for crawlers and walkers. Crochet soles can be slippery on wooden floors and tiles. For babies who are starting to pull up or walk, add small dots of non-slip fabric paint to the sole, or sew a soft suede sole to the bottom, and let the paint cure fully before use.
- Check booties regularly. Encourage parents to look over the booties every so often for loose stitches, worn spots or decorations that are coming loose, and to repair or retire them when needed.
How to Care for Crochet Baby Booties
Baby items get washed often, so it helps to choose yarn that can handle it and to include simple care instructions when you gift your booties.
For acrylic and cotton booties, machine wash them on a gentle cycle in cool or lukewarm water, placed inside a mesh laundry bag to protect the stitches and keep the ribbon from tangling. Use a mild, fragrance-free baby detergent, which is gentler on sensitive skin. For superwash wool, use the gentle or wool cycle with cool water, or hand wash in a basin with a little wool wash.
Avoid the dryer for most booties, since heat can stretch, shrink or fade them. Instead, gently squeeze out the water without wringing, reshape the booties with your fingers, and lay them flat on a clean towel to dry. If your booties have satin ribbon, you can remove it before washing and thread it back in once they are dry, which keeps the ribbon looking fresh and smooth.
A small handwritten care card tucked into your gift is a thoughtful touch. Include the yarn type, the washing instructions and the size, so the parents know exactly how to keep the booties looking lovely.
Crochet Baby Booties as Handmade Gifts
A pair of handmade booties is one of the most heartfelt gifts you can give to a new family, and with a little extra thought, your gift can feel truly special.
- Make a matching set. Pair your booties with a simple crochet beanie, a pair of mittens or a soft blanket in the same color for a beautiful coordinated gift. Even just a matching hat turns a sweet gift into a memorable one that parents will use for photos.
- Choose meaningful colors. If the parents are keeping the baby’s sex a surprise, soft neutrals like oatmeal, sage, butter yellow, cream and mint are always perfect. You can also match the colors to the nursery theme or to the season the baby will be born in.
- Package them beautifully. Nestle the booties in a small kraft box with tissue paper, or tie them together with twine and a handmade tag. A clear gift box lets the booties shine and makes a lovely keepsake box for later.
- Use them in a pregnancy announcement. Tiny booties are a classic prop for sweet pregnancy and gender reveal photos. You can make a pair for a friend who is planning her announcement, and they will become a treasured part of her family’s memories.
- Create a keepsake. Many parents love to keep their baby’s first booties in a shadow box with a hospital bracelet, a photo or a birth announcement card. Mention this idea on your gift tag, and your booties may stay in the family for years.
Troubleshooting Common Bootie Problems
Every crocheter runs into a few hiccups, especially with three-dimensional projects. Here are the most common problems and the easy ways to fix them.
| Problem | Why It Happens | How to Fix It |
|---|---|---|
| The sole ruffles or looks wavy | Too many increases, loose tension or a hook that is too large | Count your stitches after every round, work the increases exactly as written, and try a hook one size smaller |
| The sole curls up into a bowl | Too few increases or very tight tension | Check that you worked every increase, relax your grip on the yarn, or try a hook one size larger |
| The sides flare outward | The first side round was not worked in the back loop only | Make sure Round 4 is worked in back loops only, which creates the crisp edge that makes the sides stand up |
| The toe looks lumpy or has holes | Standard decreases can leave small gaps | Use the invisible decrease through front loops only, and pull each stitch snugly |
| The toe looks off-center | The decreases started in the wrong place | Use stitch markers to mark the 16 toe stitches before starting Round 7 |
| The booties are too big or too small | Tension differs from the pattern, or the baby is bigger or smaller than average | Measure the sole after Round 3 and adjust the hook size or foundation chain before continuing |
| The booties keep falling off | The cuff is too loose or the ribbon is not cinched | Pull the ribbon a little snugger, use a smaller hook for the cuff, or weave elastic thread through the top round |
| The join seam leans diagonally | The join drifts slightly each round | Always join into the first real stitch, not the chain 1, and make sure the chain 1 does not count as a stitch |
Frequently Asked Questions
Are crochet baby booties good for beginners? Yes, they are a wonderful beginner project. The classic bootie in this guide uses only basic stitches, and the small size means you can practice shaping without committing to a big project. If you have made a few rows of single crochet and are comfortable working in rounds, you are ready.
How long does it take to crochet baby booties? A beginner usually needs about one to two hours per bootie, so a full pair may take two to four hours spread over an evening or two. Once you are familiar with the pattern, you may finish a pair in about two hours. Styles with extra details, like bunny ears or granny squares, take a little longer.
What is the best yarn for crochet baby booties? Smooth, soft and washable yarns labeled for babies are the best choice. Cotton and bamboo-cotton blends are breathable and gentle, baby acrylic is affordable and easy to wash, and superwash merino is wonderfully warm for winter. Avoid fuzzy yarns that can shed.
How do I keep crochet booties from falling off? A snug cuff and a ribbon or chain tie are the best ways to keep booties on wriggly feet. Taller cuffs, like the ribbed boot style, also help a lot. You can also weave a round of elastic thread through the top of the cuff for extra hold without adding ties.
Can babies walk in crochet booties? Crochet booties are best for babies who are not walking yet, since crochet soles can be slippery on smooth floors. For crawlers and new walkers, add non-slip fabric paint dots or a sewn-on suede sole to give better grip, and always follow the parents’ and pediatrician’s advice about footwear for learning to walk.
Can I sell the crochet baby booties I make? Baby booties are a popular item at craft fairs and in online shops, since they are quick to make and easy to ship. If you use someone else’s pattern, check the designer’s terms first, as many designers allow you to sell finished items but ask that you credit them. It is also a good idea to learn about any safety rules for children’s products in your country before selling.
Conclusion
Crochet baby booties are proof that the smallest projects often carry the biggest love. They are quick to make, gentle on your budget, wonderful for building new crochet skills and genuinely useful for keeping tiny toes warm. Whether you start with the classic ribbon-tie bootie, try a sweet sage Mary Jane, make a playful pair of bunny booties or crochet a cozy holiday pair for a baby’s first Christmas, every pair you make carries a little piece of your heart.
Start with the beginner pattern, choose a soft, washable yarn, measure your sole after Round 3, count your stitches every round and do not worry if your first pair is not perfect, because every bootie you make will be neater than the last. Before long, you will have a basket of tiny booties ready for every baby shower, a few treasured keepsakes for the families you love and a brand new favorite way to relax with your hook.