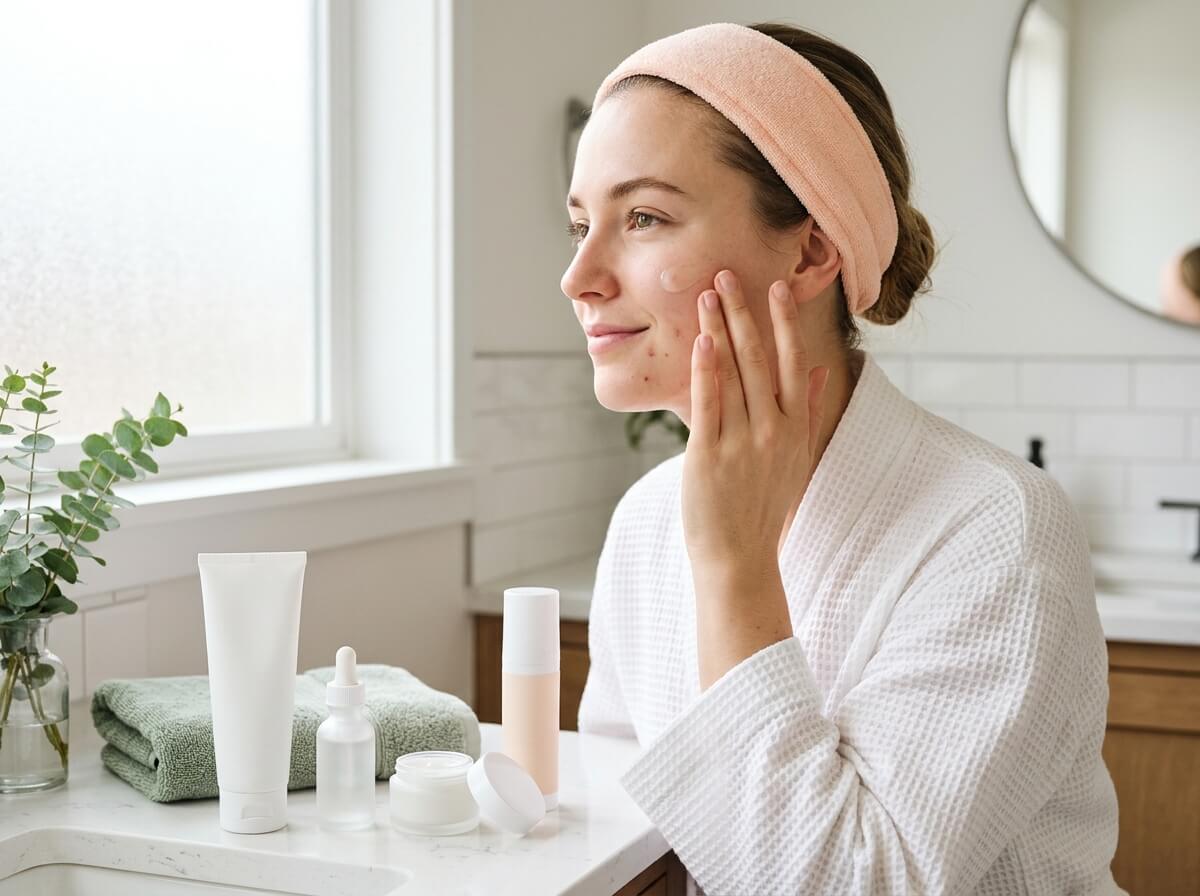
If you’ve ever stood in the skincare aisle staring at rows of serums, acids, and “miracle” spot treatments, feeling more confused than when you walked in, you’re not alone. Acne-prone skin can feel like a puzzle. Use too little and breakouts keep coming back. Use too much and your skin ends up red, flaky, and somehow breaking out even more.
The good news is that a routine for acne-prone skin doesn’t need ten steps or an expensive shelf of products. Most dermatologists agree that a short, consistent routine built around a few proven ingredients works far better than constantly switching products. This beginner-friendly guide walks you through what acne-prone skin actually needs, a simple morning and evening routine, how to introduce active ingredients without irritation, and the everyday habits that quietly make a big difference.
What Makes Skin “Acne-Prone”?
Acne-prone skin simply means your skin is more likely than average to develop clogged pores, blackheads, whiteheads, and inflamed pimples. It isn’t a sign that you’re doing something wrong or that your skin is “dirty.” Acne develops from a combination of four main factors working together inside the pore:
- Excess oil (sebum): Your oil glands produce sebum to protect the skin, but hormones, stress, and genetics can push them into overdrive. When there’s more oil than your pores can clear, it becomes the starting point for breakouts.
- Dead skin cell buildup: Skin naturally sheds cells, but in acne-prone skin they tend to stick together inside the pore instead of shedding away. Mixed with oil, they form a plug that creates blackheads and whiteheads.
- Acne-causing bacteria: A bacterium called Cutibacterium acnes lives on everyone’s skin. Inside a clogged, oily pore it multiplies quickly, which triggers the immune response behind red, swollen pimples.
- Inflammation: Your body’s reaction to that trapped oil and bacteria is what turns a small clog into a sore, visible spot, and it’s also what can leave dark marks behind once a pimple heals.
A good routine targets these factors gently and consistently: keeping pores clear, controlling bacteria, calming inflammation, and protecting your skin barrier so it can heal.
Good to know: Acne-prone skin isn’t always oily. Many women have combination skin, and some have dry, sensitive skin that still breaks out. The routine below works for all of these, with small adjustments noted along the way.
Before You Start: 3 Beginner Ground Rules
1. Keep it simple at first
The biggest beginner mistake is buying a full lineup of new products and starting them all on the same night. If your skin reacts, you won’t know which product caused it. Start with the basics (cleanser, moisturizer, sunscreen), then add one active treatment at a time.
2. Patch test every new product
Apply a small amount of any new product along your jawline or behind your ear for three to five days before using it on your whole face. If you notice burning, itching, or new bumps in that area, skip it. This small step can save you weeks of irritated skin.
3. Look for “non-comedogenic” and “oil-free”
These labels mean a product has been formulated to avoid clogging pores. They aren’t a perfect guarantee, but they’re a helpful filter, especially for moisturizers, sunscreens, and makeup, which stay on your skin for hours.
Your Simple Morning Routine
The morning routine focuses on gently cleaning your skin, keeping oil in check, and protecting it from the sun so breakouts and dark marks heal faster.
Step 1: Gentle Cleanser
Wash your face with lukewarm water and a mild, fragrance-free cleanser. A gel or light foaming formula usually suits oily and combination skin, while a cream or lotion cleanser is kinder to dry or sensitive skin. Massage it in with your fingertips for about 30 to 60 seconds, then rinse and pat dry with a clean towel instead of rubbing.
If your skin feels tight, squeaky, or stings after washing, your cleanser is too harsh. Stripping away natural oils can actually make your skin produce more oil and become more irritated, which works against you.
Step 2: Treatment Serum (Optional)
Mornings are a nice time for a calming, multitasking serum such as niacinamide. It helps regulate oil, reduce redness, and support your skin barrier, and it’s gentle enough for most beginners. Apply a few drops to dry skin and let it absorb for a minute before moving on.
If you’re using benzoyl peroxide as your main acne treatment (more on that below), the morning is also a good time for it, as long as you’re not using another strong active at the same time.
Step 3: Lightweight Moisturizer
Yes, even oily skin needs moisturizer. Acne treatments can be drying, and a hydrated skin barrier heals better, gets irritated less, and handles active ingredients far more comfortably. Choose an oil-free, non-comedogenic gel or lotion. Ingredients like glycerin, hyaluronic acid, and ceramides add hydration without heaviness.
Step 4: Sunscreen (Never Skip This)
Sunscreen is the step that ties everything together. Many acne ingredients make your skin more sensitive to the sun, and UV exposure darkens the marks that pimples leave behind, making them last for months. Use a broad-spectrum sunscreen with SPF 30 or higher every morning, even on cloudy days or when you’re mostly indoors near windows.
Look for formulas labeled oil-free or non-comedogenic. Many women with acne-prone skin love mineral sunscreens with zinc oxide, which tend to be soothing, or lightweight gel-fluid textures that don’t feel greasy under makeup.
Your Simple Evening Routine
The evening routine is where your main acne treatment does its work, while your skin repairs itself overnight.
Step 1: Remove Makeup and Sunscreen
If you wear makeup or water-resistant sunscreen, start with a gentle first cleanse to break it down. Micellar water or a lightweight cleansing balm or oil labeled non-comedogenic works well. Many beginners worry that oil cleansers cause breakouts, but a well-formulated one rinses clean and is often gentler than scrubbing makeup off with a regular face wash.
Step 2: Gentle Cleanser
Follow with the same mild cleanser you use in the morning. This removes the remaining residue, sweat, and oil from the day so your treatment can reach your pores.
Step 3: Acne Treatment
Apply your chosen active ingredient to clean, completely dry skin. Damp skin absorbs actives more intensely, which increases the chance of stinging and irritation. Use a pea-sized amount for your whole face rather than dabbing it only on visible spots, because these treatments work best when they prevent new breakouts across the whole area where you tend to get them.
Choose one main treatment to start with. The ingredient guide below will help you pick the right one for your skin.
Step 4: Moisturizer
Finish with your moisturizer to lock in hydration and cushion your skin against dryness from the treatment. If your skin feels especially sensitive, you can try the “sandwich” method: a thin layer of moisturizer, then your treatment, then another layer of moisturizer. It slightly softens the strength of the active while your skin adjusts.
Key Acne-Fighting Ingredients Explained
You don’t need all of these. Most beginners do best with one main treatment plus a supporting ingredient like niacinamide. Here’s how the most common, well-researched options compare:
| Ingredient | What It Does | Best For | Beginner Tips |
|---|---|---|---|
| Salicylic acid (BHA) | An oil-soluble exfoliant that gets inside pores to dissolve the oil and dead skin that form clogs | Blackheads, whiteheads, oily skin | Usually found at 0.5–2%. A cleanser or toner is a gentle way to start. |
| Benzoyl peroxide | Kills acne-causing bacteria and helps clear pores | Red, inflamed pimples | 2.5% is often as effective as stronger versions with less irritation. Can bleach towels, pillowcases, and clothing. |
| Adapalene (retinoid) | Speeds up skin cell turnover so pores stop clogging, and reduces inflammation | Recurring breakouts, clogged pores, long-term prevention | Available over the counter as a 0.1% gel. Use at night only; start 2–3 nights a week. Not for use during pregnancy. |
| Azelaic acid | Calms redness, fights bacteria, gently unclogs pores, and fades dark marks | Sensitive skin, redness, post-acne marks | Very gentle and a great option if other actives irritate you. |
| Niacinamide | Balances oil, reduces redness, and strengthens the skin barrier | All skin types, as a supporting step | Works well alongside most other actives. 2–5% is plenty for beginners. |
How to choose your first treatment
- Mostly blackheads and small bumps? Start with a salicylic acid cleanser or leave-on product a few times a week, since it targets the oil and buildup inside the pore directly.
- Mostly red, sore pimples? Benzoyl peroxide is a strong choice because it goes after the bacteria driving inflammation. A benzoyl peroxide wash, left on the skin for one to two minutes before rinsing, is an easy, gentle way to begin.
- Breakouts that keep coming back in the same areas? Adapalene is one of the most effective long-term options because it prevents clogs before they form, though it takes patience to see results.
- Sensitive or easily irritated skin? Azelaic acid offers many of the same benefits with much less stinging and dryness.
Avoid this combo as a beginner: Don’t start salicylic acid, benzoyl peroxide, and a retinoid all at once. Layering several strong actives is one of the fastest ways to damage your skin barrier and end up with more redness and breakouts, not fewer.
How to Introduce Active Ingredients Slowly
Your skin needs time to get used to acne treatments. Going slowly reduces dryness, peeling, and stinging, and makes it much more likely you’ll stick with the routine long enough to see results. Here’s a simple schedule you can follow for any new active:
| Weeks | How Often | What to Watch For |
|---|---|---|
| Weeks 1–2 | 2–3 nights per week (for example, Monday, Wednesday, Friday) | Mild tightness or slight flaking is normal. Burning or swelling is not. |
| Weeks 3–4 | Every other night | If your skin feels comfortable, move up. If it’s still dry, stay here longer. |
| Week 5 onward | Nightly, if your skin tolerates it | Keep moisturizing generously and never skip sunscreen. |
What about “purging”?
When you start a retinoid like adapalene, you may notice more breakouts during the first few weeks. This is often called purging: the treatment speeds up skin turnover, bringing clogs that were already forming to the surface sooner. Purging usually shows up in the areas where you normally break out and settles within about four to six weeks. If you’re getting breakouts in completely new places, or your skin is burning and swollen, that’s more likely irritation, and it’s worth pausing the product.
Weekly Extras (Optional, Not Essential)
Once your basic routine feels comfortable, you can add a few gentle extras. These are nice-to-haves, not must-haves.
- A clay mask once a week: Kaolin or bentonite clay masks absorb excess oil and leave skin feeling fresh, which is especially nice for oily T-zones. Apply only to oily areas if the rest of your face is dry, and rinse before it cracks completely to avoid tightness.
- A soothing hydrating mask: On days your skin feels dry or tender from treatments, a calming mask with ingredients like centella asiatica, aloe, or panthenol can bring comfort and help your barrier recover.
- Hydrocolloid pimple patches: These little stickers protect a spot from picking, absorb fluid from whiteheads, and help them flatten faster. They’re perfect for overnight or under a face mask on a lazy weekend.
Skip harsh physical scrubs with rough particles. They can irritate inflamed skin, spread bacteria, and cause tiny tears, all of which make breakouts worse rather than better.
Everyday Habits That Make a Big Difference
Skincare products are only part of the picture. These small daily habits support your routine and help prevent new breakouts:
- Change your pillowcase often. Pillowcases collect oil, hair products, and bacteria every night. Swapping yours two or three times a week is an easy win, especially if you tend to break out on one side of your face.
- Keep your hands off your face. Touching, picking, and popping pimples pushes bacteria deeper, increases inflammation, and raises your risk of dark marks and scarring. If a pimple is driving you crazy, cover it with a pimple patch instead.
- Clean your phone screen. Your phone touches your cheek and jaw many times a day. Wiping it down with an alcohol wipe every few days helps prevent breakouts along your jawline.
- Wash makeup brushes and sponges weekly. Used tools hold onto old makeup, oil, and bacteria, which get pressed right back into your pores each time you apply makeup.
- Watch your hair products. Heavy conditioners, oils, and styling products can drip onto your forehead and hairline and clog pores. Rinse your face after conditioning in the shower and keep oily products away from your face.
- Cleanse after workouts. Sweat mixed with oil and makeup is a recipe for clogged pores. Rinse your face soon after exercising, and try not to work out in a full face of makeup.
- Support your skin from the inside. Getting enough sleep, managing stress, and eating a balanced diet all support healthy skin. Some research suggests high-sugar foods and dairy may affect acne in certain people, so if you notice a pattern, it may be worth paying attention to.
Common Beginner Mistakes to Avoid
- Over-washing your face. Washing more than twice a day (or after sweating) strips your skin and can trigger more oil and irritation. Twice daily is plenty for most people.
- Skipping moisturizer because your skin is oily. Dehydrated skin often overproduces oil to compensate, and a weakened barrier makes acne treatments much harder to tolerate.
- Switching products every week. Most acne treatments need 6 to 12 weeks to show real results. Changing products too often means you never give anything a fair chance to work.
- Using only spot treatments. Dabbing products on existing pimples doesn’t stop the next ones from forming. Applying a thin layer across breakout-prone areas works far better for prevention.
- Using too much product. More isn’t better with actives. A pea-sized amount covers your whole face, and using extra mostly adds irritation.
- Forgetting sunscreen. Without daily SPF, post-acne dark marks linger longer, and sun damage can undo much of the progress your routine is making.
How Long Until You See Results?
This is where patience becomes your secret weapon. Your skin needs time to shed old clogs and build healthier habits from the inside of the pore out. Here’s a realistic timeline:
- Weeks 1–4: Your skin is adjusting. You may notice mild dryness, a little flaking, or (with retinoids) some purging. It’s normal not to see much improvement yet.
- Weeks 6–8: Many women start noticing fewer new breakouts and calmer, less inflamed skin.
- Weeks 10–12: This is usually when you can judge whether a treatment is truly working. Breakouts should be noticeably reduced, and dark marks may start fading.
Keeping a simple photo diary, taking a picture in the same lighting every two weeks, can help you see progress that’s hard to notice day to day.
When to See a Dermatologist
Over-the-counter routines work well for mild to moderate acne, but some types of acne need professional care. Consider seeing a dermatologist if:
- You have deep, painful cysts or nodules under the skin, as these rarely respond to drugstore products and can leave lasting scars.
- Your acne is leaving scars or dark marks that aren’t fading over time.
- You’ve followed a consistent routine for about three months with little or no improvement.
- Your breakouts suddenly appeared in adulthood, flare along your jawline and chin around your cycle, or come with other symptoms like irregular periods or unusual hair growth, which can point to a hormonal cause worth checking.
- Your acne is affecting your confidence or mood. That alone is a completely valid reason to get help.
A dermatologist can offer prescription options such as stronger topical treatments, oral medications, or hormonal therapies that aren’t available over the counter.
Your Beginner Acne Routine at a Glance
| Morning | Evening | |
|---|---|---|
| Step 1 | Gentle cleanser | Makeup and sunscreen removal (if needed) |
| Step 2 | Niacinamide serum (optional) | Gentle cleanser |
| Step 3 | Oil-free moisturizer | One acne treatment (introduced slowly) |
| Step 4 | Broad-spectrum SPF 30+ | Moisturizer |
| Weekly | Clay mask or soothing mask (optional) | Fresh pillowcase 2–3 times a week |
Frequently Asked Questions
Can I wear makeup if I have acne-prone skin? Absolutely. Choose makeup labeled non-comedogenic or oil-free, apply it with clean tools, and always remove it fully before bed. Mineral powders and lightweight, breathable foundations are often good choices.
Should I use toner? Toner isn’t a required step. If you enjoy it, choose an alcohol-free formula. A salicylic acid toner can even serve as your main exfoliating treatment, just don’t use it on the same night as another strong active while you’re still a beginner.
Is it okay to pop a pimple if it has a whitehead? It’s best not to. Popping at home often pushes bacteria deeper and increases the risk of scarring. A hydrocolloid patch is a safer way to help a whitehead drain and heal.
Can I use vitamin C with acne treatments? Yes, many women do, but wait until your main acne routine feels comfortable before adding it. Using it in the morning and your acne treatment at night keeps things simple and reduces the chance of irritation.
Does drinking water clear acne? Staying hydrated supports your overall health, but water alone won’t clear acne. Consistent skincare, healthy habits, and patience do most of the work.
Final Thoughts
Caring for acne-prone skin isn’t about finding one magic product. It’s about building a gentle, consistent routine and giving it enough time to work. Start with the basics (a mild cleanser, a lightweight moisturizer, and daily sunscreen), add one proven treatment slowly, and support your skin with simple everyday habits. Be kind to your skin and to yourself along the way. Clearer skin is a journey, and every consistent day brings you a little closer.