Heatless curling works on a very simple principle. Hair is held in a curved shape while it dries, and the shape sets as the water evaporates. Heat speeds up that process, but time and a little patience do the same job, and they do it without the dryness, frizz, and split ends that daily heat styling can cause. While you sleep, your hair quietly does the work for you.
In this guide, you’ll learn how to prep your hair so the curls actually hold, the easiest overnight methods to try (from the famous robe-tie trick to simple braids), which method suits your hair type, how to unravel and style your curls in the morning, and how to make them last for days. Whether your hair is fine and straight, thick and long, or somewhere in between, there’s a no-heat method here that will work for you.
Why Heatless Curls Are Worth Trying
Hot tools are fast, but using them several times a week takes a toll. High temperatures strip moisture from the hair shaft, rough up the outer cuticle layer, and over time leave hair dull, brittle, and prone to breakage. Many women who switch to heatless styling notice that their ends feel softer and their color stays brighter after just a few weeks.
Heatless curls also save you real time. Instead of standing in front of the mirror sectioning and curling every morning, you spend about ten minutes wrapping your hair the night before and a few minutes shaking it out when you wake up. On busy weekdays, that makes a big difference.
Finally, overnight curls tend to look softer and more natural than iron curls. Because the hair dries slowly around a wide, rounded shape, you get gentle, touchable waves and loose ringlets with plenty of movement, rather than tight, crunchy barrel curls. It’s the effortless, lived-in look that pairs beautifully with everything from jeans and a sweater to a summer dress.
Before You Start: Prep for Curls That Last
The difference between curls that fall flat by lunch and curls that last until the next day almost always comes down to prep. Take a few minutes to get these steps right and every method in this guide will work better.
Start with the right level of dampness. This is the single most important rule. Your hair should be about 70 to 80 percent dry, meaning it feels cool and slightly damp to the touch but is no longer dripping or heavy. Soaking wet hair often won’t dry fully overnight, so you wake up to limp, damp sections that lose their shape within an hour. Completely dry hair, on the other hand, doesn’t take the curl as well because there’s no moisture to set the shape. If you wash in the evening, let your hair air-dry for an hour or so, or rough-dry it on a cool setting until it reaches that just-damp stage.
Detangle thoroughly. Run a wide-tooth comb or a wet brush through your hair from the ends up to the roots before you wrap it. Knots and tangles trapped inside a wrap turn into frizzy, uneven sections in the morning, and they’re much harder to brush out once the curl has set.
Use a light holding product. A small amount of product gives the curl something to grip onto and helps it last through the day. Volumizing mousse is a favorite for fine or straight hair because it adds hold without weight. Curl cream or a light leave-in conditioner works well for thicker, drier, or naturally wavy hair because it adds softness and fights frizz. Apply a walnut-sized amount (or a golf-ball-sized amount of mousse) through the mid-lengths and ends, and go easy near the roots so your curls don’t look greasy the next day.
Protect your hair while you sleep. Sleeping on cotton creates friction that roughs up the hair and causes frizz. A silk or satin pillowcase, or a loose satin bonnet or scarf over your wrap, keeps everything smooth and in place. It also helps the wrap stay secure if you toss and turn.
Gather your tools before you begin. Depending on the method, you’ll want a few soft scrunchies or satin hair ties, some claw clips or sectioning clips, a spray bottle of water for any sections that dry out while you work, and your chosen curling tool, whether that’s a satin curling rod, a cotton robe tie, a pair of clean socks, or nothing at all for the braid and twist methods.
Method 1: The Satin Curling Rod or Robe-Tie Method
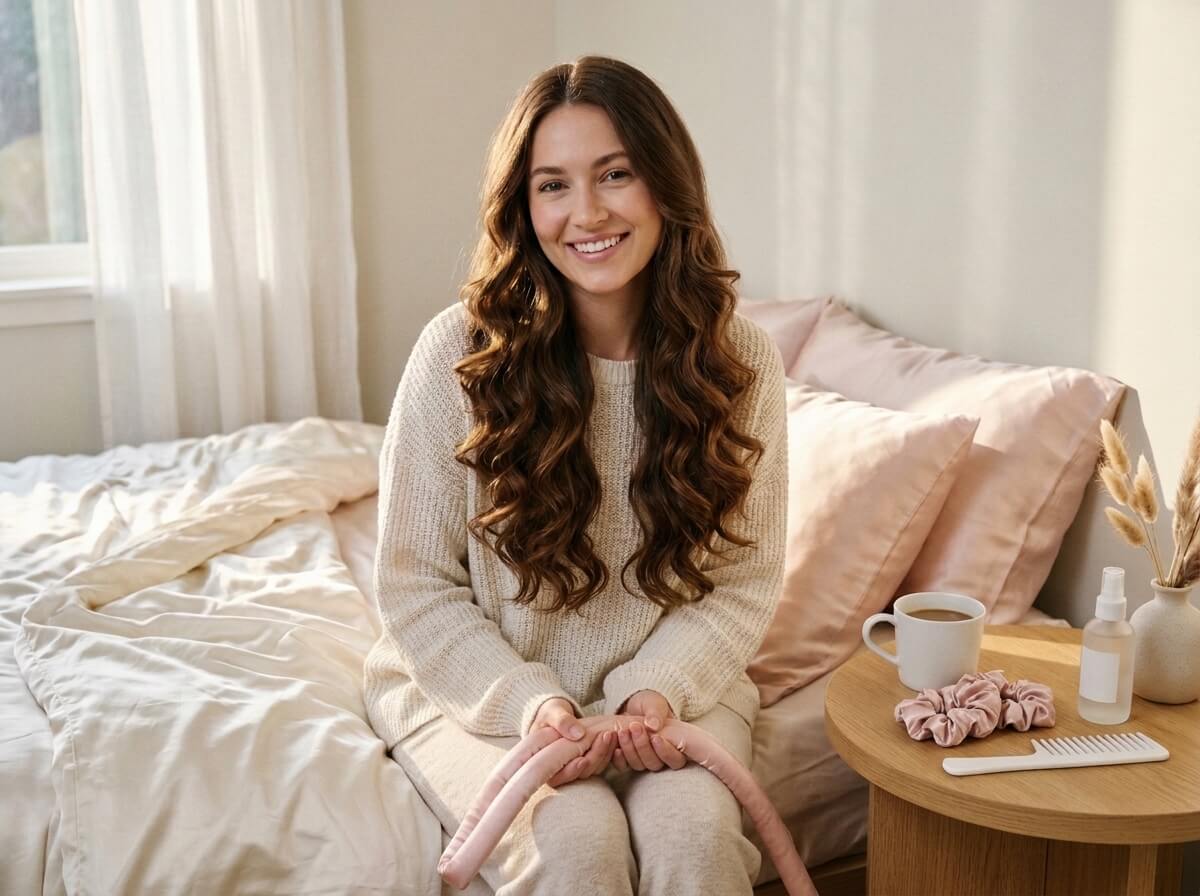
This is the method that made heatless curls famous, and for good reason. It creates big, bouncy, blowout-style curls that frame your face beautifully, and it’s comfortable enough to sleep in. You can use a padded satin heatless curling rod (sold in most beauty stores and online) or simply the soft belt from a cotton bathrobe.
Step 1: Position the rod. Brush your hair straight back from your face. Lay the center of the rod across the top of your head, from ear to ear, so that the two ends hang down on either side of your face like a headband. Secure the middle with a claw clip at the crown so it doesn’t slide.
Step 2: Take your first section. Starting on one side, take a small section of hair from the front, about one to two inches wide, right at your hairline near your face.
Step 3: Wrap away from your face. Wrap that section over and around the rod, always moving away from your face, which gives the most flattering curl direction. After the first wrap, add a little more hair from underneath with each new turn, almost like you’re doing a French braid around the rod. Keep the tension gentle but firm so the hair stays smooth against the rod.
Step 4: Work down to the ends. Keep adding hair and wrapping until you reach the bottom of the rod and all the hair on that side is wrapped. Secure the ends to the tip of the rod with a scrunchie.
Step 5: Repeat on the other side. Wrap the second side the same way, again twisting away from your face, and secure it with another scrunchie. Slip on a satin bonnet or simply sleep on a silk pillowcase.
Best for: medium to long hair (shoulder-length and below), and anyone who wants voluminous, glamorous curls. It works on most hair textures, and is especially good for fine hair that won’t hold a curl from an iron.
Method 2: The Sock Bun Curls
If you don’t own a curling rod, check your drawer. A clean, long sock can create surprisingly gorgeous, smooth curls, and many women find it the most comfortable option for sleeping because it sits like a soft bun on top of the head.
Step 1: Prepare the sock. Use a long, clean cotton sock, such as a knee-high or crew sock. Cut off the toe end and roll the sock into a doughnut shape, or simply use it flat and unrolled for a looser curl.
Step 2: Make a high ponytail. Brush your damp, prepped hair into a high ponytail at the crown of your head and secure it with a soft scrunchie.
Step 3: Wrap the hair around the sock. Thread the ponytail through the sock doughnut, spread the ends evenly around it, and roll the sock down toward your scalp, tucking the ends in as you go. You’ll end up with a smooth bun sitting at the top of your head. If you’re using a flat sock, wrap sections of the ponytail around it the same way you would with a rod, then tie the two ends of the sock together.
Step 4: Secure and sleep. Pin any loose pieces with bobby pins and cover with a satin scarf if you like.
Best for: medium to long hair, and anyone wanting soft, uniform waves with lots of volume at the crown. Because all the hair is gathered in one place, the curls are a little looser around the face than with the rod method.
Method 3: Braids for Beachy Waves
Braids are the easiest heatless style of all, and they need no special tools. The result is a relaxed, crimped, beachy wave rather than a defined curl, which makes it perfect for casual days, summer looks, and anyone who doesn’t want too much bounce.
For loose, beachy waves, split your damp hair into two sections and make two simple three-strand braids, one on each side. Secure the ends with small satin ties, leaving as little unbraided hair at the bottom as possible so the ends don’t stay straight.
For tighter, more textured waves, make four to six smaller braids around your head. The more braids you make, the smaller and more defined the waves will be.
For waves that start right at the root, use French or Dutch braids instead. Starting the braid at your hairline and adding hair as you go gives you texture from top to bottom, rather than straight roots with wavy ends.
Best for: all hair lengths from just past the chin to very long hair. It’s especially great for thick or coarse hair, which can be uncomfortable to wrap around a rod, and for anyone who loves an undone, effortless look.
Method 4: Twisted Buns for Spiral Curls
Twisted buns sit somewhere between braids and rod curls. They create springy, spiral-style curls with lots of definition, and they’re easy to do once you’ve tried them once or twice.
Step 1: Divide your damp hair into four to eight sections, depending on its thickness. Fewer sections give larger, looser curls, while more sections give smaller, tighter spirals.
Step 2: Take one section and twist it tightly in one direction, always away from your face, until it starts to coil back on itself.
Step 3: Wrap the twisted section into a small bun against your scalp and secure it with a claw clip, a scrunchie, or a couple of bobby pins.
Step 4: Repeat with every section. Sleep on a silk pillowcase, or wear a satin bonnet to protect the buns.
Best for: medium-length to long hair, and those who want defined, ringlet-style curls. Because small buns are more noticeable when lying down, some women find this method less comfortable than the rod, so try it on a weekend first.
Method 5: Flexi Rods and Foam Rollers
If you prefer a more classic, polished curl, flexi rods and soft foam rollers are a great choice. They give the most uniform results and work on shorter hair that’s too short for the robe-tie or sock methods.
Flexi rods are long, bendable foam rods with a wire inside. Wrap a one-inch section of damp hair around the rod from the ends up to the root, then bend both ends of the rod toward each other to lock it in place. Thinner rods make tight, bouncy curls, while thicker rods make looser, softer curls.
Foam rollers are soft cylinders that snap shut over your hair. Roll a section from the ends toward the scalp and close the clasp. They’re comfortable for sleeping and great for adding volume at the roots, especially for fine or thin hair.
Best for: short to medium hair, including bobs and lobs, and anyone who wants a vintage-inspired or very defined curl pattern.
Which Method Is Right for Your Hair?
Not every method suits every head of hair. Use this quick guide to choose the best starting point for your hair length and texture.
| Hair Type / Length | Best Method | What You’ll Get | Tip |
|---|---|---|---|
| Fine or thin, medium to long | Satin rod or robe tie | Big, voluminous, bouncy curls | Use mousse for extra hold and lift |
| Thick or coarse, long | Braids or twisted buns | Defined waves or spiral curls | Make more sections so the hair dries fully overnight |
| Short (chin to shoulder) | Flexi rods or foam rollers | Uniform, polished curls | Smaller rods for bobs, larger for lobs |
| Straight hair that won’t hold a curl | Satin rod with mousse, plus a light setting spray | Soft curls that last into the next day | Wrap smaller sections with firmer tension |
| Naturally wavy or curly | Twisted buns or braids | Smoother, more defined natural pattern | Use curl cream instead of mousse for softness |
| Layered hair | Satin rod or flexi rods | Curls that blend through the layers | Wrap layers carefully so shorter pieces don’t poke out |
The Morning After: How to Take Out Your Curls
How you remove your wrap and style the curls is just as important as how you set them. Rushing this step is the most common reason heatless curls turn frizzy.
Check that your hair is completely dry. Before you undo anything, feel the hair closest to the rod, braid, or bun. If it still feels cool or damp, leave it in a little longer or give it a quick blast with a hair dryer on the cool setting. Unwrapping even slightly damp hair causes the curls to drop almost immediately.
Unwind gently. Remove the scrunchies and clips, then gently unravel the hair in the opposite direction you wrapped it. Don’t pull or tug, since that stretches the curl. With the rod method, slide the rod out slowly from the center once both sides are unwrapped.
Separate with your fingers, not a brush. Leave the curls alone for a minute or two so they can settle. Then use your fingertips to gently split each curl into two or three smaller pieces for more volume and a softer finish. A brush will turn your curls into a big, fluffy wave, which can be lovely for a vintage look, but if you want defined curls, stick to your fingers.
Finish with a light product. Rub a drop of hair oil or a pea-sized amount of hair serum between your palms and smooth it lightly over the ends to tame any frizz and add shine. For extra hold, mist a flexible-hold hairspray from about a foot away. Flip your head upside down and give the roots a gentle shake if you want more volume at the top.
How to Make Your Curls Last for Days
One of the best things about heatless curls is that they can easily last two or even three days with a little care.
Protect them at night. Before bed on the second night, gather your hair into a loose, high ponytail on top of your head (often called a “pineapple”) with a soft scrunchie. This keeps the curls from getting crushed while you sleep. Pair it with a silk pillowcase or a satin bonnet.
Refresh the roots with dry shampoo. On day two, a quick spray of dry shampoo at the roots absorbs oil and brings back volume. Spray it, wait a minute, and then massage it in with your fingertips.
Revive flat sections without heat. If a few curls have fallen, lightly mist them with water or a curl refresher spray, twist them around your finger, and pin them in place with a clip for ten to fifteen minutes while you do your makeup.
Keep your hands off. It’s tempting to touch your curls all day, but constantly running your fingers through them breaks up the pattern and adds frizz. Style them in the morning, and then let them be.
Common Mistakes and How to Fix Them
If your first attempt doesn’t turn out perfectly, don’t give up. Most problems have a simple fix.
| Problem | Likely Cause | How to Fix It |
|---|---|---|
| Curls fell flat within hours | Hair was too dry when wrapped, or no holding product | Wrap at 70–80% dry and add mousse or a setting lotion |
| Hair still damp in the morning | Hair was too wet, or sections were too thick | Let it air-dry longer before wrapping, or use more, smaller sections |
| Frizzy, fluffy results | Rough sleeping surface, tangles, or brushing the curls out | Detangle first, use a silk pillowcase, and separate curls with fingers |
| Straight ends | The ends weren’t wrapped or tucked in tightly | Secure the very tips of the hair to the rod or braid with a scrunchie |
| Dents or crimps from hair ties | Tight elastic bands pressing into the hair | Use soft scrunchies or satin ties instead of thin elastics |
| Uneven curls on each side | Different section sizes or wrapping directions | Use similar-sized sections, and always wrap away from your face |
| Uncomfortable to sleep in | Bulky rollers or buns on the back of the head | Use the satin rod or sock bun, which sit on top of the head |
Frequently Asked Questions
Can I do heatless curls on dry hair? Yes, though the curls may be softer and won’t last as long. If your hair is dry, lightly mist each section with water or a curl-setting spray before wrapping, so the hair has a bit of moisture to set the shape.
How long do I need to leave heatless curls in? For best results, leave them in for at least six to eight hours, which is why overnight works so well. If you want to do them during the day, wrap your hair in the morning and leave it in for four to six hours, or until your hair is completely dry.
Do heatless curls work on very straight or fine hair? They do, and they’re often a better option than a curling iron for fine hair. Use a volumizing mousse, wrap smaller sections with slightly firmer tension, and finish with a light, flexible hairspray to help the curls hold all day.
Will heatless curls damage my hair? Heatless curls are one of the gentlest ways to style your hair because there’s no high heat involved. The main thing to watch is tension: wrapping very tightly every single night can stress the hairline, so keep the wraps snug but comfortable, and give your hair a night off now and then.
Can I do heatless curls on short hair? Yes. Flexi rods and foam rollers are the best choice for hair between chin and shoulder length, since they grip shorter sections easily. Small pin curls also work well for pixie and very short bob cuts.
What’s the best heatless curling tool to buy? If you only buy one, a padded satin heatless curling rod is the most versatile and comfortable option for medium to long hair. For shorter hair, a set of flexi rods in two different sizes gives you the most flexibility. And remember, a cotton robe tie or a clean sock can do the job for free.
Final Thoughts
Easy heatless curls overnight are proof that beautiful hair doesn’t have to come with damage or early alarms. Once you’ve found the method that suits your hair, the whole routine takes about ten minutes before bed and a few minutes in the morning, and the reward is soft, bouncy, glossy curls that look salon-fresh. Start with damp, well-prepped hair, protect it while you sleep, and be gentle when you unwrap it. With a little practice, you’ll be waking up to your favorite hair day again and again, while your hair stays healthier and shinier with every heat-free week.