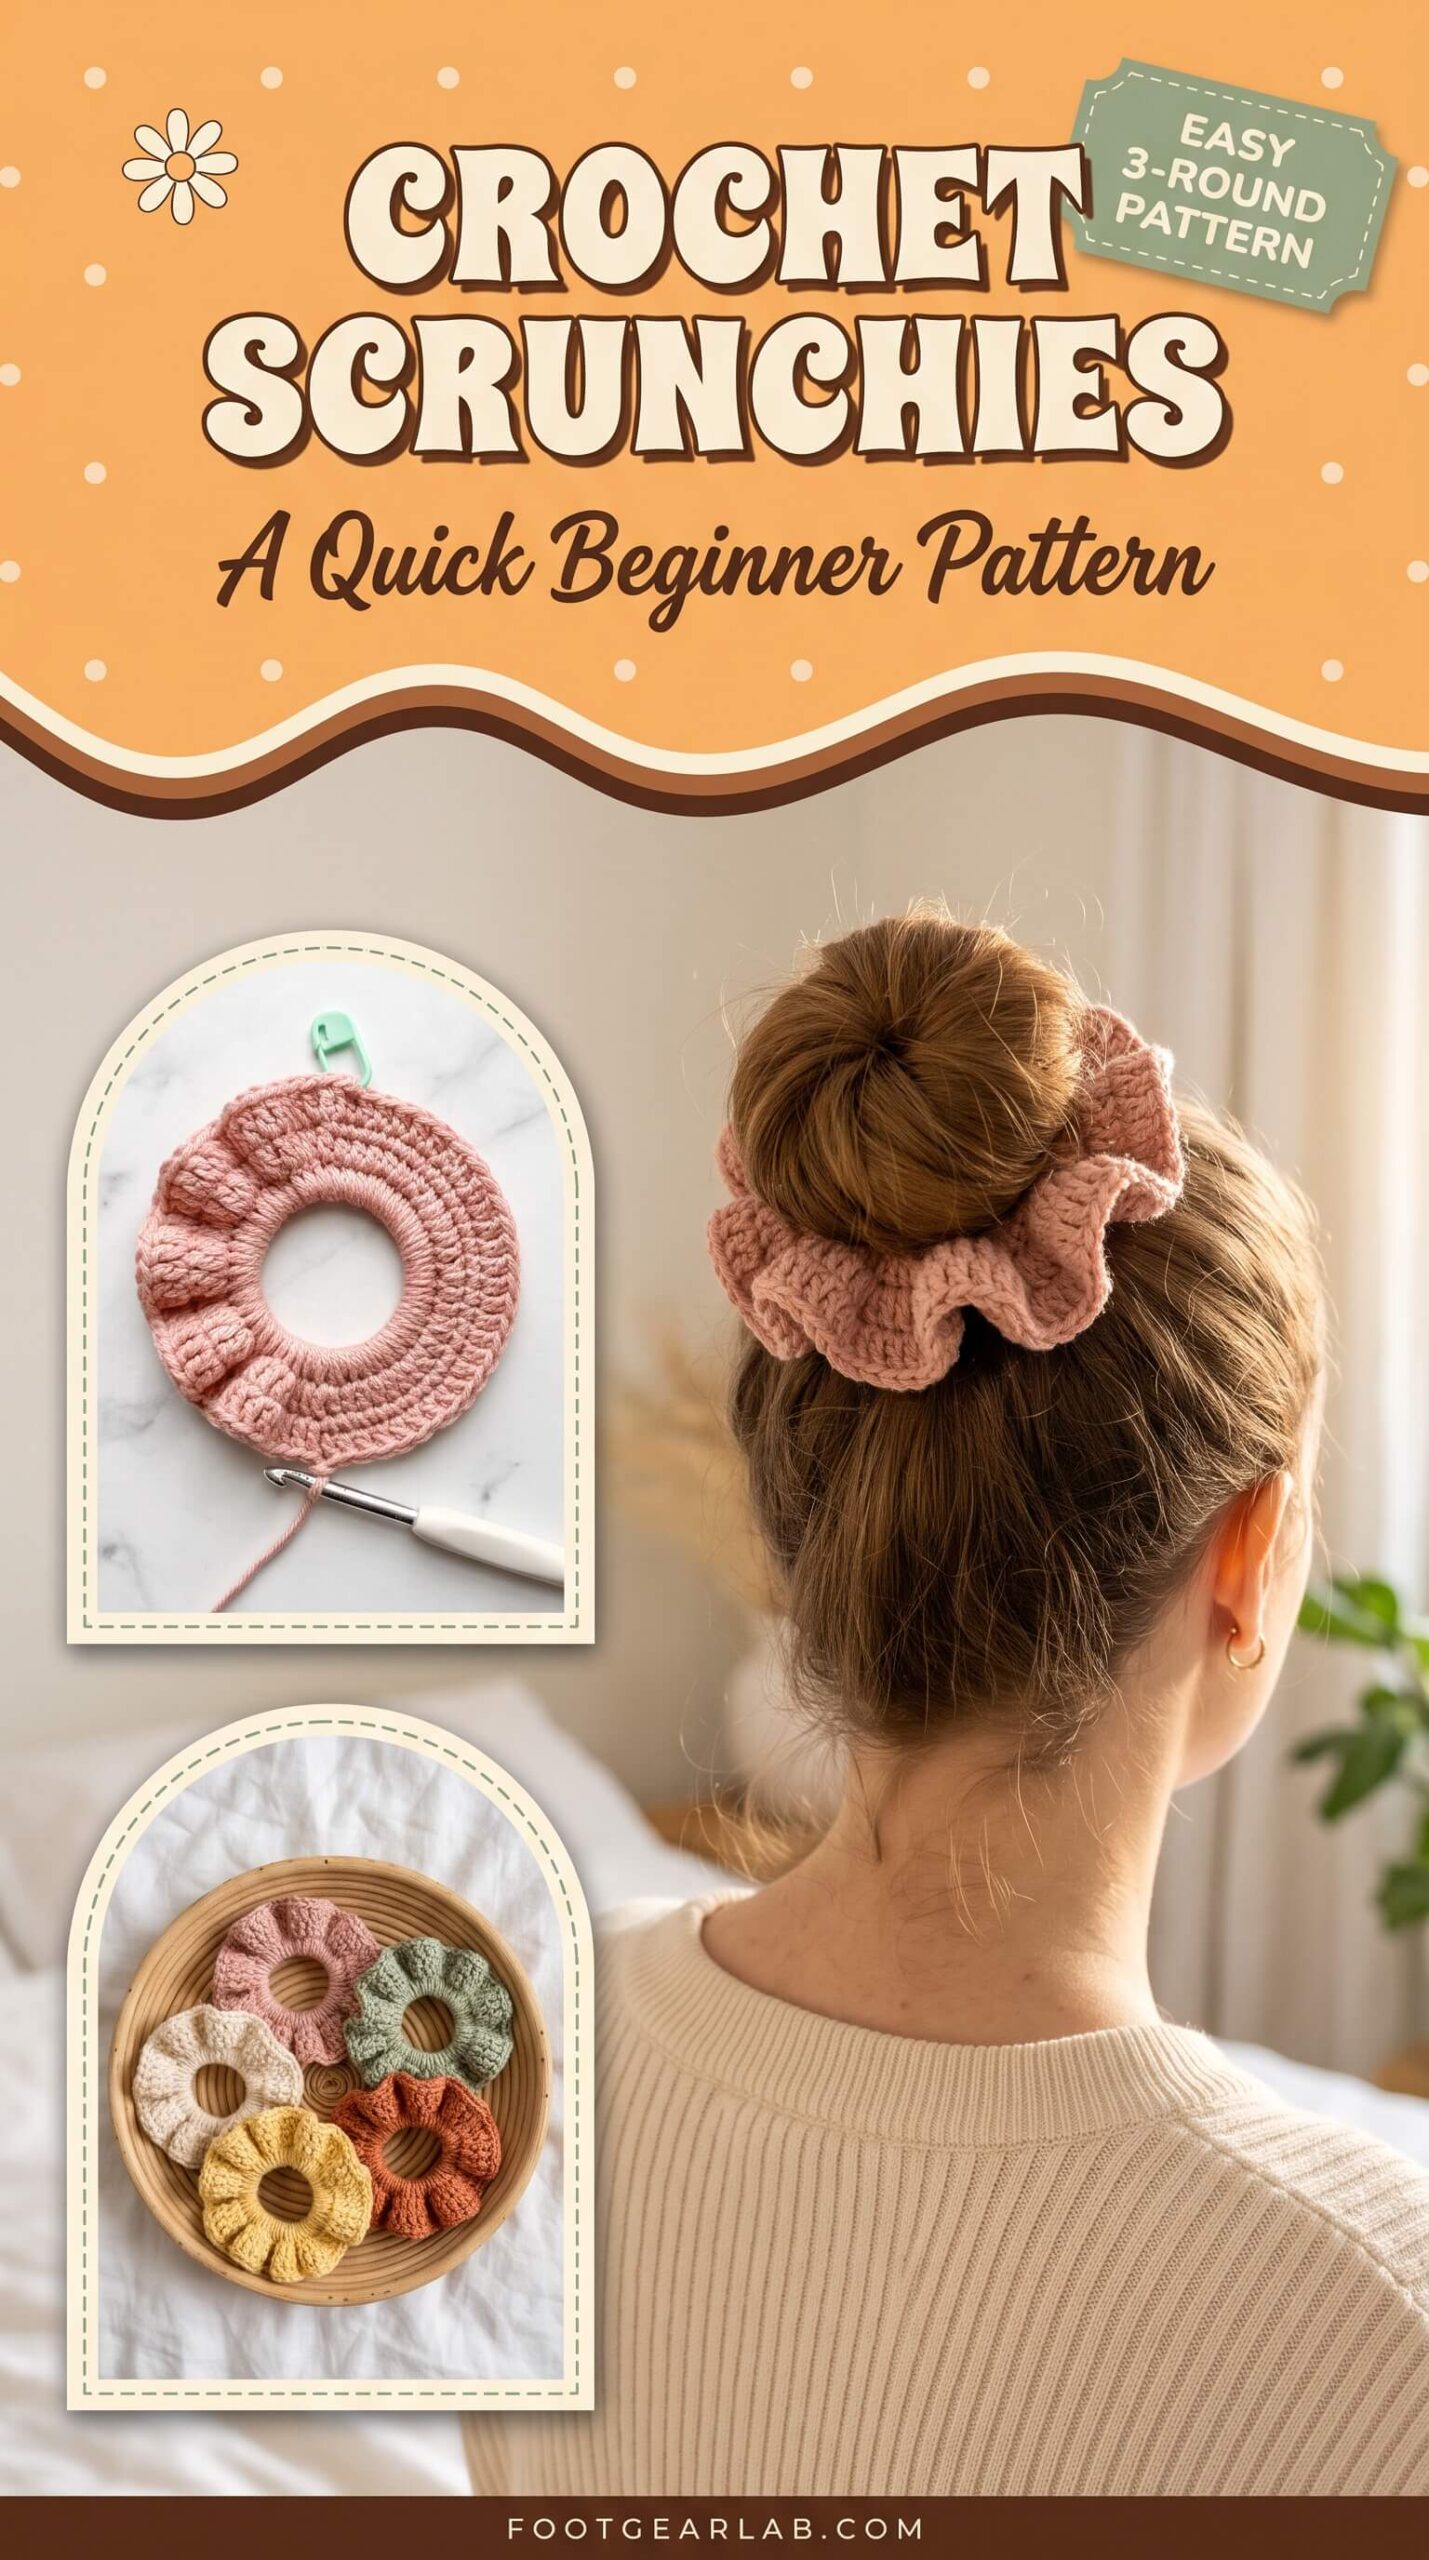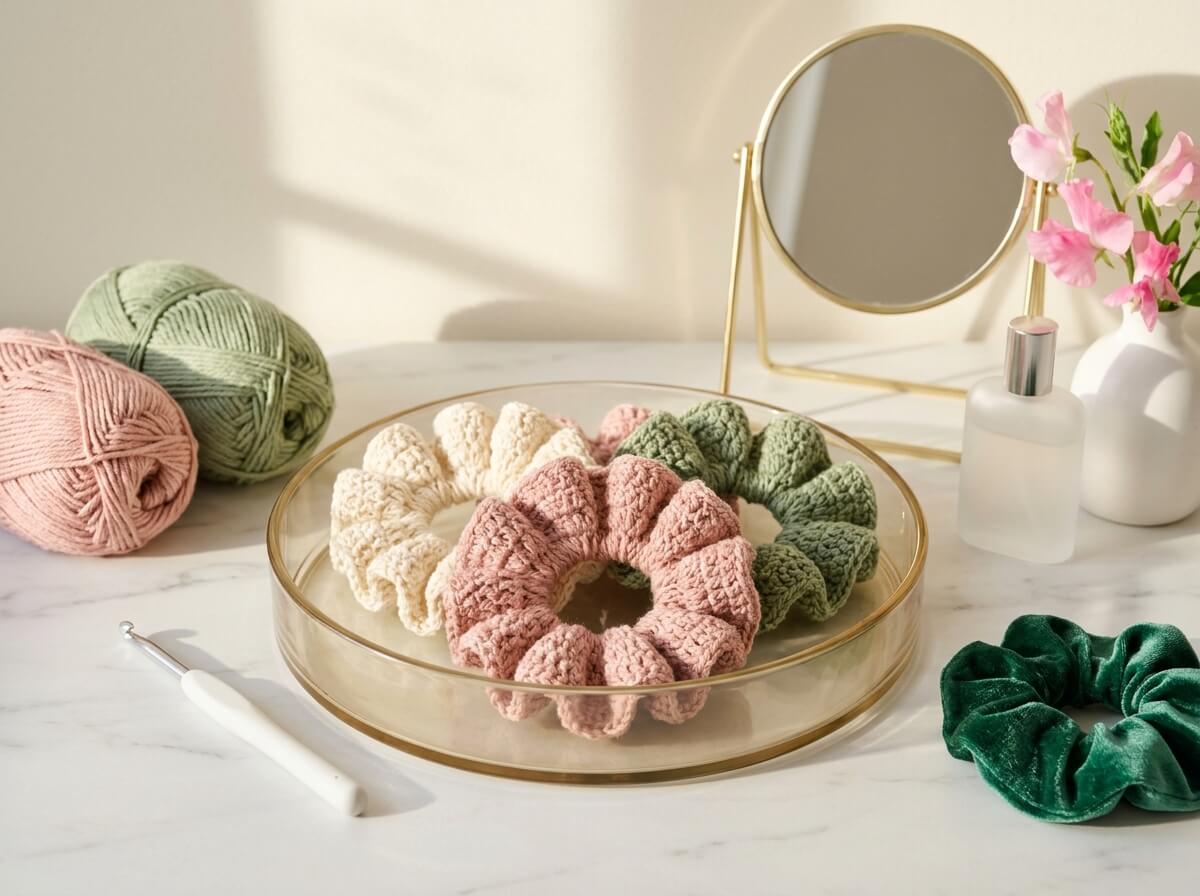
Some crochet projects take weeks. Crochet scrunchies take about half an hour. They might be the most satisfying little make there is: you start with a plain hair elastic and a bit of yarn, and before your tea has cooled you’re holding a soft, ruffled hair accessory you made yourself. Scrunchies are back in a big way. You’ll see them in messy buns, sleek low ponytails, and stacked on wrists like bracelets. A handmade one in your favorite color fits right in with that trend.
This guide gives you everything you need to make your first scrunchie and many more after it. You’ll find a simple supply list, a guide to choosing the best yarn for your hair, clear round-by-round instructions, and a stitch count table you can check as you go. There’s also a troubleshooting section, fun variations like velvet, oversized, and bow scrunchies, styling ideas, gift packaging tips, and care advice. If you can chain, single crochet, and double crochet, you can make a whole set this weekend.
Why You’ll Love Making Crochet Scrunchies
They’re finished in about 30 minutes. A classic scrunchie is only three rounds. Most beginners finish one in 30 to 40 minutes, and once you know the pattern you can make one in about 20. That makes them perfect for a quick creative break, a lazy Sunday, or an evening in front of your favorite show when you want to finish something before bed.
They use up leftover yarn. Each scrunchie needs only about 25 to 35 yards of worsted weight yarn. That’s the small amount left over from almost every bigger project. Instead of letting those half-balls sit in a basket, you can turn them into a colorful collection of hair accessories that match your sweaters, bags, and hats.
They’re gentle on your hair. A thick, soft scrunchie spreads its hold across a wider area than a thin bare elastic. Many people find this means less pulling, fewer dents in their hair, and less snagging when they take it out. A soft cotton or smooth acrylic yarn is kind to fine, curly, and textured hair alike.
They make the sweetest small gifts. A set of three scrunchies tied with ribbon is a thoughtful present for a friend, sister, teacher, or bridesmaid. They also fit easily into stockings and party favor bags. If you sell your crafts, scrunchies are a popular, low-cost item that’s quick to make in batches.
What You’ll Need
Yarn: about 25 to 35 yards (23 to 32 m) of worsted weight (#4) yarn per scrunchie. Cotton, cotton blends, and soft acrylic are all great choices. A standard 50 g ball of worsted cotton (about 80 to 100 yards) makes two to three scrunchies. For your first one, choose a smooth, light-colored yarn. Light colors make it much easier to see your stitches than dark or fuzzy yarns.
Crochet hook: 5.0 mm (US H-8). This is the usual hook size for worsted weight yarn, and it gives soft, full ruffles. If your stitches feel very tight around the elastic, go up to 5.5 mm. If your ruffles look loose and droopy, try 4.5 mm.
One seamless hair elastic, about 2 inches (5 cm) across. This is the standard everyday hair tie found at any drugstore. Choose a seamless one with no metal clasp, because the metal can snag your hair and makes a bump under the stitches. Thicker elastics (about 4 mm thick) hold their stretch longer than very thin ones.
One locking stitch marker. Clip it into the first stitch of each round, so you can find where to join. A safety pin or a scrap of contrast yarn works in a pinch.
Tapestry needle and scissors. You’ll use the needle to weave in the two yarn ends so they’re completely hidden inside the ruffles.
Choosing the Best Yarn for Scrunchies
The yarn you choose changes how your scrunchie looks, how it feels in your hair, and how well it grips. Here’s a quick guide to the most popular options.
| Yarn Type | How It Looks and Feels | Best For | Things to Know |
|---|---|---|---|
| Cotton (worsted) | Matte, crisp ruffles with clear stitch definition | Everyday wear, summer, beginners | Holds its shape well and is easy to wash. It can feel slightly firm at first but softens with use. |
| Cotton blend (cotton + bamboo or acrylic) | Soft, light, slightly shiny ruffles | Fine or delicate hair | A little smoother than pure cotton, so it slides out of hair easily. |
| Soft acrylic | Smooth, bouncy, comes in endless colors | Budget-friendly sets and gifts | Choose an anti-pilling acrylic. Cheaper acrylics can feel squeaky and fuzz up quickly. |
| Velvet or chenille | Plush, luxe, velvety texture | Evening looks, holidays, gifts | Harder to see stitches, so it’s best after you’ve made one or two in smooth yarn. Use a larger hook. |
| Metallic blend | Subtle sparkle and shine | Parties, weddings, festive seasons | Can feel slightly scratchy, so pair it with a soft yarn held together. |
A note on wool: Wool makes cozy scrunchies, but some wool can feel itchy at the nape of the neck and may felt when wet. If you love wool, choose a soft superwash merino.
Abbreviations and Stitches
This pattern uses US crochet terms. If you usually follow UK patterns, a US single crochet is a UK double crochet, and a US double crochet is a UK treble crochet.
| Abbreviation | Meaning | How It’s Used in This Pattern |
|---|---|---|
| ch | Chain | Used at the start of rounds. The ch-1 in Round 3 doesn’t count as a stitch; the ch-3 in Round 2 does. |
| sc | Single crochet | Worked around the elastic in Round 1, and for the neat edge in Round 3. |
| dc | Double crochet | The tall stitch that creates the ruffles in Round 2. |
| sl st | Slip stitch | Used to join each round. |
| st(s) | Stitch(es) | The numbers in parentheses tell you the total for each round. |
Pattern Notes Before You Begin
Finished size: about 4 inches (10 cm) across, with a center opening of about 1¼ inches (3 cm) when relaxed. That’s a classic, medium-full scrunchie that works for most hair types.
Gauge isn’t critical. Unlike a hat or a sweater, a scrunchie doesn’t need to match an exact measurement. What matters most is that the stitches in Round 1 cover the elastic completely without stretching it out. Your ruffles might be slightly fuller or flatter than the photos, and that’s perfectly fine.
This pattern is worked in joined rounds. At the end of each round, slip stitch into the top of the first stitch to close the circle. This keeps your stitch counts easy to check and makes the edge neat.
Count your stitches in Round 1. This is the one round where counting really matters, because every stitch you make in Round 1 gets multiplied in Round 2. If you have 50 stitches here, everything else falls into place.
Step-by-Step Crochet Scrunchie Pattern
Step 1: Attach the Yarn to the Elastic
Make a slip knot and place it on your hook. Hold the hair elastic in your non-dominant hand, along with the yarn tail, so the tail lies along the top of the elastic. Insert your hook through the center of the elastic, from front to back. Yarn over and pull a loop back through to the front, so you have two loops on your hook. Yarn over again and pull through both loops. That’s your first single crochet, and it’s now anchored around the elastic. Clip your stitch marker into this first stitch.
Laying the yarn tail along the elastic is a small trick that saves you time at the end. As you work Round 1, your stitches will cover the tail along with the elastic. Once you’ve worked about 10 stitches, you can trim the remaining tail close to the stitches, and you’ll have one less end to weave in later.
Step 2: Round 1 – Cover the Elastic
Round 1: Work 49 more sc around the elastic, for a total of 50 sc. Join with a sl st to the first sc. (50 sts)
Each stitch is worked the same way as your first: insert the hook through the center of the elastic, yarn over, pull up a loop, yarn over, and pull through both loops. After every 8 to 10 stitches, use your fingers to slide the stitches together along the elastic. They should sit snugly side by side, so no black elastic peeks through.
The goal is full coverage without stretching. When you finish the round and let the elastic relax, the stitches should be tightly packed and the elastic hidden. If the elastic still shows in places, add a few more stitches and note your new total. If the elastic stays stretched open and won’t spring back, you’ve added too many. Pull out a few stitches, or the finished scrunchie will be too loose to hold a ponytail. Most standard 2-inch elastics take between 45 and 55 sc. If yours is different from 50, that’s fine. Just keep that number, because Round 2 works into whatever total you have.
Step 3: Round 2 – Make the Ruffles
Round 2: Ch 3 (counts as your first dc). Work 2 dc into the same stitch you joined into. Then work 3 dc into each stitch around. Join with a sl st to the top of the beginning ch-3. (150 sts)
This is the round where the magic happens. Because you’re putting three tall stitches into every single stitch from Round 1, the fabric has far more length than the small ring can hold. Instead of lying flat, it starts to wave and curl around the elastic, forming those soft, bouncy ruffles that make a scrunchie look like a scrunchie. Don’t try to flatten it as you go. Just let the ruffles twist naturally.
Work the double crochet stitches into the top two loops of each Round 1 stitch, which sit along the outer edge of the ring. Keep your tension relaxed. If you pull the double crochets too tight, the ruffles will look stiff and small. If you used a different total in Round 1, your Round 2 total is simply three times that number. For example, 48 stitches in Round 1 gives you 144 in Round 2.
Step 4: Round 3 – Edge and Finish
Round 3: Ch 1 (doesn’t count as a stitch). Sc in the same stitch as the join and in each stitch around. Join with a sl st to the first sc. (150 sts)
This last round adds a neat, finished edge to the ruffles and makes them a little fuller and more defined. It also stops the tops of the double crochets from stretching out after many wears. If you’d like a lighter, more delicate scrunchie, you can stop after Round 2. Just fasten off there instead.
To finish, cut the yarn, leaving a 6-inch (15 cm) tail, and pull it through the loop on your hook. Thread the tail onto your tapestry needle and weave it in through the stitches on the inside of the ruffles. Go back and forth in at least two directions, so it won’t work loose. If you didn’t crochet over your starting tail in Round 1, weave that one in the same way. Finally, fluff the ruffles with your fingers so they spread evenly all around the ring.
Stitch Count at a Glance
Keep this table handy while you work, or save it to your phone for quick reference.
| Round | Instructions | Stitch Count |
|---|---|---|
| 1 | 50 sc around the elastic, join | 50 |
| 2 | Ch 3 (counts as dc), 2 dc in same st, 3 dc in each st around, join | 150 |
| 3 | Ch 1, sc in each st around, join, fasten off | 150 |
Estimated time: 20 to 40 minutes. Estimated yarn: 25 to 35 yards (23 to 32 m) of worsted weight yarn.
Tips for a Perfect Scrunchie Every Time
Don’t stretch the elastic while you work. It’s tempting to hold the elastic stretched open, because it’s easier to see where to insert your hook. But if you crochet Round 1 on a stretched elastic, the stitches will space out too far apart. When the elastic relaxes, you’ll have gaps. Hold the elastic in its natural, relaxed size, and slide the stitches together every few stitches.
Use a light-colored yarn for your first scrunchie. It’s much easier to see the stitch tops along the edge of the ring when you work Round 2. Once you’re comfortable with the pattern, try darker colors, velvet, or fuzzy yarns.
Check your ring before starting Round 2. Lay it flat on the table. It should be a smooth, round donut shape with no elastic showing. If it looks twisted, untwist it now. A twist in Round 1 will make the finished ruffles look uneven and lopsided.
Make a batch in assembly-line style. If you’re making several scrunchies for gifts or to sell, work Round 1 on five or six elastics first, then do all the Round 2s, and finally all the Round 3s. You’ll get into a rhythm, and every scrunchie will come out a consistent size.
Replace tired elastics with an easy fix. If a well-loved scrunchie eventually loses its stretch, you don’t need to throw it away. Snip a small opening in Round 1 from the inside, cut out the old elastic, and use a tapestry needle to thread a length of new braided elastic through the stitches. Tie it securely and stitch the opening closed.
Troubleshooting Common Problems
| Problem | Why It Happens | How to Fix It |
|---|---|---|
| The elastic shows through Round 1 | Too few stitches, or the elastic was stretched while you worked. | Slide the stitches together, then add a few more until the elastic is fully covered. |
| The scrunchie is too loose to hold a ponytail | Too many stitches in Round 1 stretched the elastic permanently. | Pull out Round 1, and work fewer stitches on a relaxed elastic. |
| The ruffles look flat or small | Tension in Round 2 is too tight, or the yarn is very thin. | Relax your grip, go up half a hook size, or work 4 dc in each st instead of 3. |
| The ruffles look floppy and droopy | Stitches are too loose, or the yarn is very soft and drapey. | Go down half a hook size, or choose a cotton yarn with more structure. |
| The scrunchie looks lopsided | Uneven spacing in Round 1 or a twist in the ring. | Spread the Round 1 stitches evenly before Round 2, and check for twists. |
| Yarn ends keep poking out | The ends weren’t woven in far enough. | Weave each end back and forth through at least 2 inches of stitches inside the ruffles. |
Easy Variations to Try
Once you’ve made your first classic scrunchie, it’s easy to change the size, texture, and style. Each variation below uses the same three-round method.
Mini scrunchies. These are perfect for half-up styles, braids, space buns, and little girls’ hair. Use a smaller elastic (about 1¼ inches across) with DK weight (#3) yarn and a 4.0 mm hook. Work about 36 sc in Round 1, then 108 dc in Round 2 (3 dc in each st), and 108 sc in Round 3. A mini scrunchie uses only about 12 to 15 yards of yarn, so it’s an ideal way to use the very last scraps of a ball.
Oversized XL scrunchies. For that big, full, statement look, work Rounds 1 and 2 as written. Then, for Round 3, ch 3 (counts as a dc), work 1 dc in the same stitch, and then 2 dc in each stitch around (300 sts). Finish with an optional fourth round of sc. XL scrunchies look gorgeous in a low ponytail. They use about 55 to 65 yards of yarn, so they’re best for a full ball of yarn rather than leftovers.
Velvet scrunchies. Velvet or chenille yarn creates that plush, luxe look that’s especially pretty for winter and the holidays. Chenille is usually bulky (#5) or super bulky (#6), so use a 6.0 mm hook. Work about 40 sc in Round 1, 120 dc in Round 2, and 120 sc in Round 3. Velvet yarn can be slippery, so count carefully and keep your tension steady. Rich colors like emerald, burgundy, and champagne look especially elegant.
Two-tone scrunchies. Work Rounds 1 and 2 in your main color, then change color for Round 3. This gives the ruffles a pretty contrast edge. Blush with cream, sage with white, and lilac with soft yellow are all lovely combinations. To change colors cleanly, pull the new color through on the last step of the joining slip stitch at the end of Round 2.
Picot edge scrunchies. For a sweet, vintage-style edge, replace Round 3 with this: ch 1, sc in the next 2 sts, ch 3, sl st into the third chain from the hook, and repeat from * all the way around. Join and fasten off. You’ll have 75 tiny picot bumps along the ruffles, and they look especially pretty in pastel cotton.
Bow scrunchies. Make a small bow to tie onto a finished scrunchie. Chain 16, then sc in the second chain from the hook and in each chain across (15 sc). Work 7 more rows of sc, turning at the end of each row. Fasten off, leaving a long tail. Wrap the tail tightly around the center of the rectangle 6 to 8 times to pinch it into a bow shape, then use the same tail to tie the bow securely onto the scrunchie, hiding the knot inside the ruffles.
How to Style Your Crochet Scrunchies
The effortless messy bun. Gather your hair at the crown, twist it loosely, and wrap the scrunchie around two or three times. The ruffles fill out the bun and make it look fuller and more intentional. This is the perfect everyday look for running errands, working from home, or heading to a yoga class.
The polished low ponytail. Brush your hair back smoothly, gather it at the nape of your neck, and secure it with an XL or velvet scrunchie. Pull a few face-framing strands loose for softness. This look is simple enough for the office but special enough for dinner, especially with gold hoop earrings and a silky blouse.
Half-up, half-down. Gather the top section of your hair from temple to temple, and tie it with a mini scrunchie. This style keeps hair out of your face while showing off your length and waves. A pastel mini scrunchie gives it a sweet, romantic finish that’s lovely for picnics and brunches.
The wrist accessory. Scrunchies look just as cute on your wrist as in your hair. Stack two or three in coordinating colors next to a watch or a delicate gold bracelet. It’s stylish, and your hair tie is always ready when you need it.
Match it to your outfit. Because you can make scrunchies in any color, it’s easy to coordinate them with your wardrobe. Try a sage scrunchie with a cream knit sweater, a blush one with a denim jacket, or a velvet emerald scrunchie with a black holiday dress.
Gifting and Selling Your Scrunchies
Create pretty gift sets. Group three scrunchies in coordinating colors, such as a soft neutral palette of cream, blush, and sage, or a jewel-tone set of emerald, burgundy, and navy velvet. Tie them together with a satin ribbon or a strip of twine, and tuck a small handwritten tag under the bow. It’s a thoughtful, handmade gift that costs very little to make.
Use simple display cards. If you sell at craft fairs or online, kraft paper cards make your scrunchies look professional. Cut a rectangle of thick kraft cardstock, punch two small holes, and thread the scrunchie through them so it sits neatly on the front. Add a small sticker with your shop name and the yarn type, which shoppers often want to know.
Match them to seasons and occasions. Pastel sets are perfect for spring and Easter baskets. Bright cotton sets suit summer. Rust, mustard, and olive work for fall, and velvet sets in red, green, and gold make lovely holiday stocking stuffers. Bridesmaids’ scrunchies in the wedding colors are a sweet keepsake, too.
How to Care for Your Crochet Scrunchies
Hand wash in cool water. Fill a small bowl with cool water and a drop of mild detergent or gentle shampoo. Swish the scrunchie gently, press it with your fingers, and let it soak for about five minutes. Avoid hot water, which wears out the elastic inside faster.
Rinse and press out the water. Rinse in clean cool water until no soap remains. Squeeze gently and never wring or twist it, because twisting can stretch the stitches and loosen the elastic. Roll the scrunchie in a clean towel and press to absorb most of the moisture.
Air dry flat. Lay the scrunchie on a dry towel and fluff the ruffles so they spread evenly. Let it dry completely before wearing. Avoid the dryer and radiators, because heat damages elastic and can shrink cotton.
Store them where they won’t get stretched. Keep your scrunchies in a small dish, basket, or jar on your vanity. Avoid storing them around a bottle or brush handle, because that keeps the elastic stretched and it will lose its grip sooner. Rotating between several scrunchies also helps each one last longer.
Frequently Asked Questions
Are crochet scrunchies good for beginners? Yes, they’re one of the best first projects. You only need chains, single crochet, double crochet, and slip stitches. There’s no shaping, no seaming, and no complicated counting beyond the first round. And because one takes about half an hour, you get the satisfaction of finishing quickly, which helps you stay motivated to keep learning.
How many scrunchies can I make from one ball of yarn? A standard 50 g ball of worsted cotton (about 80 to 100 yards) makes about two to three classic scrunchies. A larger 100 g ball of acrylic (about 170 to 200 yards) makes five to six. Mini scrunchies use much less, so you can make six or more from a single small ball.
Do crochet scrunchies damage your hair? Soft, thick scrunchies are generally gentler than thin bare elastics, because they spread the hold over a wider area and have no metal pieces to catch on your hair. To be extra kind to your hair, choose a smooth cotton, cotton blend, or soft acrylic, avoid very tight ponytails, and give your hair a break by changing where you tie it from day to day.
Why does my scrunchie keep sliding out of my hair? It’s usually one of two things. Either too many stitches in Round 1 stretched the elastic, or the yarn is very smooth and slippery. Try working fewer stitches in Round 1 on a relaxed elastic, or switch to matte cotton, which grips hair better than shiny or silky yarns. You can also wrap the scrunchie around your hair one more time for a firmer hold.
Can I make a scrunchie without an elastic? You can make a scrunchie-style cover by crocheting a long, narrow tube and threading braided elastic through it, but a hair elastic is the easiest and most secure option for beginners. The elastic is what gives the scrunchie its stretch and hold, so the pattern in this guide is built around it.
Can I sell scrunchies made from this pattern? Yes, you’re welcome to sell scrunchies you make yourself using this pattern. The three-round method is a classic technique. Just remember to factor in the cost of the yarn and elastics, plus your time, when you set your prices.
Final Thoughts
Crochet scrunchies prove that a tiny project can bring a lot of joy. In just three rounds, you can turn a plain hair elastic and a bit of leftover yarn into a soft, pretty accessory you’ll reach for every day. Once you’ve made your first one, try the mini, XL, velvet, and bow versions, and build a collection to match every outfit, season, and mood. Make a few extra while you’re at it, because the people you love will want one, too.
Save this pattern to your crochet board, so it’s ready the next time you have a spare half hour and some leftover yarn.